
Keep reading for more steps to make your beat.
Table of Contents
ToggleStep 3: Work with samples in the right way
We’ve covered all the tools you should get started. Now, let’s take a look at instrumentation.
Samples are an enormous part of beat-making. Actually, producers in the early 90s pioneered beat-making with samples from rare soul and funk vinyl.
A lot of classic 90s rap is built on sampled music, the practice truly changed the course of music’s history.
However, this change came with all types of legal and copyright questions. Whenever you sample someone else’s work, who owns the copyright?
Today, to avoid a major copyright issue it’s extremely recommended that producers use royalty-free samples from a sample marketplace.
However, beyond the copyright concern, there are a number of production methods you’ll need to master when using samples in your music.
Sample chopping and flipping
Chopping and flipping your samples takes the easy act of dropping a sample into the time to the next level.
Chopping, reversing, speeding up, or slowing different parts of a sample is an effective way to seek out unique and overlooked sounds, especially whenever you start adding effects.
Using a sample chopping plugin like Ableton Simpler makes it way easier to chop a sample into equal spaces and then sample them on a MIDI keyboard or controller.
This incredibly fun sampling technique emulates that classic MPC sampling workflow and opens up so many creative possibilities.
Take a day and give it a try with some sensual Rhodes keys samples or a super-fast breakbeat and also you’ll see what I mean.

Timeline sampling
The best way to make use of samples is to simply throw them into your DAW’s track timeline.
This is essentially a drag and drop method that allows you to arrange and click together samples.
Timeline sampling is the simplest to visually collage your samples together.
Just ensure you mix your samples into the rest of your mix properly, because you’re likely pulling from all types of different recordings, and things won’t sound uniform if you don’t.

Step 4: Arrange your beat into a song
Beginning with a loop and increase ideas over a drum part is great but that’s not a song.
To take your track from a looped idea, you should make some arrangement decisions.
That might sound easy, but for a lot of producers, arranging is one the most difficult elements of beat making.
My recommendation is to start thinking about track structure to choose a format to arrange your beat around.
We’ve written about song structure before, however having distinct sections like a chorus, verse, and bridge makes it simpler to plan build-ups, write lyrics, and give your track direction.


Step 5: Use production techniques to clean up your track
When you’ve mastered your beat-making process, you might need to learn a handful of basic music production techniques.
Learning the way to add effects like sidechain compression, tape compression while applying basic EQ to your track will make all the difference when getting close to a final product.
There are a lot of production techniques to learn—mixing, EQ, compression, and more.
However, here’s a couple of specific production tools most beatmakers use today.
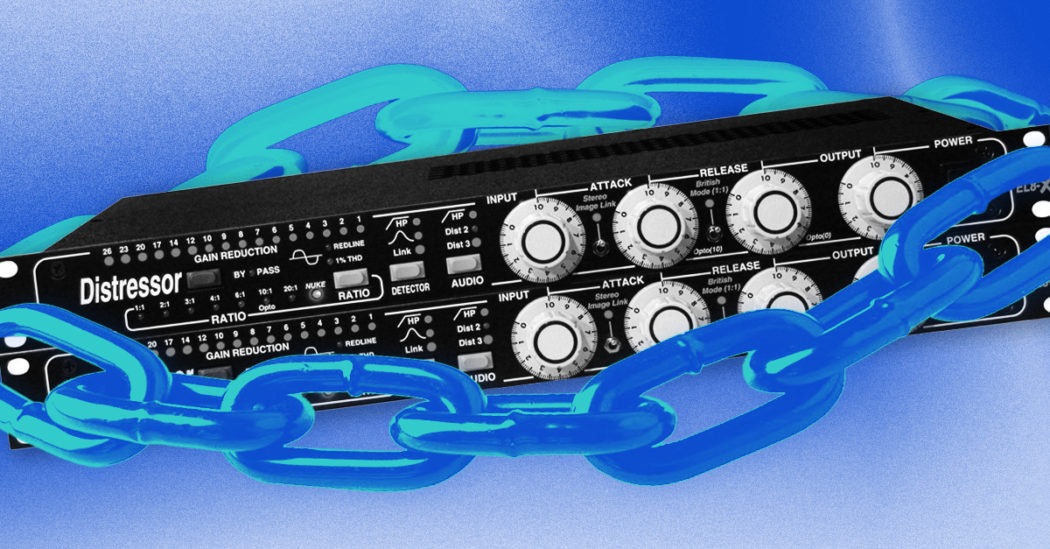
Sidechain compression
Have you ever noticed the best way some tracks seem to bounce every time the kick hits? That’s sidechain compression.
If you don’t get what I mean just take a look at this video and you’ll see what I mean. You’ll start noticing it everywhere.
Sidechain compression is tried and true way so as to add some movement and dynamics to your observation. It also allows your kicks to shine through the mix.
You’ll want a decent compressor plugin to do it properly, however, once you start playing around with it in your DAW you hear an enormous difference in your track.
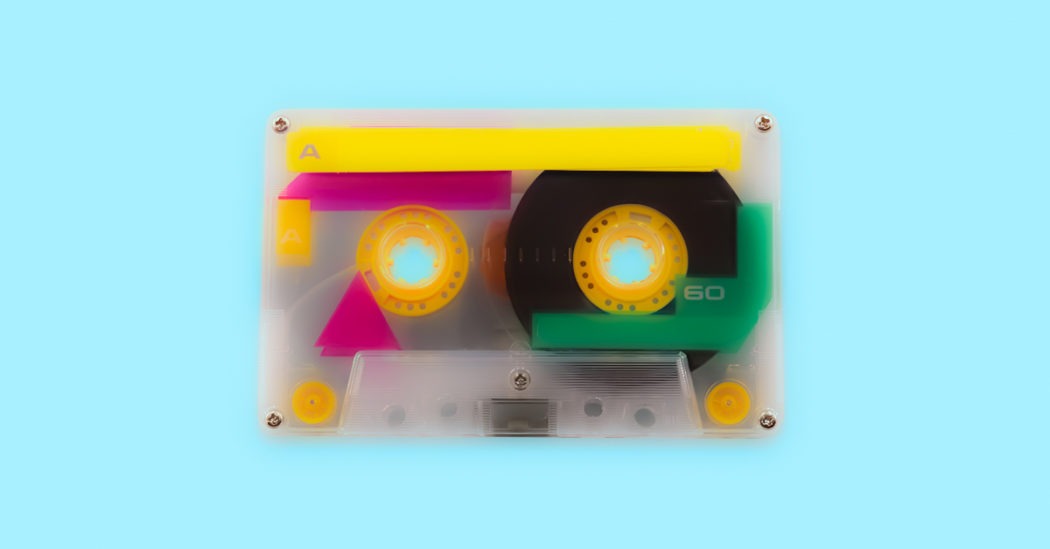
Tape saturation
Cassette has a special, nostalgic sound that a lot of beatmakers love to recreate. In our tape machines article, we go over why cassette tape recordings have such a unique and interesting sound.
However, in short, tape saturation plugins make it possible to add that warble and warmth that cassettes are known and loved for. There are lots of tape saturation plugins out there to try, however, the RC-20 is a go-to for a lot of beatmakers.
Step 6: Finish your first beat and shout out your track!
Okay, your track is sounding good—you’ve composed a beat, arranged it into a coherent piece, and also you’ve mixed it and added all the effects you want.
Now it’s the right time to finish and release your new beat.
Master your beat
Mastering is the final piece of the production puzzle.
It’s important for making your tracks sound the most effective they can, no matter where they’re played—whether that be on a car stereo, earbuds, or a club system.
You also need mastering to make your music loud enough to compete with other tracks on streaming services.
Your greatest bet—that doesn’t involve spending lots of {dollars}—is to go with an automated mastering service.

Distribute your beat
You should work with a distribution company to get your tracks on Spotify, Apple Music, and all the streaming platforms that matter.
LANDR Distribution is the preferred partner with Spotify and Apple music—with LANDR it’s quick and easy to get your first single or album up on Spotify.
See what distribution plan works for you and share your completed observation with your fans.


Fight beat block
It takes time to get good at beat-making, but with practice and learning, there’s no reason why you can’t make something truly great.
In this article, I’ve outlined some ideas and tricks for beat making, but there are actually no rules, so don’t be afraid to throw everything out the window and take a look at something different.
See what works for you, however, if you get beat block, recognize it, take a break, go for a walk, and clear your mind.
The simple act of listening closely to music you admire and watching your favorite producers in the studio will absolutely allow you to learn how different workflows work for different people.
Now, what are you waiting for? Go make a beat!