Editing your Instagram photos can be a lot of fun. You can make them look professional or give them a personal touch that makes them unique to you. There are many different ways to edit your Instagram photos, and in this blog post, we’re going to show you some useful tips and tools. So whether you’re just getting started with Instagram or you’ve been using it for years, read on for some great editing tips!
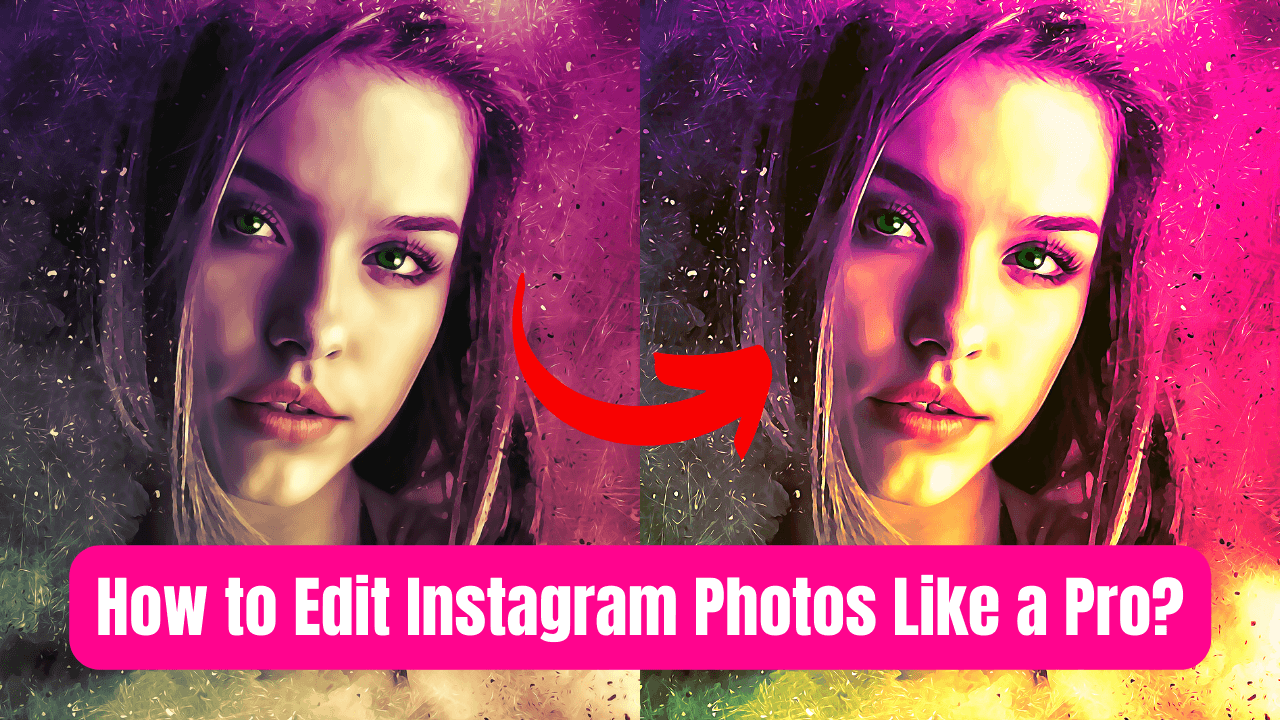
Top 7 Useful Tips To Edit Instagram Photos
You’ve just taken a stunning photo and want to make it look even better on Instagram. But how do you do that? Follow these easy steps:
1) Begin With A Quality Photo
If you’re looking for some tips on how to edit your Instagram photos like a pro, keep reading! Here are some basic steps to follow when editing your pictures. Firstly, you should make sure that the shot is of good quality. Open Instagram in the ‘All Photos’ tab or randomly select the photo you’d like to edit. By default, your photos will be cropped as squares.
2) Pick A Filter From Instagram
Once you have your picture taken, you can use Instagram’s editing features to give it a professional look. By default, the application crops your photos to be square. It offers great filters, and you’ll be amazed at the results! You can also adjust the intensity of filters to make them look more vivid. While these filters will give you stunning results, be careful not to over-filter your photo.
3) Customize Your Photo With The Instagram Editing Tool
You can use the Instagram editing tool to add some special effects to your photos. Then, use the tools to adjust the contrast. Highlights and shadows can be used to make bright areas of the photo look darker or more muted. Using the filters can add some special effects to your photos. Once you have used the editing tool, you can save your photos as drafts. If you’re not completely satisfied with your photos, you can remove them from the editing tool.
4) Tweak Individual Photos In A Multi-Image Post
On Instagram, you can tweak individual photos in a multi-image photo post. The first step is to select the images you wish to include in the post. After selecting images, you can then adjust their cropping, color, and contrast. You can also add captions and tags, and you can even change the order of the photos. You can apply a filter to each image individually or blanket all the photos. However, you can even add a location or caption, although you should only do so once.
5) Straighten Up And Focus
One of the easiest ways to improve the quality of your Instagram photos is to straighten up and focus your shots. By following some simple tips, you can make your pictures look more professional in no time at all. You can straighten up your photos by using simple adjustments.
6) Consider The Grid
When it comes to creating your grids, you can take many creative shortcuts. Try alternating photography and text quotes or use different colors for different rows. Also, consider using more than one visual per row, which will prevent alignment issues. You can also try using different themes for each row. For instance, you could use a theme for self-portraits or daily adventures.
7) Mix And Match Editing Tools
If you’re tired of the same old filter on your Instagram photos, consider using the latest and greatest tools available for editing on your phone. These apps can improve your pictures and make them look more professional. Instagram’s free editing tools are easy to use and come with a number of presets that make adjusting your photos a breeze. You can also try using VSCO’s filters, which don’t look overly filtered. You can even use the Clarity feature to make your photos look sharper and more detailed, such as a landscape.