
How to sell products on Instagram
Learning how to sell products on Instagram might seem intimidating at first. However, we promise it’s pretty easy.
Here’s an 8-step plan for the way to sell on an Instagram shop:
- Discover the right niche
- Get an Instagram business profile
- Set up an Instagram shop
- Create shoppable posts
- But create regular posts too
- Get on the discover page
- Try live shopping
- Use Instagram checkout
We’ll cover all these topics in additional detail starting from the top.
1. Discover the right niche and build your following
Every great business marketing strategy starts with narrowing and defining your niche.
A niche is a particular set of people or businesses who are looking to purchase a specific product/service.
That’s where you come in! So, know your audience.
Understanding your niche market on Instagram gets you within the minds of your target consumer.
You’ll discover their desires and needs and how your product or service caters to them.
Here are a number of methods you’ll be able to discover your niche:
- Learn about your perfect customer’s passions, interests, and behavior
- Think about their problems and desires and the way your product/service solves them
- Perform competitive analysis on similar businesses in your niche
- Read forums, social media comments, and posts to get extra insights into your ideal customer’s pain points and problems
The more specific your niche is, the more you’ll stand out to your perfect customer.
Once you understand what your niche is, look up your competitors by searching hashtags that are related to your business.
You may also check the Explore page and browse trending hashtags, accounts, and images.
When you understand what’s ranking in Instagram’s algorithm, then you’ll be able to mirror what’s trending.
There’s no need to reinvent the wheel here. If their strategy is working, feel free to make use of it as inspiration.
However, the goal is to take a look at what they’re doing and do it better.
Spying on your competitors is an effective way to gain consumer insights and assist craft your strategy for selling on Instagram.
And once you’ve narrowed down your niche, you’ll have a better time building your following.
Think about methods you’ll be able to post high-quality photos, create useful content, write better captions, or just interact with your followers.
Next, you’ll need to create your social media strategy to build a following for your ideal customers.
2. Get an Instagram business profile
Now that you understand your niche and have a decent following, it’s time to switch your account to an Instagram business profile.
Getting an Instagram business profile is free and allows you to manage your brand’s presence and online store.
You’ll also get access to insights, sponsored posts, ads, scheduled posts, quick replies, branded content, links to Instagram stories, and more.
Instagram Business accounts are the go-to options for brands or companies that sell products or services.
And it’s no surprise because it helps you build and grow your online presence and open your Instagram shop.
All it’s essential to do to switch to a business account is go to Settings, Account, and tap Switch account type.
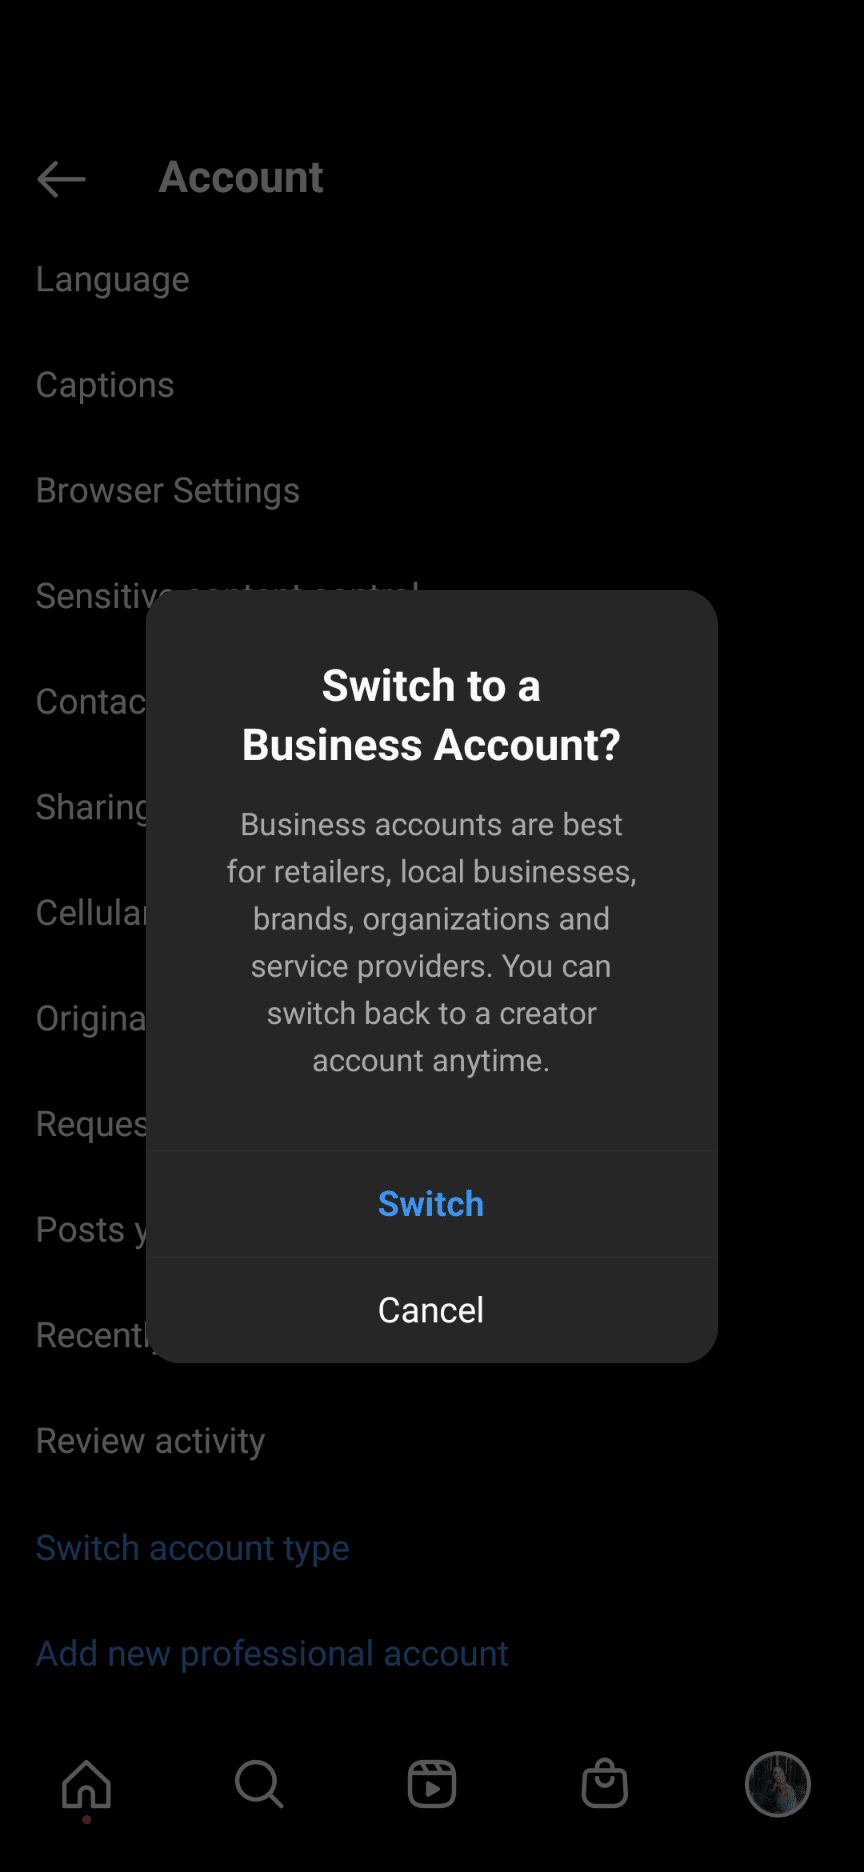
Source: Instagram
Here you’ll be able to enable your business account in one step. Easy enough, right?
After arranging, you’ll get access to exclusive content just for businesses.
Take a tour of the latest features and ideas and tricks to get the best experience.
When you get a business account, you’ll be able to optimize your business profile to set yourself up for success.

3. Set up an Instagram shop
So, you’ve established your online presence and following, you’re eligible for Instagram shopping, and you’ve switched to a business account – well done!
Now you’re able to open up shop.
Let’s get started with the fundamentals, step by step.
First, it’s essential to log into your Instagram account, ensure you’re an admin, and head over to your profile dashboard.
Follow these steps next to arrange your shop:
- Choose settings and tap on Creator, from here you click on Set up Instagram Shopping
- Connect your catalog or use a partner
- Enter your website (Instagram asks for it to verify)
- Arrange your checkout option
- Choose sales channels
- Add products to at least one catalog
- Preview your shop to ensure it looks good

Source: Instagram: @Wildart.Erika
Opening your Instagram shop provides you with a whole dashboard of options you should use to create an immersive shopping experience.
Followers can visit your shop, explore products, and buy directly from your profile, posts, or story.
You may also arrange the Checkout feature if you’re based in the US. This way individuals won’t have to leave the app to make a purchase.
4. Create shoppable posts
An effective way to drive product discoverability is through shoppable posts.
Shoppable posts are regular feed posts or stories that have product tags.
These tags show users the price, product name, and allow them to add it to their cart or go to your website to purchase.
Customers can tap on the tags to view more about your product or service too.
Keep in mind to use a call to action in every post to make it more compelling.
Tell people to check out the link in your bio too to learn more about your business.
Once your shop is available, you’ll be able to start creating shoppable posts right away.
Shoppable posts are the perfect method to promote your products to both followers and potential customers.
You’ll be able to post organically or create an Instagram ad.
How to create shoppable posts
All it’s essential to do to create shoppable posts is both create a brand post or update an existing post with tags.
You’ll be able to tag photos or videos. So, choose interesting things that show off your product.
For new posts, you’ll be able to simply choose Tag products in the post editor.
Next, select your product from your Product Catalogue or insert the product ID or search by product name.
Double-check that you’ve chosen the right product before you publish the post and then hit Done.
Now your feed post is shoppable!
How to create shoppable stories
To create shoppable stories you will want to post a story and tap on the Stickers option.
From there you’ll have the option to use the Shopping sticker to tag your product.
Next, write down your product ID or search for the product name.
Publish the story and your story will have product tags that users can click on.
When thinking about what to post, ensure the photo or video is high-quality and creates value for the user. You don’t need it to come across as too sales-y.
Be authentic and let your brand’s story shine through.
Focus more on the post itself and allow the products to speak for themselves.
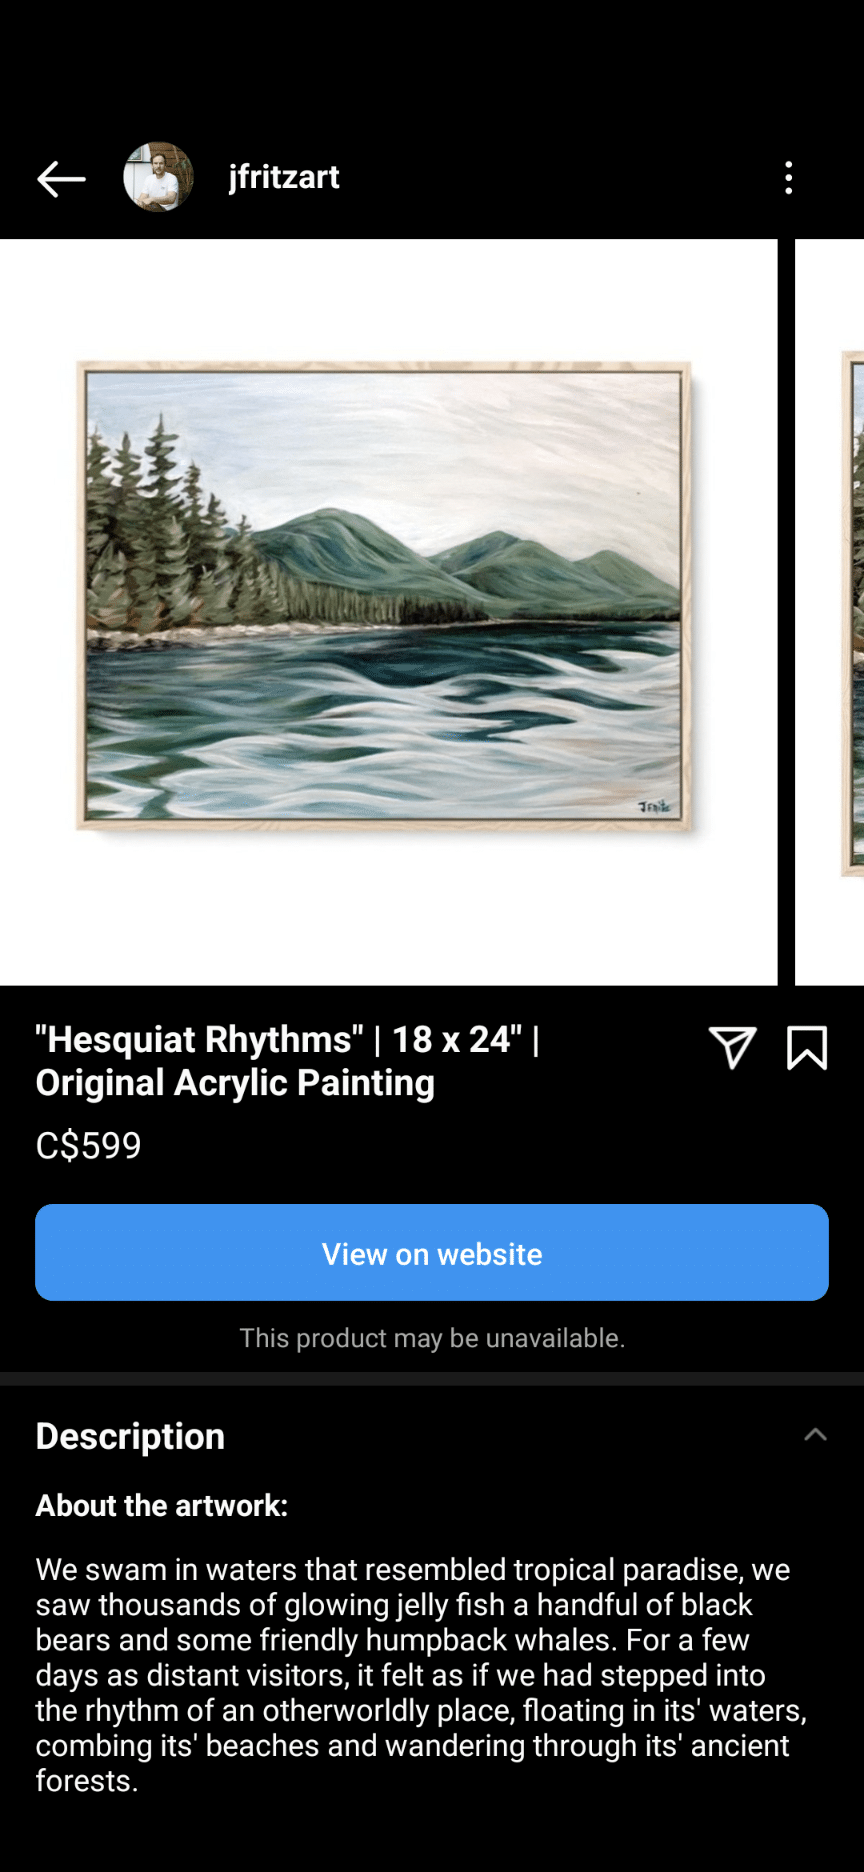
Source: Instagram @Jfritzart
Try following the 80/20 rule in terms of how often you make your posts shoppable. That makes only 20% of your posts shoppable (in order to not bore your followers).