Instagram is an undeniably powerful marketing tool, but with over 25 million businesses on the platform at this time, it is important you take the time to create well-designed and thoughtful Instagram posts to stand out. You will need to use a strategic design plan for your business’s Instagram to attract a loyal following and find success on the app, long-term. However, making a clean and cohesive Instagram feed takes design skills you might feel you lack. Moreover, Instagram’s algorithm favors brands that post at least once a day — that time commitment could be adding to your stress. If that’s the case, you are in luck — there are methods you can create a pre-made Instagram post template, so you’ve got a stash ready to go. Plus, by ensuring you use the same templates for different posts, you will have an easier time creating a cohesive and aesthetically pleasing feed.
1. Use Instagram Post Template
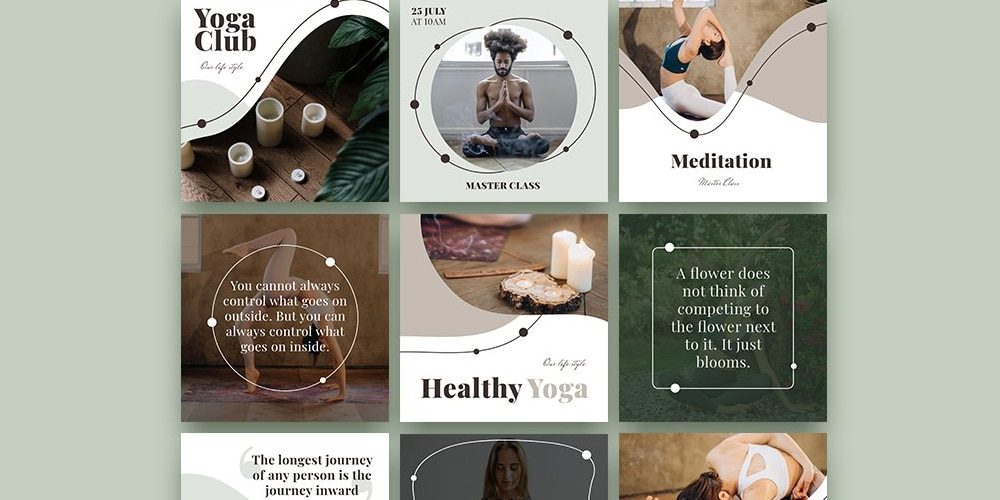
Let’s face it — you do not always have the time, resources, or personnel to design noteworthy Instagram posts. That’s why we suggest using Instagram Post Templates for Business which you can build from and customize.
Here are some choices to create and save an Instagram post template, so you can have stunning posts on hand whenever you’re ready to publish.

2. Choose Your Post Format
While traditional Instagram posts to your permanent timeline are more long-lasting and allow for comments and likes, you should not underestimate the power of Instagram Stories, which can be used for more immediate needs and occasions.
In fact, 500 million accounts use the Instagram Stories feature every day. So, when you’re making your post, ask yourself if it warrants publication as a story or as a traditional post.
3. Choose an Image
Maybe you’ve decided your post doesn’t need {a photograph} and that text overlay on a solid-color background will work for you. If that is the case, hop over to the next step.
In case you’ve decided you do want to use {a photograph} – particularly if you need one as the background for text overlay – you’ve got a number of choices.
- Take a photo on your phone or using a camera. No need to be a professional photographer for your Instagram posts – you can learn how to take great photos with your phone in this guide.
- Use a photo from your company’s files. This works effectively if you need to make the most of team photos or product photography, which can be better quality.
- Use a stock photo that pertains to your business (just ensure you don’t use the same one multiple times!).
Whichever photo you do decide to use, simply replace it because of the background for the template you’re utilizing and resize the photo so it’s to your liking (and is good quality).
4. Add Design Elements
Instagram post templates include design placeholders for text with special fonts and different elements. The next step is to alter, add, or remove any elements that you see fit.
This consists of updating the copy so it reflects the information you want followers to know and/or the action you want them to take.
5. Save the Photo
Whenever you’ve done all you can in the template builder of your choosing, save your photo to be posted on Instagram. All you will need to do here is click “File” > “Download” > “PNG Image” or “JPEG Image.” Then, just name the photo file, email, or message it to yourself, and save it on your phone so you’ll be able to post it.
6. Upload to Instagram
Once you have your photo saved, it is time to upload it to share with your followers. For a traditional post, open Instagram, click the “+” button in the bottom center, choose your photo, add any filter, description, or hashtags, and click “Share.” (Check out How to Post on Instagram: a Step-by-Step Guide if you want to know.)
For an Instagram Story post, click on the camera icon in the top left of your screen, access your camera roll in the bottom left of the screen, select your image, minimize the date that shows up to the point where it can’t be seen, and add any additional design elements – like a GIF or additional copy – to the image. From there, choose “Your Story” on the bottom left of the screen.