Mixing music is a fundamental step in producing tracks that sound polished and professional. For beginners, the process can seem overwhelming, but with the right guidance, it’s entirely manageable. This step-by-step guide breaks down how to mix for beginners, from setting up your workspace to balancing levels, adding effects, and finalizing your mix.
Whether you’re just starting or looking to refine your skills, these tips will help you transform raw recordings into dynamic, well-rounded tracks that shine.
1. Choose a DAW and some loops
Your DAW (digital audio workstation) serves as the central hub of your music production setup, enabling you to record, arrange, and mix your tracks. It’s where the entire mixing process takes place, making it an essential tool for any musician or producer.
Popular examples of DAWs include Ableton Live, Steinberg Cubase, Apple Pro Tools, and Image Line FL Studio.
One of the best ways to hone your mixing skills in a DAW is by working with premade loops. These loops provide high-quality recordings of vocals, drum kits, and various instruments, saving you the effort of recording them yourself.
Some loop and sample libraries even offer construction packs—sets of loops that are designed to work harmoniously, making it easier to create cohesive and professional-sounding tracks.
2. Set up your audio tracks
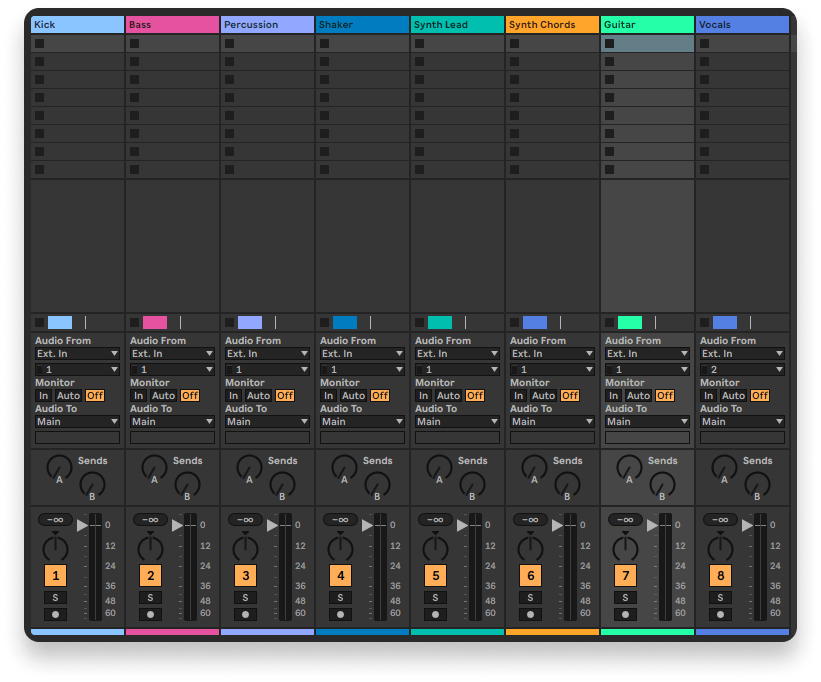
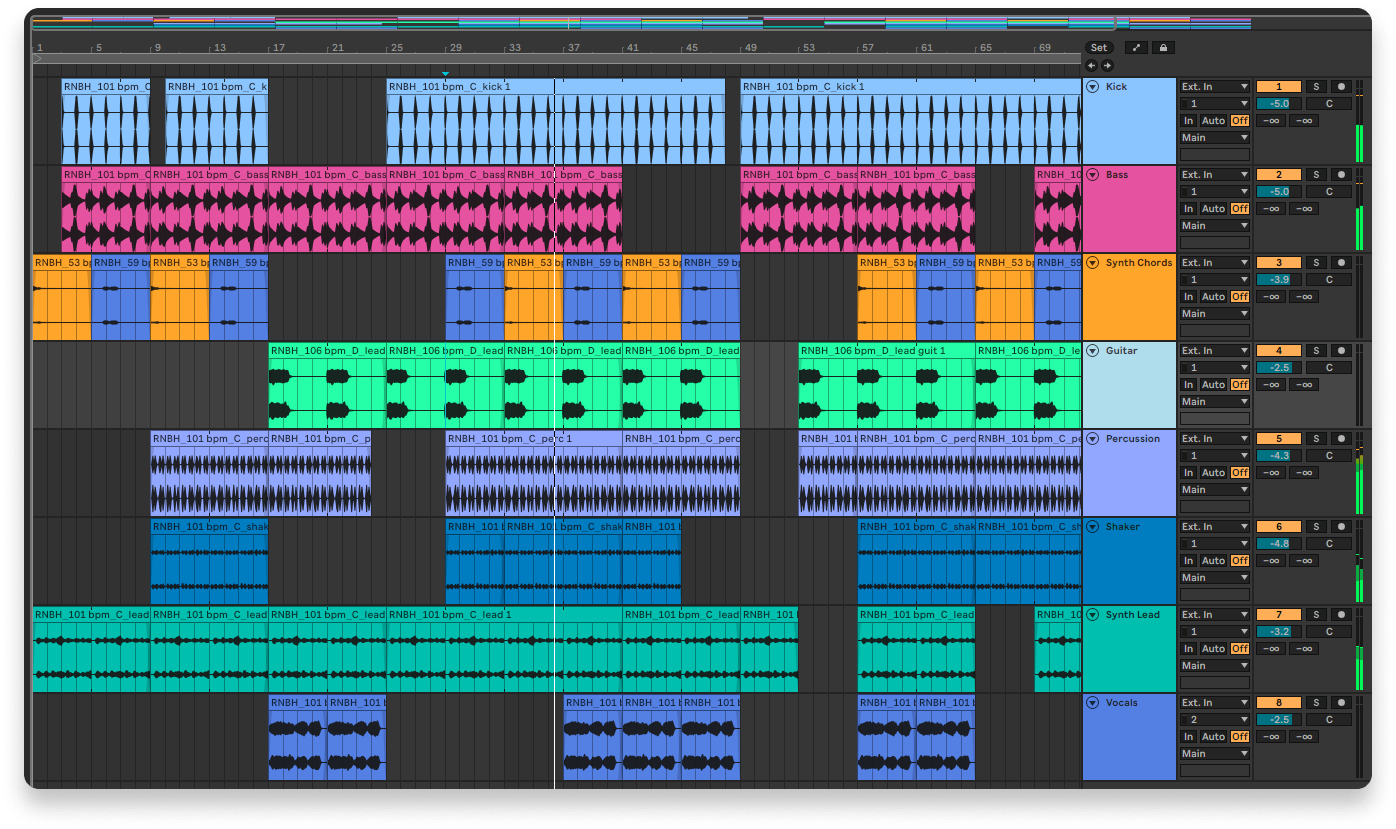
Once you’ve installed your DAW, start by setting up a session with eight to twelve audio tracks (also known as channels).
Allocate tracks for your bass, lead instrument (such as a guitar, piano, or synth), backing instrument(s), drum kit, and vocals. The exact arrangement of instruments and sounds across the tracks will depend on the specific audio files or samples you’re working with.
The key of how to mix for beginners is to ensure that each instrument or sound type has its own track and label them clearly for easy navigation.
While it’s ideal to have separate tracks for each part of your drum kit, it’s not essential when you’re just starting out. If you’re using a pre-mixed drum loop that includes the entire kit, that’s perfectly fine. You can dive into more advanced drum kit mixing techniques as you gain more experience.
3. Create a looping section
Your arrangement—the structure of your song and how it evolves over time—is a key element of your mixdown. The way you decide which instruments play together at any given moment shapes their sonic interactions and overall harmony.
To focus on mastering the essentials of mixing, start with a single looping section. Think of it as the chorus of a song you haven’t fully developed yet. This approach allows you to concentrate on mixing fundamentals without getting overwhelmed by the full arrangement.
Once you’re comfortable with the basics, you can begin refining your arrangement skills and exploring how they influence and complement your mixing techniques.
Hot tip: You don’t need to use every loop in your construction pack — just be sure to have at least one loop of each main instrument type (e.g. bass, lead, pad, drums, vocals).
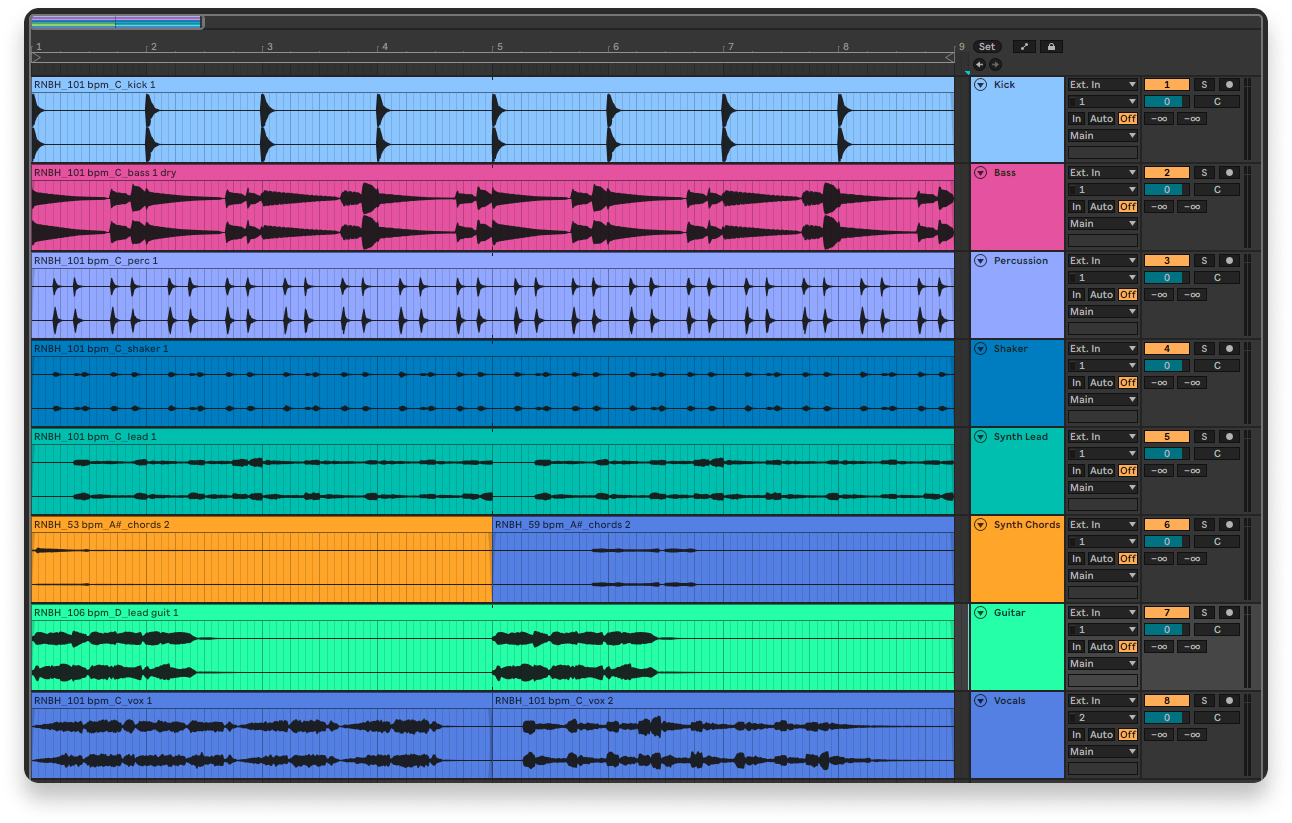
To get started, arrange your loops on the timeline of your DAW, placing each one in its respective track. Layer them together so they play simultaneously for a set period.
Set loop start and end points on your timeline so the DAW will continuously repeat the section you’ve created. This section can be as short as four to eight bars or longer, depending on the loops you’re working with.
4. Experiment with level adjustments
If the entire music mixing process could be distilled into one key element, it would be amplitude, often referred to as loudness or volume.
Even small adjustments to the relative amplitude of sounds in your mix can significantly impact how the listener experiences the song.
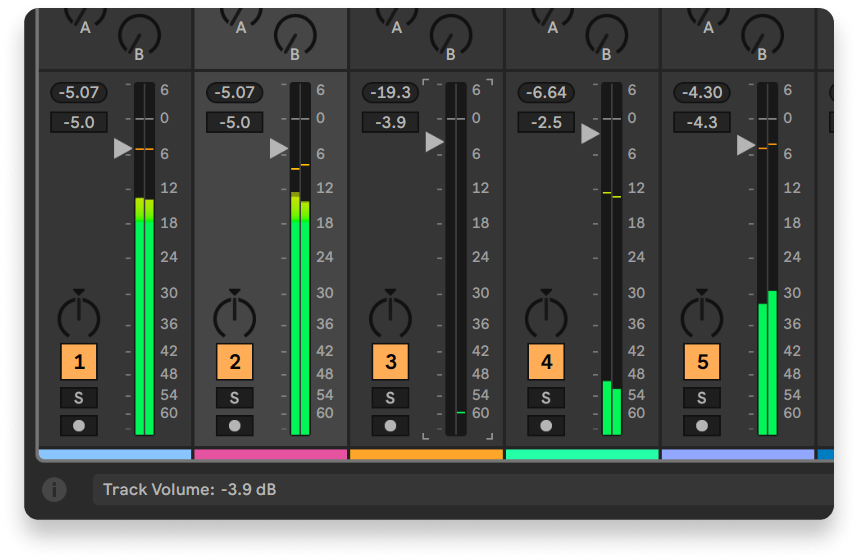
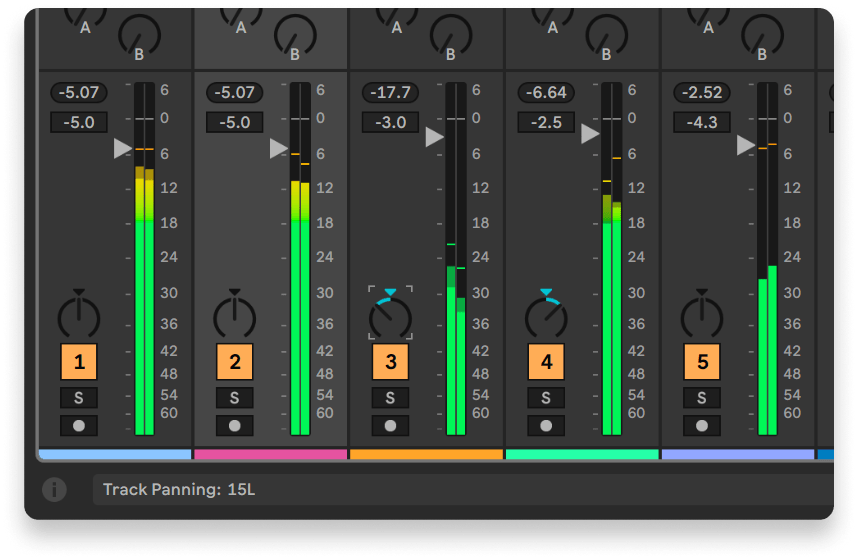
To begin, open the mixing panel in your DAW and set all the level faders for your tracks to 0 dB (decibels), keeping your loops at their original volume. Select one to three tracks and experiment with their level faders, observing how changes affect the overall mix.
For example, what happens when you slightly increase the vocal volume while lowering the lead instrument by the same amount? How does the mix feel when the drum kit is louder than the bassline?
Making thoughtful level adjustments allows you to highlight key sounds, enhance the groove, and shape the song’s emotional and sonic balance.
5. Understand gain and headroom
All audio devices, such as preamps and effects, can alter the amplitude of a signal.
This makes it essential to understand gain and gain staging—managing how the amplitudes of sounds combine throughout the production process. Poor gain staging can result in a mix that is too loud, causing a loss of detail, clarity, and groove in your track.
An overly loud mix also reduces headroom, which refers to the “space” available for further amplitude adjustments during mastering before clipping (audio distortion) occurs.
Opinions vary on how much headroom a mix should have before mastering, but maintaining adequate headroom is crucial for achieving a polished and professional final product.
6. Use equalizers to create balance or emphasis
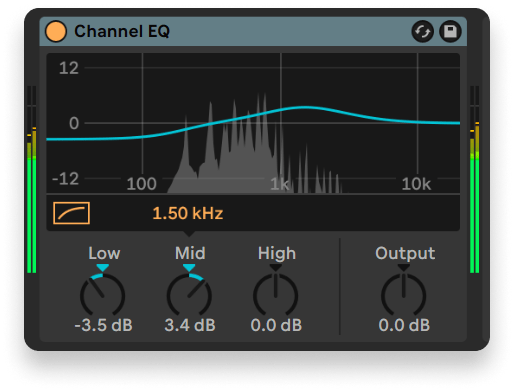
Sound spans a spectrum of frequencies, which are often divided into groups called frequency bands.
Equalization (EQ) is the process of adjusting these frequencies by boosting or attenuating (reducing) the amplitude of specific bands to shape the overall sound.
7. Experiment with panning and stereo effects
Some sounds in your construction pack may be in mono, while others may be in stereo.
You can adjust a sound’s position within the stereo field using panning controls on the mixer or by applying stereo effects. These tools let you modify the placement or spread of sounds across the left-to-right stereo field, also known as the stereo image.
8. Understand stereo imaging
Adjusting the stereo field can sometimes cause phase issues, affecting the clarity, impact, or texture of sounds.
Producers aim to ensure a mix sounds good in mono, using DAW plugins or tools to check. If key elements like percussion, vocals, or bass lose clarity in mono, adjustments to the mix may be needed.
While managing phase and stereo image might seem complex, focus first on mastering levels, gain, EQ, and panning. Avoid overusing effects like reverb, chorus, or stereo enhancements, especially on low-frequency sounds like kicks and bass. With time, you’ll learn how to mix for beginners and break these rules effectively.
9. Shape the dynamics of your sounds
Dynamics refers to the variations between the louder and quieter parts of a sound, while its dynamic range is the difference between the quietest and loudest elements.
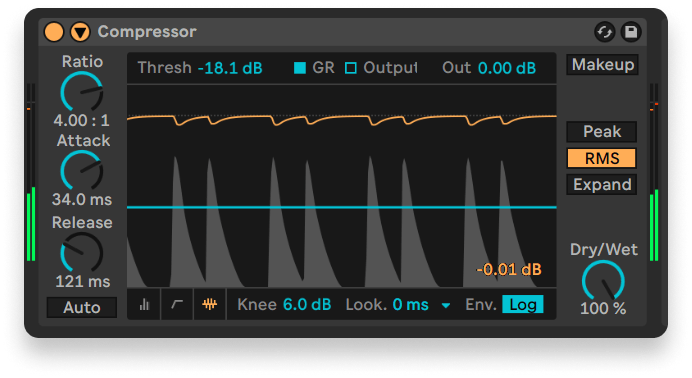
To control dynamics, we use processors like compressors and limiters. Compressors adjust sound by shaping amplitude increases (attack) and decreases (release), with parameters for threshold (minimum level for activation) and ratio (amount of compression). Experimenting with a compressor on drums can help refine their impact and groove.
Limiters cap peak amplitude to prevent clipping while boosting perceived loudness. Both tools can enhance power and clarity but should be used sparingly. Overuse can reduce dynamic range, leading to less definition and contrast in your mix.
10. Create a strong arrangement
If you’re knowing how to mix for beginners and coming up with an arrangement that you like, we recommend finding a song by an artist you like in the same genre and using it as a template or reference point. You can even drag it onto your timeline and visually mark the durations of its instruments to create a map of its structure. Your DAW should have features that allow for this.
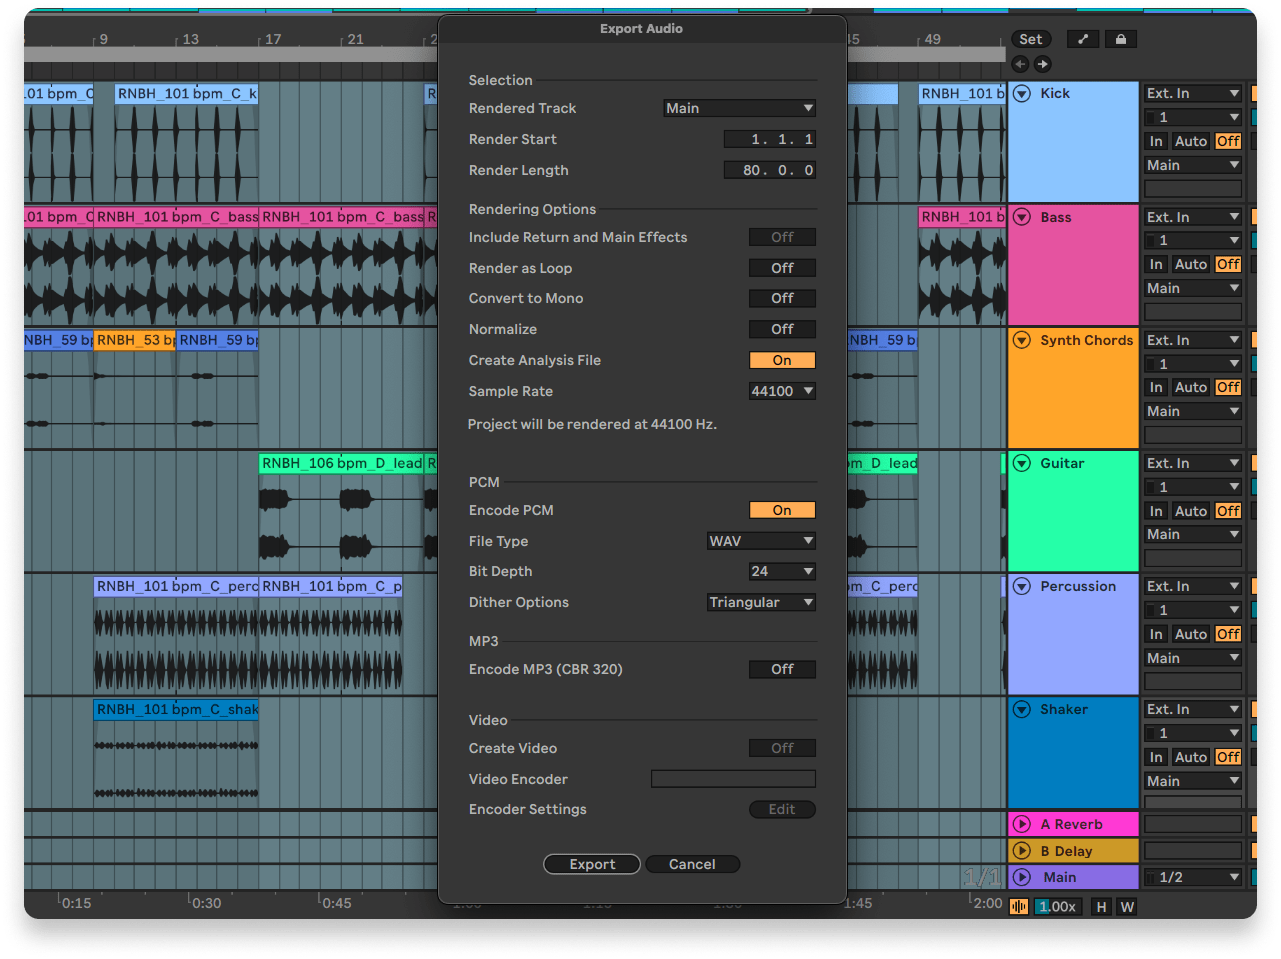
11. Export and master your mixdown
Mastering is the final stage of production, focused on preparing a song for release. It works on the exported mixdown rather than individual tracks.
Avoid attempting to “master” your song during mixing by applying too much EQ, compression, or limiting to the entire session.
Conclusion
In conclusion, mastering the art of mixing is a journey that starts with understanding the basics and practicing consistently. By following these beginner-friendly steps, you’ll know how to mix for beginners, polished tracks that reflect your creative vision. Remember, mixing is as much about experimentation and personal style as it is about technique. With time and dedication, you’ll develop the skills needed to bring your music to life and share it with the world. Keep learning, stay patient, and enjoy the process!

