If you’re gearing up to release a set of songs and wondering about the optimal approach to mastering an album, various options await your consideration. The traditional method involves hiring a skilled engineer to manually master each song, delivering impressive results but often incurring significant upfront costs. Alternatively, you can explore AI-powered online mastering for an instant, polished product. For those seeking a middle ground, especially if you prefer staying within your DAW, options become more limited. You could opt for assembling a selection of high-end plugins and manually embark on the mastering process. Another approach is acquiring a plugin suite equipped with presets tailored to your music genre. This article delves into the latest and most effective approach to master an album using mastering plugins within your DAW.
Why You Should Master Album Using Mastering Plugins
Mastering an album goes beyond merely achieving targets for loudness and dynamic range.
A superb album requires meticulous sequencing with precisely crafted transitions between tracks.
This involves carefully arranging the track order, fade-ins, and fade-outs in a separate DAW session.
Achieving this necessitates accurately positioning each track and incorporating level automation for each fade.
When it comes to mastering, this workflow can become intricate.
Maintaining precision in sequencing becomes challenging if you can’t manage it directly within your DAW during mastering.
Working with each finalized stereo file on a new timeline in your DAW allows you to audition the flow in real time.
This way, you gain a clear understanding of how your listeners will experience it!
How to Master an Album Using the L Mastering Plugin
Mastering plugins simplifies the process by allowing you to create fades and automation while applying mastering techniques.
Here’s a step-by-step guide on utilizing the L Mastering plugin to master an album in your DAW:
1. Initiate a new session and import each finalized mix
A comprehensive album master begins with a clean slate.
While it’s feasible to incorporate the L Mastering Plugin into an active mix session for a single track, it’s crucial to prevent interference from prior mixing tasks affecting other album tracks.
Ensure that each track is brought into a new session with a single empty stereo track.
2. Organize the tracks sequentially
The sequence of songs in a release significantly influences the listener’s experience.
Thoughtfully plan your album sequencing to maximize the impact of your tracks.
Consider presenting your strongest material upfront, followed by moments of contrasting energy to avoid listener fatigue.
If not done already, sit down and listen through your entire release from start to finish.
Ensure the experience feels varied with rising and falling tension, maintaining engagement.
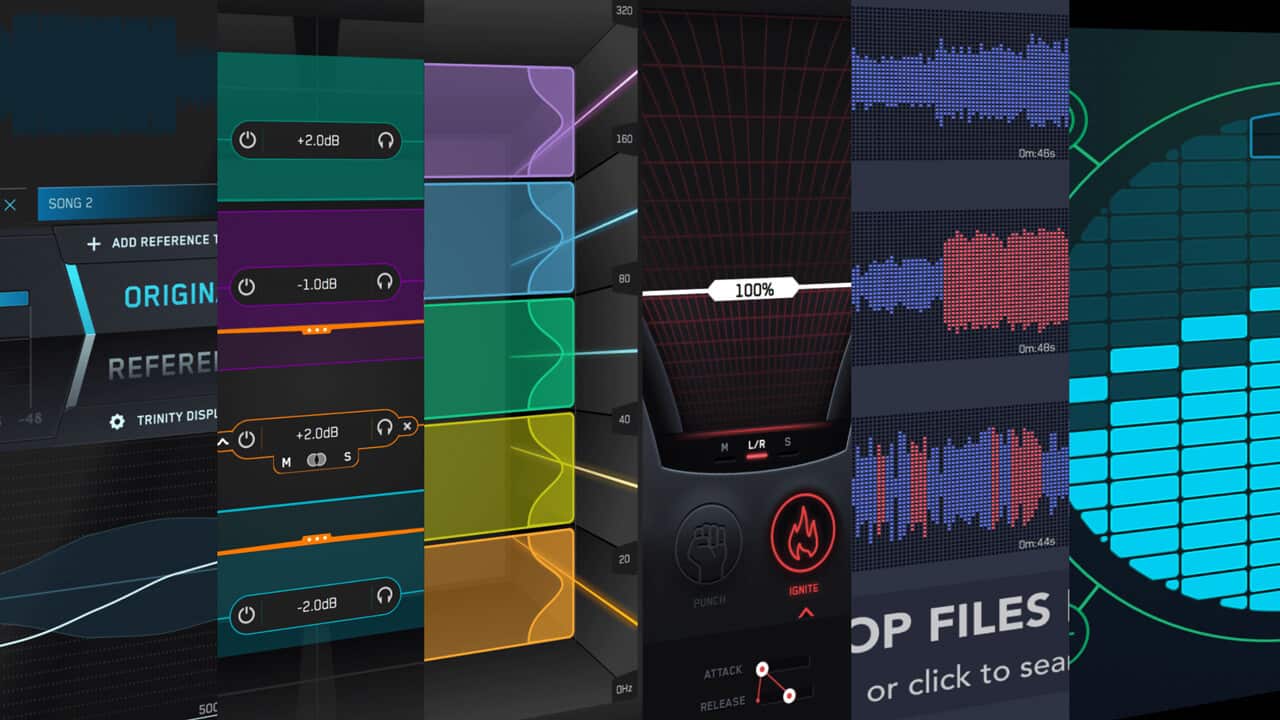
3. Apply the L Mastering Plugin
Integrate the L Mastering plugin into your master bus, choosing a louder section for the detection process.
Upon completion of the analysis, select your preferred mastering style, and tweak advanced mastering parameters if necessary.
Refer to our basic guide on mastering a song in your DAW for detailed assistance with this step.
Note any settings and changes made. While no two tracks are identical, maintaining a consistent approach in mixing and mastering is essential.
Check for overall frequency and level balance, ensuring each track occupies a similar sonic space.
Adjust mastering EQ settings if needed—for instance, enhancing air and excitement or controlling low-end for specific mixes.
Pay attention to the loudest segments, ensuring they blend seamlessly with other album material. If discrepancies arise, adjust the loudness control to maintain a balanced dynamic range across all tracks.
Once satisfied with your master, use your DAW’s bounce-in-place function to render the region with the current plugin settings.
For similar-sounding material, you might keep your mastering settings consistent. However, if something feels off, repeat the detection process for a new custom master.
Apply any parameter changes from previous masters to maintain sonic consistency across the album.
4. Implement Fades Using Automation
After placing your mastered tracks, it’s time to craft your fades.
Create fades by automating the fader from -∞ dB to 0 dB. Keep in mind that any operation impacting levels will interact with the limiting stage in your mastering chain, including automation.
Mastering engineers often use automation to lower quieter sections for added contrast or subtly boost downbeats to emphasize transitions. If using pre-fader automation, it’s advisable to automate the channel fader rather than the master bus with the active L Mastering Plugin to avoid wasting headroom or causing clipping.
For simplicity, consider setting start and end points with automation breakpoints, adjusting for the desired length and feel of fades. Linear fades generally suffice for most album sequencing purposes, but curved or exponential fades can offer varying intensity over time.
Experiment with fade curves if linear fades don’t deliver the desired effect.
5. Fine-Tune Timing and Flow
As fades are added, you may find the need to adjust the spacing and timing of the sequence. Don’t hesitate to reposition tracks or fades based on your musical intuition.
Sequencing balance involves rhythm and feel, so take the time to achieve the desired outcome. Use your DAW’s nudge command to make small, consistent adjustments to track or automate positions.
6. Establish Boundaries and Consolidate
Define the precise boundaries between each track before exporting. If your DAW supports markers or memory locations, use them to mark positions for track cuts.
Ensure boundary cuts align with the fader at -∞ dB for complete silence at the start and end of each track. Add start and end points for the initial and final tracks to complete the sequence.
With boundaries set, consolidate the entire region from the first to the last marker. This process prints fader automation to a new audio file within your DAW.
Return to each boundary in your memory locations list, cut the regions at the playhead position, and export these timeline clips as files. Your finished master is now ready for delivery.
Mastering the Album Format
Despite albums appearing somewhat outdated in today’s streaming-focused industry, their enduring history suggests they won’t vanish entirely anytime soon.
Fortunately, the L Mastering plugin simplifies the process of preparing an album for release, offering increased ease and flexibility.
If you prioritize the final touches for an exceptional album, choosing to master an entire song sequence in your DAW with the L plugin is the optimal solution. Do you feel the guide to master album using mastering plugins helpful?


