Creating an event on Facebook is a powerful way to connect with your audience, promote gatherings, and ensure better engagement. Whether you’re planning a personal celebration, a business event, or a virtual meet-up, Facebook’s event feature makes it easy to organize and share details with your network.
This guide walks you through the steps to create an event on both mobile and desktop, helping you effectively manage invitations, updates, and attendee interactions. Let’s get started with crafting your next successful event!
Before you start your Facebook event
To make the most of live streaming on Facebook, it’s essential to know how to set up engaging Facebook events. While creating events is straightforward, there are a few key factors to consider before getting started. Below, we outline the three most important aspects to ensure you’re fully prepared to create and manage successful Facebook events.
- Don’t publish too soon
- You can’t change privacy settings after you publish the event
- Creating an event on Facebook on mobile and PC is different
How to create an online event on Facebook
Facebook is an excellent tool for organizing and publicizing virtual events. Facebook may help you reach a large audience and interact with your attendees, whether you’re hosting a webinar, virtual conference, workshop, or just a casual get-together.
Facebook allows you to create an event using both a computer and a mobile device. Here, we provide you with the incredibly simple ways to accomplish just that!
How to create an event on Facebook on mobile
Creating a Facebook event is quick and simple, whether you’re using an Android, iPhone, or tablet. Follow the steps below, and you’ll have your event set up in no time. Just ensure you have the Facebook app installed, and you’re ready to go!
- Open the Facebook app on your phone.
- Tap the “Menu” button – the three horizontal lines – in the bottom-right corner (iPhone) or top-right corner (Android) of the screen. The “Menu” button can also be your own profile picture.
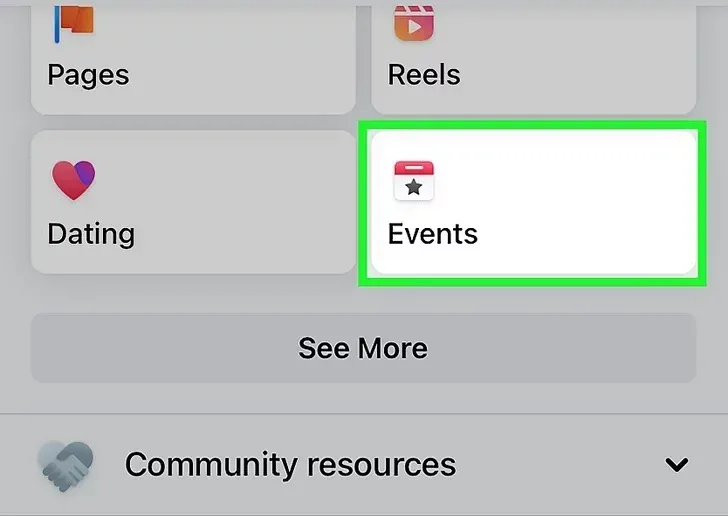
- Scroll down and tap “Events”.
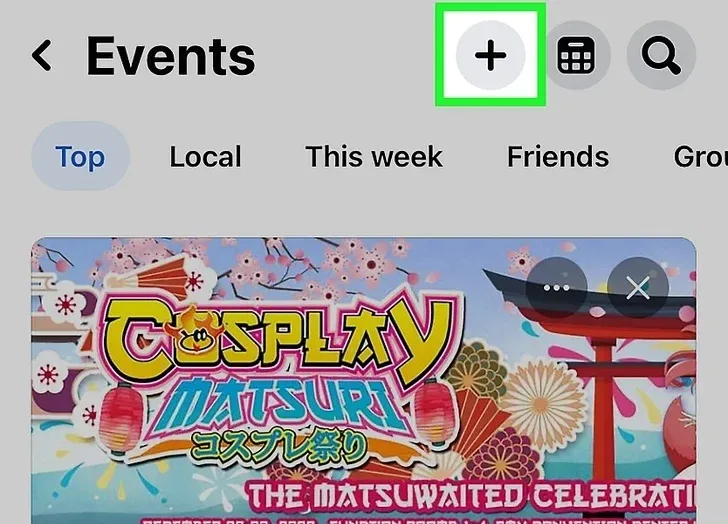
- Tap the “Create” button in the top right corner of the screen. On Android, this might look like a blacked-out plus sign.
- Fill in the event details, including the event name, date, time, location, and event description.
- Choose what event settings you need.
- Tap “Create” to finish your Facebook event.
How to create an event on Facebook on desktop
It’s also super easy if you want to create an event on Facebook on your PC. Just follow these steps to create an event with all the needed details:
- Log in to your Facebook account on your PC.
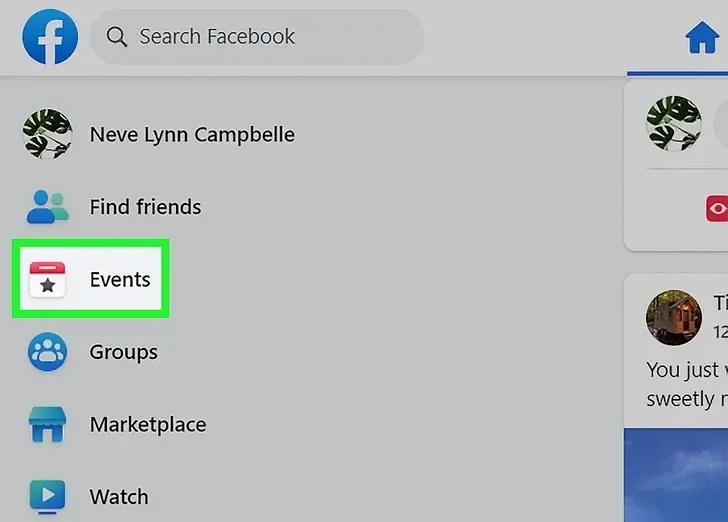
- Click on the “Events” tab on the left side of the screen.
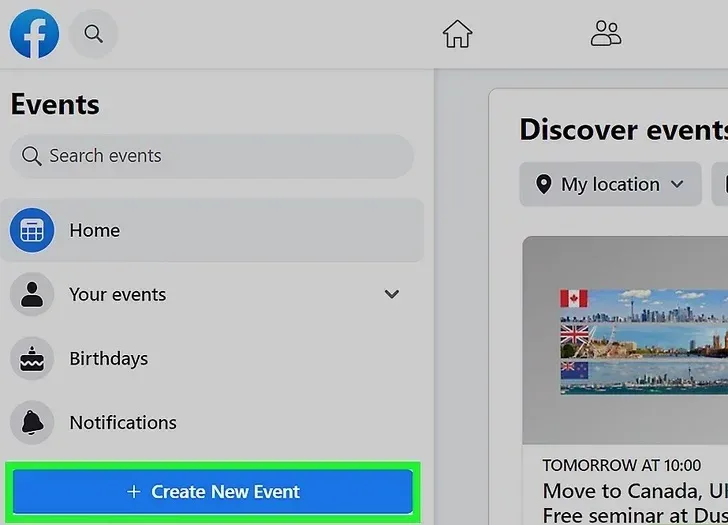
- Click on the “Create Event” button also at the left side of your Facebook page.
- Enter all the necessary information about your event, which includes the event name, date, time, location, and event description.
- Choose whether you want to create a public or private event and the rest of your event settings.
- Click “Create” at the bottom of the screen to finish.
How to create a public event on Facebook
To create a public event, simply adjust the event settings to make it accessible to everyone. If you’re selling products or running a business, hosting public events is a great way to expand your audience and grow your following.
How to create a private event on Facebook
Facebook also allows you to create private events, ideal for occasions like surprise parties or birthdays where you only want to invite close friends and family.
However, private events for businesses must be organized internally, as Facebook does not permit private events to be created from a Business Page.
How to promote your Facebook event
Now that your Facebook event is live, it’s time to promote it and boost its visibility. Here are some effective tips to get started:
- Invite your network: Use the “Invite” button on the event page to bring in your Facebook friends. Share the event on your timeline or within groups to expand its reach.
- Boost your event: Consider using Facebook’s paid “boost” feature to target a specific audience. Customize the audience, budget, and duration for maximum impact.
- Leverage other platforms: Share your event on social media channels like Twitter, Instagram, or LinkedIn to connect with a broader audience.
- Collaborate for reach: Partner with individuals or organizations who can promote your event to their followers or communities, enhancing visibility and engagement.
Conclusion
In conclusion, creating an event on Facebook is a straightforward way to connect with your audience, share important details, and foster engagement. By following the outlined steps for mobile or desktop, you can effectively plan and promote gatherings, whether personal or professional. Take advantage of Facebook’s tools to manage RSVPs, send updates, and keep attendees informed. With proper setup and promotion, your event can become a successful and memorable experience for everyone involved.


