When you scroll through your Instagram feed, you’ll probably discover that all your favorite accounts have something in common: fascinating photos that catch your attention. So it’s no surprise that high-quality images are a very powerful piece of any Instagram strategy.
Luckily, you mustn’t be a professional photographer to produce stunning photos for Instagram.
All you need is your smartphone camera, a few editing tools, and a bit of practice.
In this post, you’ll be taught methods to edit Instagram photos to grow your viewers and establish a compelling brand aesthetic.
How to edit Instagram photos in 6 simple steps
1. Start with a quality shot
The ultimate shortcut to crafting an excellent Instagram post is, to begin to edit Instagram photos with a quality photo. Try shooting in natural light, and take a bunch of pictures. That method you have choices.
The HDR mode on your smartphone camera is the thing you need when shooting in dim light, close up or outside portraits.
When you’re strapped for time or inspiration, try customizing stock photography. There’s a whole wide world of free, quality stock photography out there to select from. Going this route could be a smart choice for brands who don’t have physical products ready for launch, or smaller companies who don’t have a budget for professional images.
Pro tip: Begin with an image that’s sized for Instagram. In case your image is too small, it could appear blurry or grainy, no matter how much you edit it. Photos that are 1080 pixels wide will look greatest. Instagram will crop your image as a square by default, however, you can adjust it to its full width or height when you prefer.
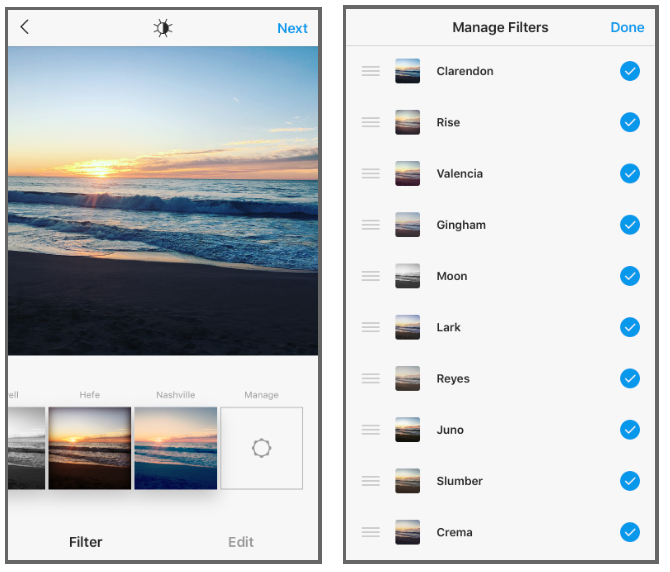
2. Choose your filter
Using filters to edit Instagram photos. Filters are like ice cream flavors: tastes vary by person, however, some are more popular than others. And when it comes to figuring out your own preferences, the tried-and-true way is to sample broadly.
According to a U.S.-wide study, the most effective Instagram filter is Clarendon. It provides to brighten and highlighting effects that flatter most photos, contributing to its universal appeal. (The fact that it’s the first one on the list may also have something to do with it!)
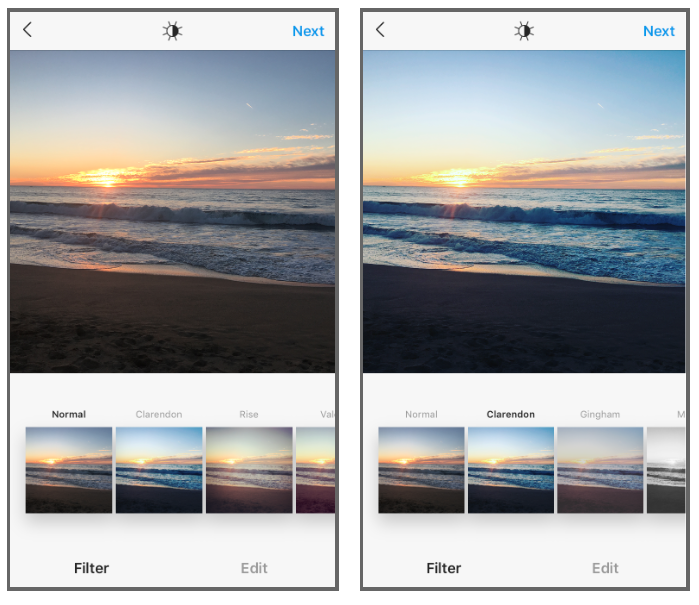
Runner-up favorites include Gingham, Juno, and Lark.
Some filters add a vintage filter with vignette or fading effects. Others improve brightness or warmth.
Discover the range of choices to discover a filter that complements your brand aesthetic. Or, maintain it simple and go with the one which catches your eye.
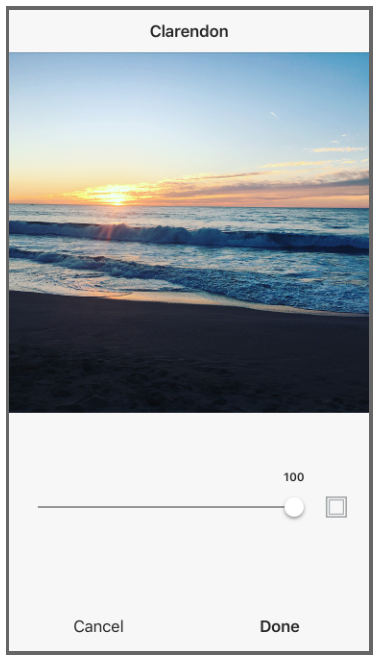
Pro tip: You may adjust the intensity of any filter by tapping it a second time and adjusting the sliding scale from 0 (no effect) to 100 (full effect).
When you’ve found your favorite filter, apply it to all of your posts to establish a distinctive search for your feed (like celebrities do). This may help construct and reinforce your brand identity. 60 percent of top brands use the same filter on each post for that reason.
3. Adjust the Lux setting
When you’ve utilized your filter, you can adjust the Lux setting by clicking on the sun icon above your image.
Lux adjusts the contrast and exposure of images, adding dimension and making the options of the photo pop. It’s kind of like contour, however for your photos instead of your face. This may be particularly helpful for enhancing underexposed images.

Adjust the Lux by sliding the scale. Moving it to the right will increase contrast and intensity, and moving to the left decreases them.
Above, you may see the impact of Lux on this beach image brighter colors and sharper contrast.
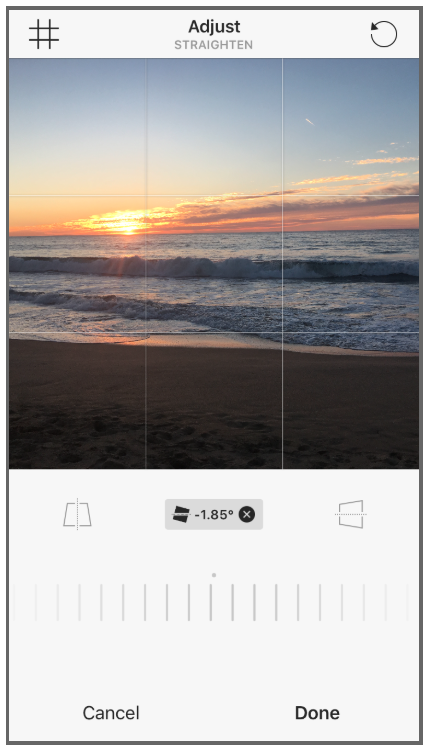
4. Adjust your other settings
Next, click on the edit button on the bottom-right to adjust other settings when you edit Instagram photos.
I always check the alignment, and when you’re the type of person who is driven crazy by a crooked painting on a wall, you should too.
The edit options will let you create a kind of custom filter. You may:
- Add a vignette effect for a Polaroid-like image
- Adjust the structure set to grow contrast and sharpness (two effects that evoke film images)
- Scale up saturation for vivid colors, or tone it down to create a faded effect
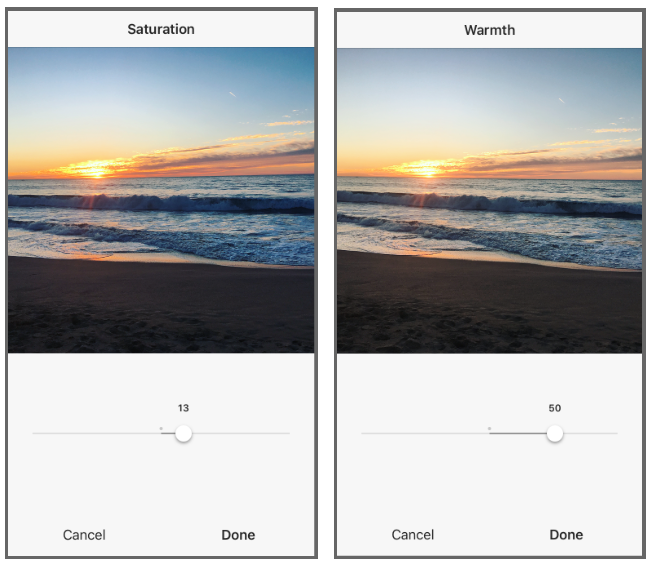
Before you get carried away, keep in mind Coco Chanel’s timeless advice to take one accessory off before leaving the home.
You don’t need to pile on every impact. You just need to improve what’s already eye-catching about your images.
5. Tweak individual photos in a multi-image post
When you’re sharing multiple images in a single post, you may edit each one separately. Tap the Venn diagram icon in the bottom-right corner of the photo to bring up individual editing choices.
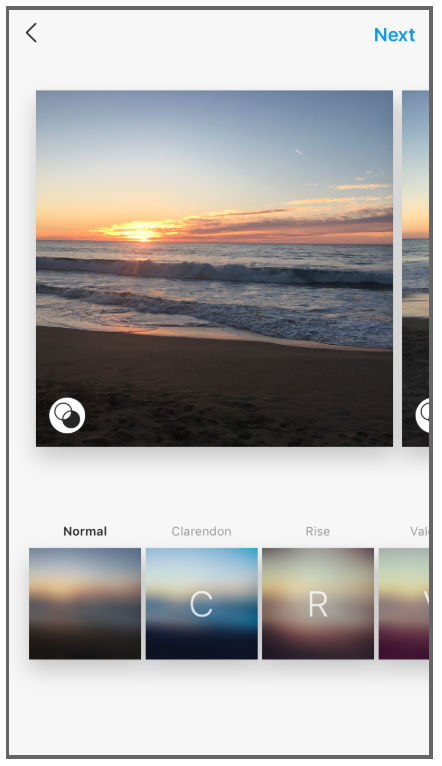
When you don’t do that, Instagram will apply your edits to every image the same method. If your images were taken in different conditions, or function different subjects, editing them individually is worthwhile.
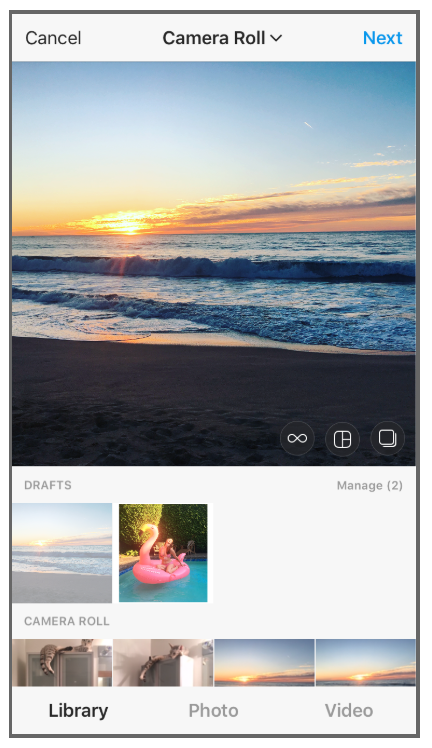
6. Post to Instagram now, or save for later
Not ready to post your image yet? Click on ahead to the next screen the place you’ll write your caption, then click on back to your edited image, and press the back arrow again. Instagram will ask if you wish to save your photo, including all your edits, as a draft.
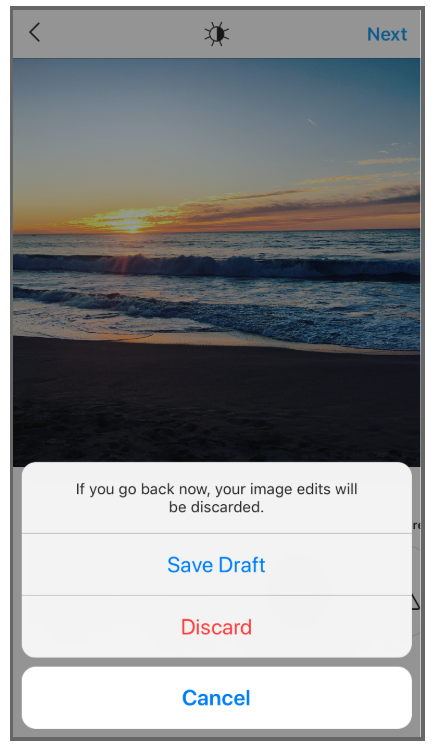
The next time you go to make a post, your draft shall be waiting there for you. This feature makes it simple to pre-edit multiple images and post them as you’re ready.