When it’s time to mix your music, there are a few important things every good producer should understand. You might have heard about many mixing terms like compression, EQ, saturation, reverb, delay, and more. But what exactly do they mean? And how can you use audio mixing techniques for your own audio? Keep reading to learn more.
How to Mix Music: 7 Important Tips
Imagine you have an instrument and want to mix it. What could you do? Where could you start?
In the following steps, I’ll show you an example of audio mixing techniques for producers.
I say “could” because there’s no single recipe for mixing. There are common steps, but they depend on the audio material, like vocals, drums, or guitars.
Still, here are 7 commonly used steps to start mixing, along with some free music production plugin options!
1. Fixing EQ
One of the first steps in mixing is using EQ. In this step, we only reduce frequencies, not boost them.
The goal is to remove unnecessary frequencies.
Remember: Consider how your sound fits with others. Don’t EQ it in isolation. Even if it sounds odd alone, it might work well in the mix.
Ask yourself if your sound needs low-end frequencies, or if there’s already a bass. Think about this throughout. And don’t cut too much, or it might sound unnatural.
Free Plugin Option: TDR Nova EQ
2. Compressing
Compression is a topic that confuses many music makers because they’re not sure when to use it.
But do you need it every time? No!
Compression makes the loud parts of your audio quieter and the quiet parts louder. It evens out the sound.
For example, if you record a friend playing guitar, their playing might vary in volume. Compression smooths out these differences.
You might need compression for recordings with big volume differences. Adjust the settings carefully based on your audio.
Free Plugin Option: TDR Kotelnikov
3. Adding EQ
In this step, we add frequencies that might be missing. Which ones? That’s your call. Trust your ears, your taste, and what sounds good to you.
Pros often boost around 3kHz because it’s where our ears are sensitive. Boosting 300-500Hz can add warmth. Boosting above 7kHz adds airiness.
Experiment, but always check if it improves your sound in context.
4. Saturation
This step is up to you. Not all sounds need saturation. In fact, it might sound bad to some.
Why?
Saturation adds frequencies you might already have. But some say it can make a track sound nice. So, try it out. You’ll know if it works for your sound. Just don’t go overboard. Too much can ruin it.
Free Plugin Option: Softtube Saturation Knob
5. Stereo Sound
You’ve probably heard it’s important to place sounds in the stereo image, and it is.
When you separate them, they have more room and your listener can locate them better in your track.
You can do this by panning your audio left or right or making it more stereo.
Free Plugin Option: Alex Hilton A1 Stereo Control plugin
6. Reverb & Delay
Reverb & Delay are special effects. They’re not always necessary, especially the delay.
Be careful: using too much delay can mix with other delays and sound messy. The same goes for reverb – too strong or long reverb can make your song unclear.
Use reverb to give your track and sounds a roomy feeling, so it doesn’t sound dry. Our ears are used to hearing sounds in a room, so reverb can sound really good if used correctly.
A good idea is to use one or more reverb “send busses” in your project, like one with a big reverb and one with a small reverb. If you’re not sure what a send bus is, find out here!
7. Volume
Finally, double-check your sound’s volume. With all the effects added, it might be much louder than before. Make sure it fits well with everything else in your mix.
More Basic Audio Mixing Tips
Now that you’ve learned some key audio mixing techniques, here are a few more important things to remember. These are general audio mixing techniques that can save you time and trouble during mixing, recommended by experienced producers and artists.
Room acoustics are important
Many producers start mixing their first tracks in their bedrooms. While there’s nothing wrong with this, you should consider some things if you’re going to do the same.
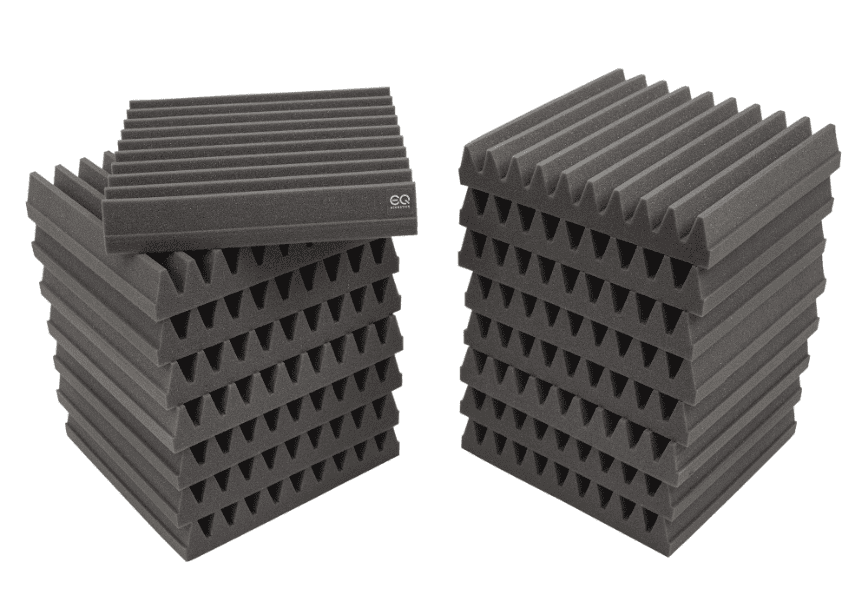
Bedrooms often have flat surfaces like furniture, wooden floors, glass tables, and windows. These surfaces reflect sound from your monitors, which can lead to incorrect mixing decisions.
To avoid this, cover these surfaces. Even an old blanket can help. If you have more money to spend, consider getting diffuser elements designed to absorb sound.

Treating your room acoustically can greatly improve your mixing decisions. Don’t underestimate this step—I neglected it for three years and regretted it.
Organize your audio mixing sessions
You might wonder, “Why bother? I only have 10 tracks in my project.”
True, but as your projects grow, it’s easy to lose track. Here’s what I suggest:
1. Create a mixing template for your DAW
It doesn’t have to be perfect at first. You can improve it over time. This saves time in coloring tracks, grouping in your mixer, and more.
2. Sort your samples
Make a “favorites” folder and organize them by genre. Give them better file names, and so on.
3. Create a “Mixing & Mastering Step List”
It’s much easier to develop a workflow this way. Decide which steps to do first, and which ones can wait.
Take regular breaks
It may seem obvious, but not all producers do it.
Breaks are crucial for refreshing your creativity and giving your ears a rest.
Our ears get used to mistakes. For instance, if you spend hours mixing a bass-heavy track and boost the bass too much, you might not notice it right away. That’s because your ears adapt to the sound over time.
So, remember to take a break every 60 minutes.
Use reference tracks
They’re essential for making better mixing decisions.
A reference track is a song by another artist that matches your track in genre, energy, and style. You can compare it to your own to understand what makes it sound good, and analyze its frequency balance, arrangement, and loudness. This improves the quality of your productions over time.
Learning to analyze these aspects requires practice, but you can find tutorials online. “In the Mix” has a good video to start with on YouTube.
Test your mix on various devices
To ensure its compatibility with different acoustical and technical settings.
Not all speakers sound the same as your studio monitors. Listening on headphones or smaller speakers like iPhones provides a different experience.
Some devices play in mono instead of stereo. Does your mix still sound good in mono? Testing it on a mono speaker or using mono emulation in your DAW helps identify any weaknesses.
This allows you to fine-tune your mix before finalizing it.
While these are common mixing steps, remember that each situation may require unique adjustments based on the sound.


