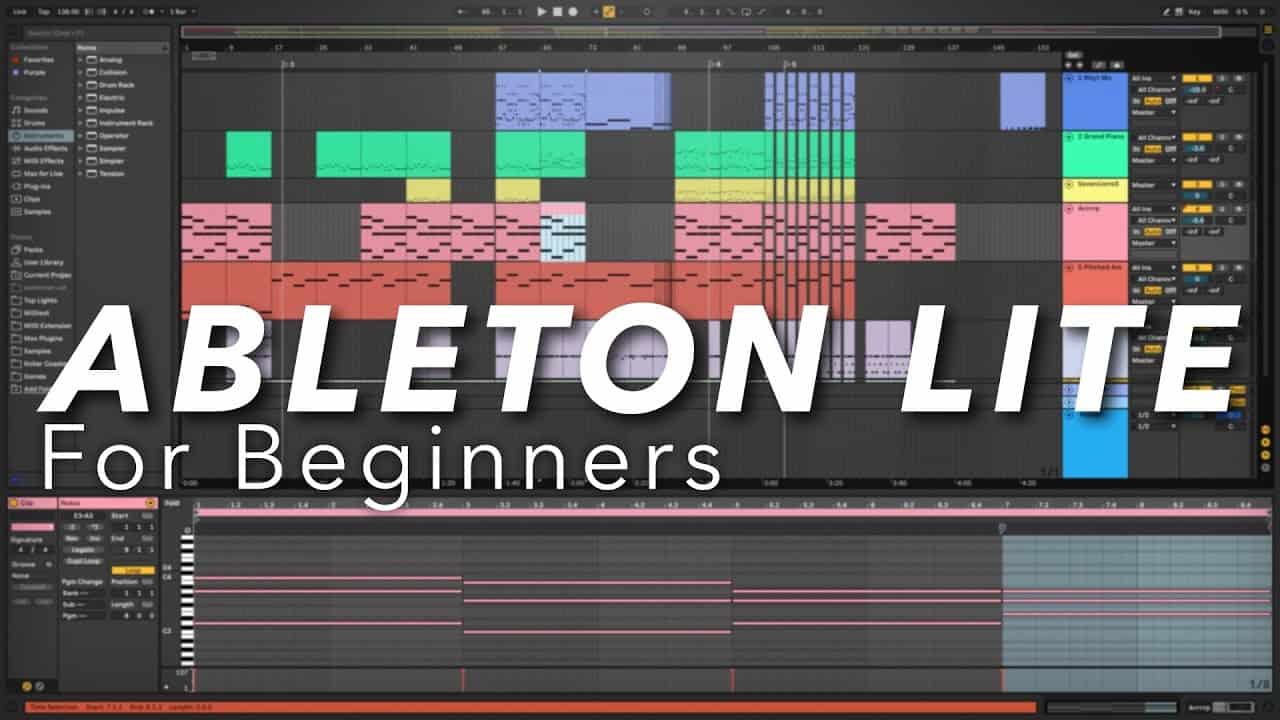
Everything about Ableton Live Lite!

Ableton Live Lite is a great and inexpensive option for beginners to begin making music. It includes all the basic tools necessary to learn how DAWs function and their capabilities. Its affordable price does mean it has some restrictions, but there are methods to either navigate these or turn them to your creative benefit. So, let’s discover what distinguishes Live Lite from the complete editions and, more crucially, how you can extract as much value as possible from it.

Unlock Your Spotify Success in One Sec!

Increase your track plays and witness your music soar in recognition, visibility, and listener engagement.
Let us boost your Spotify strategy by delivering authentic plays from genuine listeners.

Buildmyplays

How much does Ableton Live Lite cost?

Ableton Live Lite

This is included for free with various software and hardware items, such as MIDI controllers, plugins, and audio interfaces.

It’s also part of every annual subscription to LANDR Studio.

When you compare it to the $99 Live Intro (Ableton’s basic commercial version of Live), receiving Live Lite as part of a bundle presents a great deal.

Ableton Live Lite vs. Intro

The primary difference between Ableton Live Lite and Intro is that Lite restricts you to eight tracks total (which can be a mix of audio and MIDI tracks).

Intro, on the other hand, raises this cap to 16.

Interestingly, Live Intro offers fewer audio-recording inputs and outputs than Live Lite. It’s capped at eight inputs and eight outputs, whereas Lite provides 16 of each.

Lite includes fewer built-in instruments and effects than Intro, but this can be offset by the numerous free plugins available today.

Both editions include Ableton’s essential collection of samples, loops, and presets for the internal devices.

For a more detailed comparison of this feature and Intro, you can review Lite’s complete feature set and a comparison chart for the paid versions of Live.

What’s new in Live 12 Lite?

The Lite version of Live 12 is now available, which means that Live Lite users will get even more value for their money.

Live Lite has adopted many new features from the complete version of Live 12, along with features that were previously exclusive to the paid versions of Live 11.

These include:

  • Comping from Live 11
  • Advanced tuning from Live 12
  • Keys & scales from Live 12
  • Sound similarity search from Live 12
  • Enhanced file browsing and tagging from Live 12
  • Improved MIDI tools for the new key & scale system
  • Screen reader support from Live 12
  • Live Lite now also features the Beat Tools Ableton Live Pack.

How to maximize your use of Ableton Live Lite

Modern producers can access a multitude of tools, and Ableton’s approach focuses on adaptability. Combining these elements, there are numerous ways to enhance the value of Live Lite. Here are some helpful tips.

1. Use free plugins

Although the range of built-in instruments and effects in Live Lite is small, those included are high-quality and extremely useful for any project.

They are especially valuable for mastering the basics, including synthesis, EQ, dynamics, and more.

We are fans of the analog-style synth Drift, the sampling instrument Simpler, the versatile Saturator, and the classic Beat Repeat.

If you feel the need to expand beyond the provided tools, the abundance of free plugins available today is astonishing.

Whether you’re looking for a powerful software synth, drum machine, EQ, or compressor for free, there’s likely a leading option in nearly every category imaginable.

2. Gather more loops and samples

Since Live Lite includes Ableton’s basic library, you start with a decent selection of content.

However, if this isn’t enough, there’s no need to worry.

Now is an excellent time to acquire loops and samples that simplify the process of improving your skills and creating great music.

Freesound is likely the most popular site for accessing free loops and samples.

For higher quality and better organization, consider a sample and loops marketplace like LANDR Samples.

It’s also beneficial to create samples from your own work.

Develop a complete musical idea or a multi-layered percussion track, export it as a single stereo loop, and then reintroduce it into Ableton’s Simpler device.

You can then slice, alter, and twist it as you would with a loop from another source.

If you compile a collection of these and set them aside for a while, you might find some pleasant surprises when you revisit them later.

3. Explore free racks

A standout feature of Ableton Live’s functionality is the “racks” system.

Racks consist of groups of drum sounds, instruments, audio effects, or MIDI effects.

Within a rack, you can amalgamate multiple devices and manipulate them with macros, which let you adjust various parameters simultaneously using single controls.

In essence, racks serve as a foundational framework for crafting custom instruments, effects, and tools using Ableton’s plugins as core components.

Many creators design distinctive racks using Ableton devices and offer them either for sale or for free.

Although many such devices are not part of Live Lite, the developer ELPHNT provides some excellent free racks that work with Lite.

4. Use racks to bypass limitations

Here’s more positive news about racks—they can include any number of Ableton or third-party devices you choose.

Additionally, the individual outputs from each device in a rack show up as mixer channels in the session view, just like standard tracks.

You can also apply effects to each instrument channel within an Instrument Rack.

This means that if you use an Instrument Rack on one of your tracks and fill it with twenty instruments, it still only counts as one of your available eight tracks.

This is a very effective method for circumventing the track limitation in Live Lite.

It’s worth mentioning that the individual outputs from racks do not initially include effects send levels.

You can configure effect sends within Drum Racks, which lets you direct your Drum Rack layers to a common reverb or delay.

However, effect sends are not an option within Instrument Racks.

Thus, if you’re utilizing an Instrument Rack, you’ll have to add all effects directly on the devices within the rack, which may demand a lot from your CPU.

5. Mix, bounce, and repeat

One technique to bypass the eight-track restriction in Live Lite is to set up distinct projects for groups of tracks, plus a master project for your final mixdown.

For instance, if you start a project for a drum bus, you can stack drum elements across up to eight tracks, mix them together, and export the combination as a stereo drum kit stem.

When you bring this into your main project for the final song mixdown, it will occupy only one track.

However, you’ll need to return to your specific drum stem project if you wish to adjust the individual drum layers.

To simplify, you can group the tracks and drag the group to your User Library, saving that track group as a separate Ableton Live project.

Whenever you need to tweak the mixdown of that group, just open the saved project file, make your edits, and bounce it to a new stem.

Limitation and inspiration

Ableton’s design philosophy, combined with the myriad free plugins available today, packs substantial value into the “light” package of Live Lite.

Although an eight-track limit is challenging, it’s precisely this type of challenge that fosters creativity and inspiration.

This limitation encourages you to commit to your decisions, rely on your songwriting skills, and be deliberate with your mixing and effects usage.

We strongly recommend Live Lite to beginners in music production, particularly those eager to build fundamental skills that will enhance their music-making.

Share this post