It may seem more difficult to learn how to create a YouTube channel than it’s to get began with some of the other social networks. However, it does not have to be.
Plus, YouTube is the most prevalent social platform among U.S. adults. Almost three-quarters of Americans utilize the social video website, compared to the 69% who use Fb.
Over half of these users go to YouTube every single day.
Actually, YouTube is the second-most visited site in the world behind Google—YouTube’s parent firm.
With such a large reach, YouTube is a chance your business can not afford to ignore.
How to create a YouTube Channel in 10 simple steps
Step 1: Create a Google account
When you have ever signed into Gmail, Google Maps, Google Play, or any other Google service, you already have a Google account. In this case, you could skip ahead to the next step.
Do not worry about whether the name and email address related to your existing Google account is appropriate for your brand. Your existing Google account details will not be publicly linked with your YouTube account. The account is simply the key to get you in the door.
When you don’t yet have a Google account, right here’s how to get one.
1. Go to the Google account creation page. You could select to create a new Gmail address for your account or use an existing email.
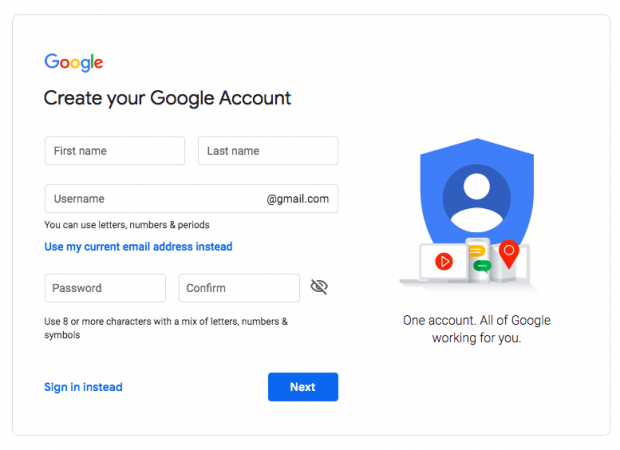
2. Enter your details and choose Next.
Step 2: Create a YouTube brand account
Your Google account automatically offers you a personal YouTube account. But to create a YouTube account for your firm, you’ll want to set up a brand account.
With a personal YouTube account, you’ll be the only person who could handle your channel. Your channel will also have the same name as your Google account, which means you could not use your brand name. That isn’t ideal.
If you create a YouTube brand account, you could customize your channel for your brand and provides access to group members. Right here’s how to do it.
1. Log into YouTube utilizing your Google account details.
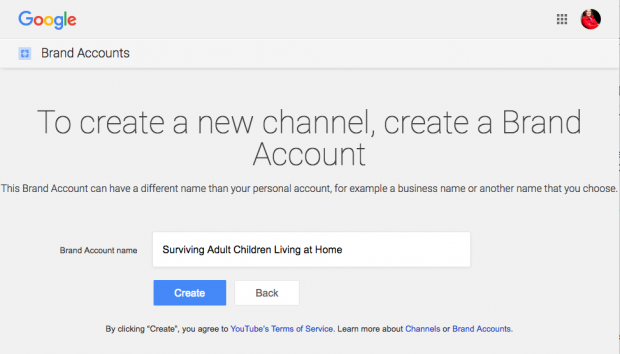
2. Visit your YouTube channels page. When you have never created a YouTube channel before, you will only see your personal account. If you already have an existing brand channel, you will see it as well. To make a new brand channel, click on Create a new channel.

3. Enter your brand name and click on Create.
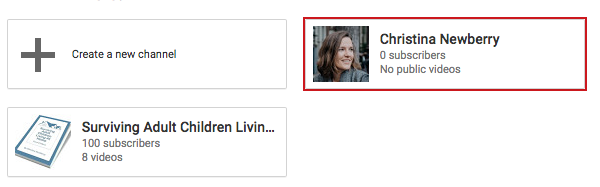
Now when you go back to your channels page, you will see both your personal account and your brand account.
Your brand account provides you access to YouTube analytics, which offers you good insights into who is watching your videos and what sort of content they reply to greatest. Learn more in our submit on how to use YouTube for marketing.
Step 3: Add your brand identity
As with any social channel, once you are beginning a YouTube channel, it’s vital to present a powerful brand identity.
Add channel artwork
1. Log into YouTube on a pc. You could only edit your channel photos from a pc, not a mobile device.
2. Click on your profile icon on the highest right of the screen and select Your channel.
3. Hover over the profile picture to bring up the Edit channel icon function. Add a picture, and adjust the cropping. Your company logo is a great choice for your channel icon. The recommended picture size is 800 x 800 pixels. It’ll render at 98 x 98 pixels on YouTube.
4. Hover over the banner picture to bring up the Edit channel art function. The recommended picture size is 2,560 x 1,440 pixels. You could preview how your cover art will look on different devices and adjust the cropping accordingly.
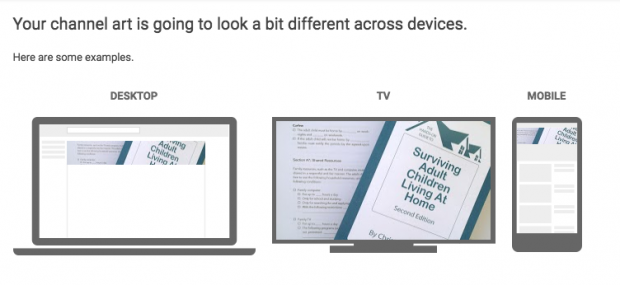
To ensure you design a cover picture that works on all screens, use the YouTube template.
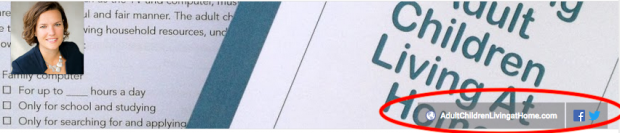
Add links to your YouTube channel banner
1. Log into YouTube on a pc, go to your channel and click on Customize channel.
2. Choose the About tab, then scroll down to Links.
3. Click on the pencil icon to include links that will appear over your channel banner art.
4. Enter your site info. You could select how many links to include. When you add links to social channels, they’ll be indicated with social media icons.
Step 4: Add your first video
Congratulations! You have now created a YouTube channel. It’s time to begin uploading some quality content.
1. Sign into your YouTube account.
2. Select the Create a Video or Post button at the top of your screen. It looks like a bit video camera.

3. Click on Upload video.
4. Choose the video you’d wish to add from your pc.
5. While your video uploads, add a title up to 100 characters and a description up to 5,000 characters. Be sure that to include relevant keywords in your video description, but keep away from keyword-stuffing.
6. Click on Publish.
Step 5: Create a YouTube channel structure
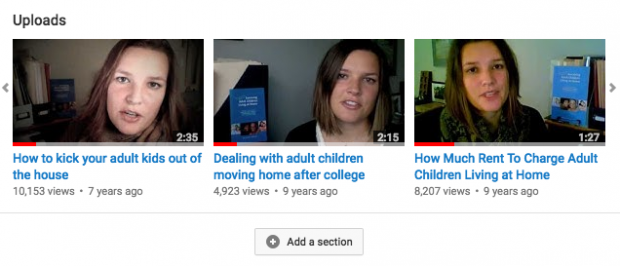
When you have got a few videos posted, it’s vital to begin to organize your channel. You do not essentially want all of your videos lumped together, or for the latest videos to always show up first. Think about how you want people to navigate via your YouTube channel, and create your YouTube account structure accordingly.
Dividing our videos into those categories makes the channel much simpler to navigate and the content much simpler to use.
You could always change the structure of your channel later, however, it’s a good suggestion to construct the essential framework while you’re first beginning a YouTube channel. You possibly can have as much as 10 sections per channel.
Step one is to prepare your content material into playlists. Every playlist can then grow to be its personal part.
1. Signal into YouTube, go to your channel, and click on Customise channel.
2. Click on the Playlists tab.
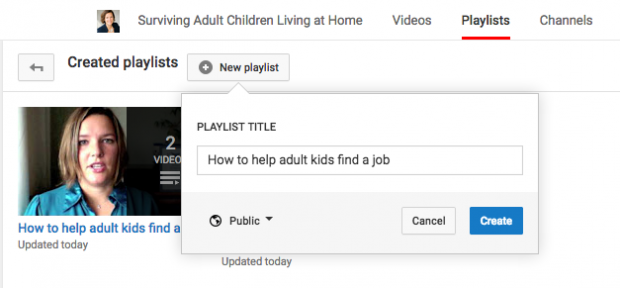
3. Click on New playlist.
4. Enter a title for your playlist. It may be up to 150 characters long. Click on create.
5. You will be taken to a screen for your new playlist. Click on Edit.
6. Click on Add videos.
7. Click on Your YouTube videos.
8. Choose the videos you want to include in your playlist and click on Add videos.
Do not just make random playlists. Each playlist needs to have a clear focus and progress logically from one video to the next to maintain people watching. Here are how to get more subscribers on YouTube.
Next, you could use your playlists to create YouTube channel sections:
1. Sign in to YouTube on a pc, go to your channel and click on Customize channel.
2. Scroll down to the bottom of the screen and click on Add a section.
3. From the Content drop-down menu, select Single Playlist.
4. Below “Choose a Playlist,” choose My Playlists.
5. From the “Find Playlist” dropdown menu, select the playlist you want to make into its own section.
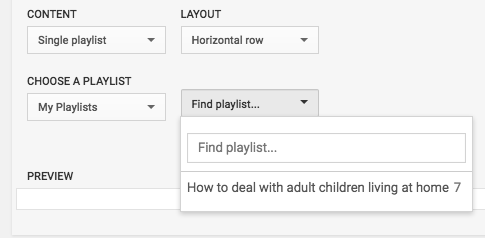
6. Click on Done.