Getting verified on Facebook is an effective way to establish brand credibility online. Both big brands and local companies could be verified on the platform. The blue or gray verified badge lets your audience know you are authentic and helps your page show up higher in search outcomes so potential customers could simply find your business.
In this article, you will learn:
- Which Facebook verification badge is right for your enterprise
- Greatest practices that will make sure your enterprise gets verified
- How to apply for a verified badge
Which Facebook verification badge is right for you?
There are two kinds of Facebook verification badges, so you want to ensure you apply for the right one.
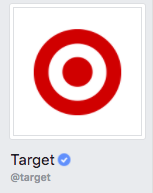
Blue verification badge
If you’re a public figure, media firm, or a big brand, you could apply for the blue verification badge.

Grey verification badge
In case you are a smaller or local enterprise or organization, you could apply for the gray verification badge. For companies with multiple brick and mortar shops and a Facebook Page for each, you could add the gray verification badge to Pages for particular locations.


4 ideas to help you get verified on Facebook
The Facebook verification process has some requirements that should be fulfilled before you could receive that coveted blue or gray checkmark.
1. Keep it professional
To ensure Facebook immediately recognizes your Page as related to your enterprise, your account needs to be an official representation of your brand. Make sure you’re only sharing on-brand content to your Page, and remove anything that negatively impacts your credibility like:
- Off-brand logos, personal posts, or low-quality photos
- Posts containing incorrect grammar, capitalizations, spelling or other unprofessional looking copy
- Anything that does not fit your brand voice
Check out your business’ page via the eyes of a potential buyer and edit or remove something that looks less-than-professional.
2. Make sure your company information is up to date
In case your info is not kept up to date, it will not matter how professional your Facebook Page looks. Facebook will review and validate your info before they grant you the verification badge so you should ensure it’s accurate.
You’ll need to make sure the following is up to date:
- Your website
- Email address
- Description
- Bio
3. Link to official properties
The suitable links are vital if you want to get verified on Facebook. In order for Facebook to approve your verification request, you have to have an up to date link to your business’ official site. You have to also link back to your Facebook Page from your site
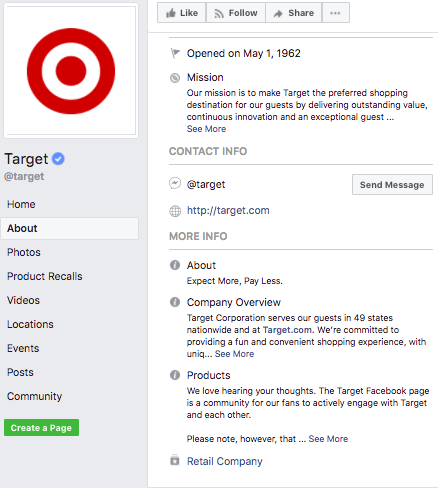
4. Provide details
The more details you could provide about your business, the better. Ensure you have filled out all applicable details in your business Page’s About section. These details embody:
- Address or addresses (when you have multiple locations)
- Phone numbers
- Your mission statement
- Your other social channel handles
- A company overview
How to apply for Facebook verification
When you have filled out as much information about your enterprise as possible (and check that it’s up to date), you are ready to apply for verification.
It’s an easy six-step process.:
- Click on Settings at the top of your Facebook Page
- From the General menu, click the Page Verification selection

3. Click on Verify this Page, then Get Began
4. You’ll have the option for an instant or more detailed verification process. The instant verification choice provides you with the option to have Facebook call the phone number you’ve listed on your business Page. You will be given a verification code, which you will enter into the box Facebook gives you. Then Facebook will award you with the suitable verified checkmark.

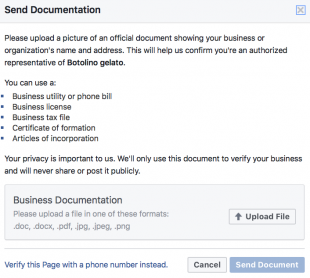
5. When you select the more detailed option, click on Verify this Page with documents instead. When prompted, add an image of the official document that clearly shows your business’s name and address. For instance, an internet bill will work here.
6. Once Facebook receives your validation (verification code or enterprise doc) they’ll review and either confirm or deny your request. This process often takes anywhere from 48 hours to 45 days.
Anything that gives your brand added credibility is worth pursuing. Follow the steps above to get verified on Facebook—and see your business develop.