You have known that Augmented reality (AR) filters are computer-generated effects layered over the real-life image your camera displays. In Instagram Stories, an Instagram AR filter alters the image your front or back camera displays. Additionally, making unique filters can be right for your brand. So, how to make them?
This step-by-step guide shows you how to begin creating custom filters for Instagram Stories.
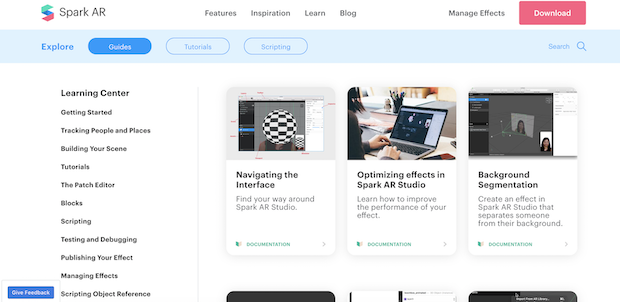
Step 1: Download Spark AR Studio
Spark AR Studio is the easy-to-use platform you should make custom filters and effects. It’s available for Mac and Windows at present.
Step 2: Decide on your effect
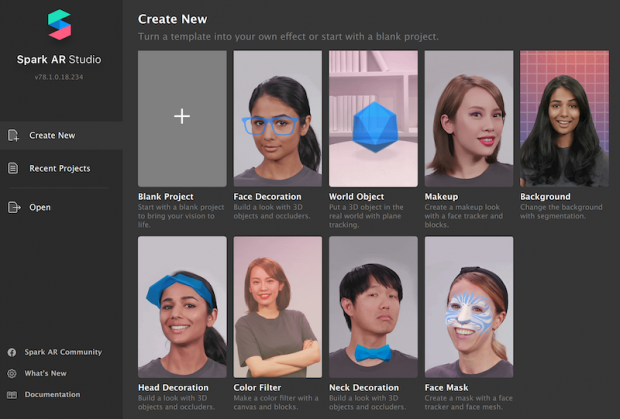
Then, walk through the tutorials in the Learning Center to get a feel for the program’s interface. When you are ready to get began, determine whether you will make a filter from scratch or select from one of the eight templates.
We are going to walk through the World Object template. This involves putting a 3D object into the real world, similar to Coca-Cola Poland did with its polar bear.
Step 3: Getting began
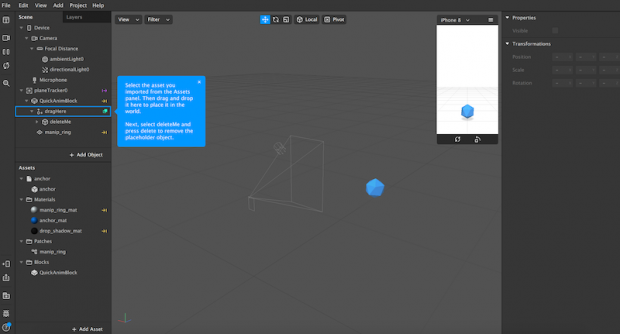
You will see a placeholder object in the central panel whenever you open the template. That central panel is known as the Viewport. That is where you will build your filter.
The iPhone 8 in the corner is the Simulator. That is where you will preview your work. Utilizing the dropdown, you could change the Simulator from an iPhone 8 to another device.
To the left is the Scene panel. You will use the options here to edit your Instagram Stories AR filters.
Step 4: Add a 3D asset
Select a 3D asset for your filter from the AR Library or import your own. For this guide, we’re importing a free asset from the AR Library.
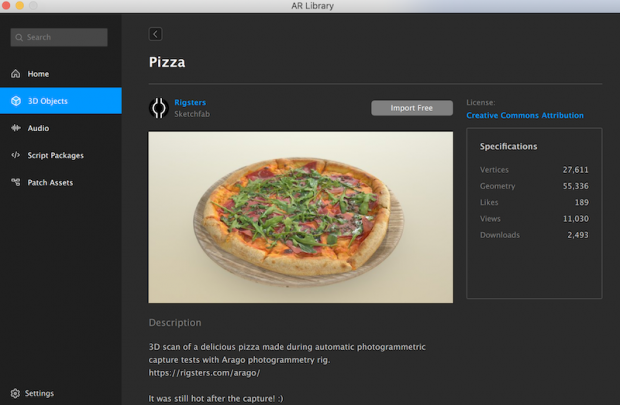
The AR Library also permits you to select from free audio files, animations and more.
Step 5: Edit the behavior of the uploaded graphic
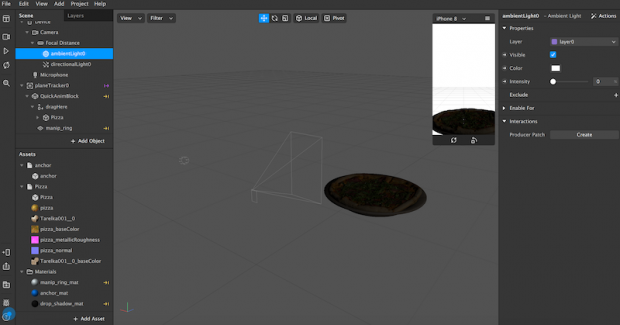
Now, you will see your uploaded asset—in our case, a rotating pizza—in the Viewport. Utilizing the Scene panel, edit how it looks, moves and interacts with the real-world. The edits will lead to your custom AR filter.
For instance, you could change the color and intensity of ambient light. The below photos show the 3D asset without ambient lighting (top) and with ambient lighting (below).
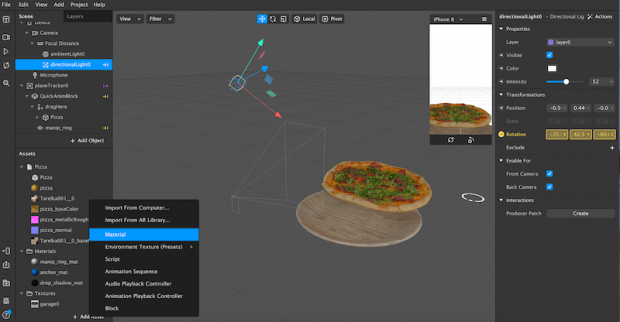
As you discover the Scene panel on the left, you will see that you could also:
- Change the directional light to give a 3D object more depth.
- Select whether the effect is available for the front camera, the back camera, or both.
- Alter the animation of the uploaded 3D object.
- Add more elements to your effects, like additional animations, textures, and materials.
Step 6: Test your effect
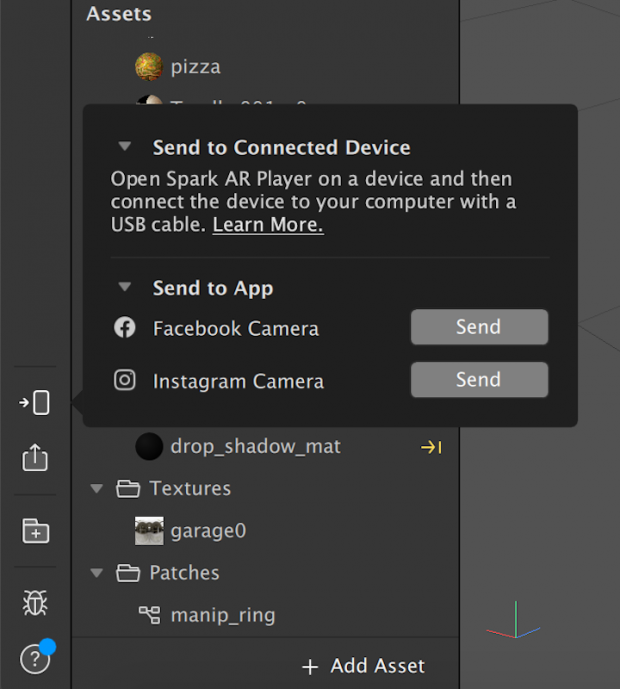
You could send your test file to Instagram or Facebook to see the way it works in Instagram Stories or Fb Stories. Or you could download the Spark AR Player app.
Step 7: Publish your effect
Now, press the “upload” button at the bottom left corner. You will find it right below the “test on device” button.
Remember that your new effect will not be published immediately. First, your creation will be reviewed to ensure it meets Spark AR’s policies and guidelines. This review process may only take a few days, or it can take up to one week.
Spark AR also has more details in its Learning Center on submitting newly created effects for approval.
Step 8: Keep learning
As you familiarize yourself with this platform, you will rapidly learn how to work with its other templates—or how to make an AR filter on a blank canvas.
Need more guidance? Curious about face filters, lighting filters or other AR effects? Spark AR has a lot of helpful guides in its Learning Center:
- Navigate Spark AR’s tools and create your unique AR filter.
- Understand face tracking and create an effect that responds to movement.
- Make your filter responsive to someone’s touch.
- Add audio.
Now, it is your turn. When you think making your own AR filter for Instagram Stories is right for your brand, it’s time to get creative. Good luck!