Mastering compression is a key player in achieving professional sound quality. As the primary tool in mastering, it finely tunes the dynamics of an entire mix. While it can seamlessly blend musical elements and boost liveliness, mastering this technique is known to be challenging.
This guide breaks down the basics of mastering compression, providing practical tips to help you navigate this crucial aspect of audio mastering. Join us in exploring mastering compression and enhancing the impact of your musical creations.
What is mastering compression?
Mastering compression is like a special tool used when finishing up music. It helps control how loud or soft the whole mix sounds.
This tool can be a real machine or just a computer program inside a music program. It’s fancier than the tools used for each sound when you’re putting them together.
Using this tool on the whole mix is a bit tricky because it can easily go wrong. That’s why it comes with special features like wet/dry blend, sidechain filtering, and low ratio settings.
To make sure things go smoothly, music experts might use a few of these tools one after the other. They might also use a trick called multiband compression to have even more control.
This mastering compression, along with something called limiting, is really important for making sure the music sounds just right— not too loud or too quiet. It also makes things sound cooler!
What makes good mastering compression?
When you use mastering compression the right way, it makes the music sound better and more lively.
It’s like making sure the different parts of the music, like the tone and rhythm, come out nicely.
This special tool, the mastering compressor, needs to be set up just right and be good at catching all the details.
For example, things like drums can be really loud and lively in the music, but other loud parts, like singing, are important too.
Using mastering compression is like balancing the lively parts with the clear and smooth parts. It’s not easy!
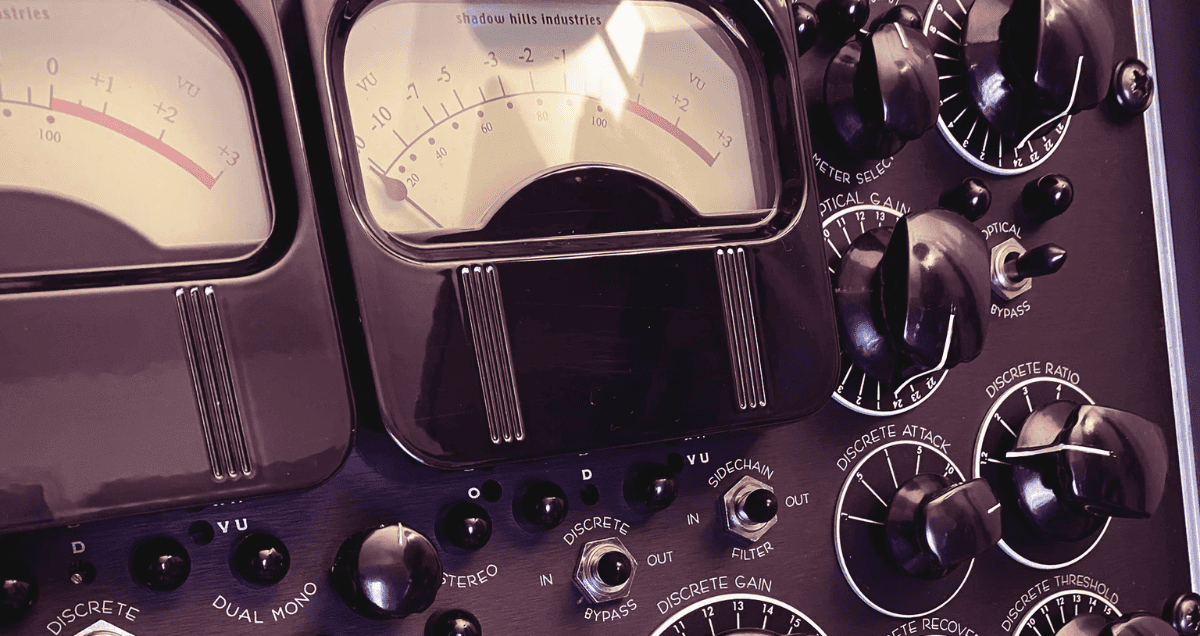
Engineers, the people who work on the music, have their favorite types of compressors for this job.
These can be real machines or computer programs, and some popular ones are:
- Bus-style VCA compressors like the SSL G 4000
- Console-style diode bridge compressors like the Neve 33609/N
- Colorful tube compressors like the Fairchild 670
- Transparent high-tech digital compressors like Weiss DS-1MK3
But here’s the thing: you don’t always need this tool when finishing up a song.
Many music experts use enough compression while they’re putting the music together to control how loud or soft things are. So, you might not have to add more compression when finishing it.
Feel free to use less compression or even skip it if your music doesn’t need it.
Delving into advanced mastering compression requires a delicate touch.
That’s why experts often turn to sophisticated techniques to achieve the desired results.
Multiband compression

When we split the bands, each one gets its own controls for compression. This means we can set each frequency band differently because of the various points where the frequencies cross over.
This method works well for mastering because different parts of the mix might need different compression. To learn more about this, check out our full guide on multiband compression.
Serial compression
Sometimes, using just one compression stage isn’t enough to control the level exactly how it’s needed for mastering.
In these situations, engineers might use several compressors one after the other, in a method called serial compression. This way, each compressor can work on a different part of the signal’s movement.
In mastering, serial compression can aim for an overall goal in terms of dynamic range or reducing gain. For example, the first compressor might handle quick changes in volume, while the next one improves the fullness and long-lasting sound of the mix.
When used like this, mastering compressors might have a lower ratio than regular mix compressors. Engineers might even pick settings lower than 2:1, like 1.5:1.
Still, even with light compression in a row, it can add up to a good amount of gain reduction across multiple stages.
Parallel compression
Finally, in mastering, we often use a trick called parallel signal to keep things clear.
This means we mix the squeezed sound with the original one to get the best of both.
Many mastering compressors have a mix feature. It lets us blend between the squeezed and original sounds. This helps us use stronger settings without changing the original sound too much.
How to adjust mastering compression with LANDR Mastering Plugin
Mastering compression can be a real challenge.
That’s the reason behind creating the LANDR Mastering Plugin—so you can easily manage mastering compression once and for all.
Instead of messing with different volume adjustments for different sounds, LANDR’s compression control does a bunch of things at once.
With just two easy buttons, you can make your music sound punchy and lively or nicely compressed.
Just move the compression button to make the compression stronger. Then, turn the character button left for more oomph or right for a smoother sound.
And, the fancy settings in LANDR’s Mastering Plugin affect the whole process. This means the changes you make work together with the earlier steps.
Master of compression
Learning compression is crucial in mixing and mastering.
Even if it seems tricky at first, you’ll eventually pick up on how it can make your mixes sound better.
By getting through this article, you now have a good starting point for understanding mastering compression.