For those managing personal Instagram accounts, think of Instagram Highlights as modern-day scrapbooks. They offer a clean way to neatly organize all those precious moments shared in your Stories. Creators and influencers, on the other hand, use Highlights to showcase specific themes or topics for their online audience. Imagine breaking down skincare tips or sharing photo shoot ideas, all easily accessible in one place on their profile. Whether you’re using Instagram Highlights to document your life or build your personal brand, they’re a great way to showcase what makes you unique. But if you want to go beyond just curating photos and videos, the next step is choosing special Instagram Highlight covers to create!
In this guide, we’ll cover everything you need to know about Instagram Story Highlight icons and how to create them.
#Step 1: Create a plan for your Instagram highlight covers
Before you start exploring your Stories Archive, it’s important to first plan what you want your Highlight covers to look like. This way, you can organize your personal collections based on your chosen Highlight theme.
For instance, if your content focuses on travel, think about categorizing your Highlights according to specific locations or types of vacations. Having a plan in place beforehand will make the process of curating both the Highlights and their covers much smoother.
Match the aesthetic of your account
Consider your profile’s aesthetic when planning your Highlight covers. If your photos and content boast an airy and minimalistic style, opting for a bright and vibrant Highlight cover might seem out of place.
If you incorporate white borders on your Instagram photos, it’s wise to echo that theme in your highlight covers. Maintaining consistency with your profile’s overall theme is an effective way to convey your personal brand to new followers. Even if you haven’t defined your aesthetic yet, selecting Highlight covers is an excellent starting point for establishing and solidifying it.
Ensure the cover matches the Highlight content
It’s a simple but important reminder: Your cover should match the content of the Highlight.
For basic color scheme covers, clarity in the Highlight name is key. But if you’re using an icon or a designed cover, it must accurately represent the content. For instance, a plane icon for vacation Highlights or a camera icon for photography tips makes more sense than a graphic unrelated to the content.
Using icons
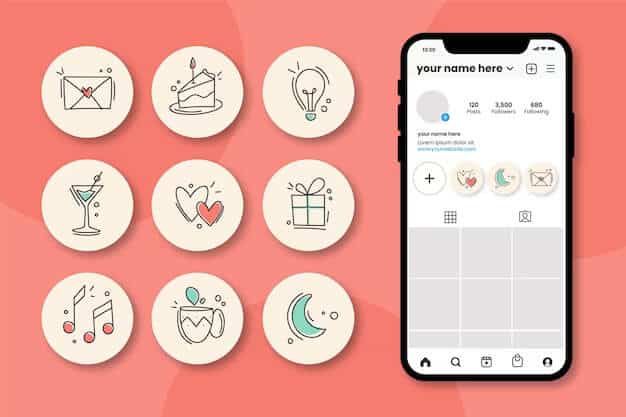
A widely-used approach to create Instagram Highlights is by using graphics or icons that reflect the content. We’ll explore this in detail shortly, but it’s an excellent way to showcase what your profile is all about.
Keep your covers consistent
Make sure your Highlight covers look similar to keep your profile neat. You can do this by using the same colors or background for different graphics.
If you don’t, your profile might look messy, which is okay if it fits your style. But for a clean look, make sure your Highlights match.
Step 2: Create icons for your Instagram Story Highlights
Now that we’ve discussed key tips for planning your Instagram Highlight covers, let’s dive into making them!
Luckily, the process is simpler than it seems. You don’t require advanced design skills or costly computer programs to make your Highlights stand out—just a bit of time and a free third-party tool will do the trick.
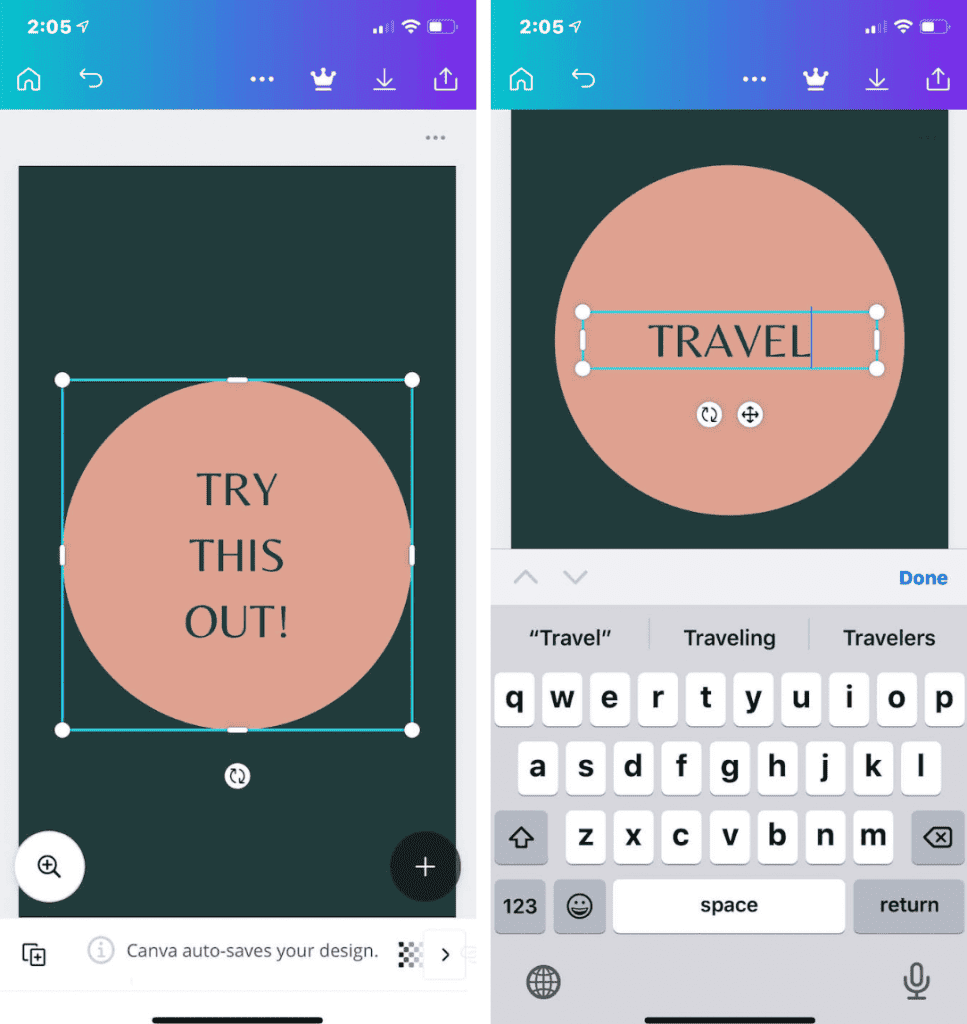
When it comes to crafting Instagram Highlight covers, Canva stands out as the go-to tool. It’s free for desktop use and available as a downloadable app for your iPhone. Canva offers a plethora of templates that you can either use as they are or customize to give them your personal touch.
Here’s a step-by-step guide on how to use Canva:
1. Open the Canva app.
2. Log in if you have an existing account; if not, sign up and create one.
3. Choose “Instagram Story” from the “Create a design” tab.
4. Browse through the designs until you find one that suits your taste. You can also use the search bar and type “Instagram Highlight Cover.”
5. Pick the design you prefer.
6. Tap on the design to modify the color, text, or add other graphics.
7. Once you’ve finished your design, click the share button at the top right of the screen.
8. Choose “Download.” Alternatively, tap the Download icon next to Share.

And that’s it! Your design will be saved to your Camera Roll, and from there, you can upload it to your Highlights. If you want more cover images, simply repeat the steps above.
What size of the Instagram Highlight covers?
While the tools mentioned earlier automatically adjust the size of your Instagram Highlight cover to fit the app’s standards, you can also create covers elsewhere. If you choose this route, ensure they are 1080 x 1920 pixels.
Step 3: Add your own covers to your Instagram Highlights
Now, let’s bring it all together. In this section, we’ll walk through the straightforward process of adding your newly created cover photo to your Instagram Highlights.
Instagram has made it easier than ever to update a Highlight with a cover photo. After creating your Highlight, follow these steps:
1. Open the Instagram app.
2. Tap the profile image button at the bottom-right corner of the page.
3. Choose the Highlight you want to update.
4. Tap the More button at the bottom-right corner.
5. Select “Edit Highlight.”
6. Choose “Edit Cover.”
7. Swipe left and tap the image button.
8. Scroll to find your new cover design and select it.
9. Tap “Done.”
Instagram Highlights are an excellent way to express who you are and showcase your profile’s essence. Adding a cover photo makes it easier for followers to navigate and find the specific content they’re looking for on your page.

