
Your audio interface is the centerpiece of your home studio. That is the home of important tools like your preamps, AD/DA converters, and headphone amplifier.
Every sound that goes into your laptop and comes back to your speakers has to pass via your audio interface.
With such a necessary part of your setup, buying your first interface or upgrading to a new one is a giant decision.
In this article, I will go through everything you should know to choose the best audio interface for your home studio.
How to choose an interface
Modern interfaces are highly effective studio tools. They are full of functions.
Once you select an interface you will have to consider which features are most related to your workflow.
Right here’s important audio interface functions and the way they impact your choice.
Connection kind
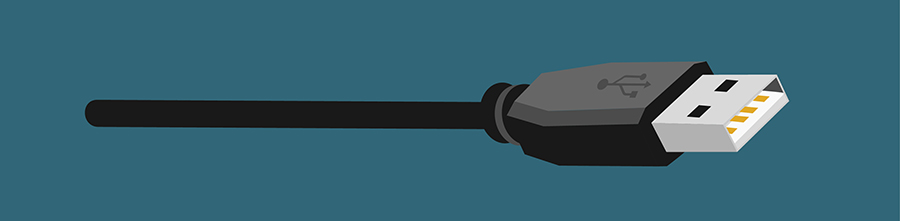
Your audio interface uses a wired connection standard to transmit signals to and from your DAW.
Previously, audio interfaces needed to squeeze the maximum possible bandwidth out of any connection. Manufacturers kept pace with laptop hardware developments like Firewire 400 and 800 to maximise throughput.
However, today’s requirements like USB 3.0 and Thunderbolt are quick enough to accommodate a staggering amount of channels at ultra-low latency.
Even good old fashioned USB 2.0 might be enough for low channel counts.
Still, the connection standard on your audio interface matters. It impacts the overall latency in your system as well as the number of simultaneous channels you could record and playback.
The most common connection requirements are:
- USB 1.0 – Legacy standard only suitable for minimal audio duties.
- USB 2.0 – Good for basic interface tasks and low channel counts.
- Firewire 400/800 – Legacy standards mostly replaced by USB 3.0 and Thunderbolt for audio.
- USB 3.0 – Excellent transfer rate and bandwidth for audio applications.
- Thunderbolt – The quickest connection standard at present available.
Keep the connection kind in mind as you ask yourself how many channels you will need and how necessary it will be to reduce latency.
Audio I/O
I/O or (short for input/output) is the number of audio channels available on your audio interface.
I/O is probably your most important factor for interface shopping. Generally, the more I/O an interface has, the higher the price will be.
It appears obvious, however, more inputs will permit you to record more sources simultaneously.
Wondering why you would need more than 2 outputs?
Additional outputs permit you to create separate monitor mixes for different musicians during the session or incorporate outboard gear into your workflow.
Which may make it sound like you need to get the most channels you could for your cash. However, there’s a tradeoff.
A more expensive interface with fewer channels of I/O will actually have a better fidelity signal path per channel.
So attempt to balance your I/O needs accordingly. There is no point in investing in a massive 32×32 interface when you will only be recording one mic at a time.
Hot tip: The manufacturer’s I/O count usually contains channels that could be added by connecting additional hardware to the digital inputs.
That figure represents the interface’s total inputs and outputs, however, it might not be the same as the number of channels you could record straight out of the box.
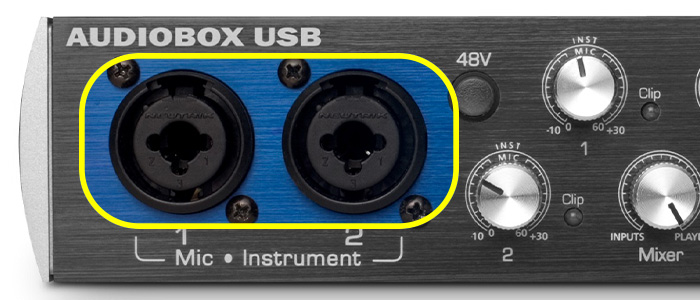
Look out for the analog inputs spec of an interface—particularly the number of mic preamps which are available.
Additional connectivity
Modern interfaces are designed to be versatile audio solutions. Which means there is a lot more than just AD/DA onboard a modern audio interface.
Common extra ports on an audio interface embody:
- MIDI I/O – Onboard MIDI ports permit your audio interface to double as a MIDI interface. This can save you the hassle of connecting and configuring additional peripherals to communicate with your MIDI devices.
- Digital I/O – Digital inputs and outputs permit you to increase your interface’s available channels. You could use them to add an external preamp with onboard conversion for sessions that require extra I/O. Common kinds of digital connections are ADAT Lightpipe, S/PDIF, and AES/EBU. Interfaces with digital I/O provide the room to increase in the future if you find yourself tracking more and more channels concurrently.
- Instrument level DI – ¼” inputs for directly connecting guitars or synths spare you having to purchase standalone DI boxes to get direct access to your preamps.
- Reamp outputs – Reamp outputs are just like an instrument DI in reverse. These outputs will permit you to use instrument level guitar effects pedals as outboard gear, or completely re-record the tone of a part without having to play it again.
Software/DSP
With so many interfaces on the market, manufacturers set themselves apart with their bundled software or onboard DSP capabilities.
Interface offerings from plugin powerhouses like Universal Audio and Native Instruments come with a suite of a proprietary software program that could be an enormous draw for users looking to build their plugin library.
Onboard DSP—or digital signal processing chips—permit audio interfaces to function as highly effective standalone devices. Which means you could route audio within the interface even without a DAW app running.
UAD, Apogee, Presonus, MOTU, and others provide strong DSP environments for creating cue mixes, monitoring with zero-latency or tracking with effects and modeling.
These functions can seem difficult to use at first, however, when you get used to them they could become a cornerstone of your workflow.
Interface Off
Your interface is probably an important part of your setup. Selecting the best one is a big deal.
Now that you have a handle on everything you should know to choose an interface, it’s time to check out some interfaces.