
You know by now that you want a Facebook Business Page. You have seen the statistics. You understand that Facebook’s more than 2 billion monthly active users make it an impossible platform for any business to disregard.
The fact is being on Facebook makes it simpler for people to find and interact with your brand online.
So, let’s dive into how to create a Facebook Business Page. Follow these steps below and you will have your Page up and running by end of the day.
Step 1: Sign up
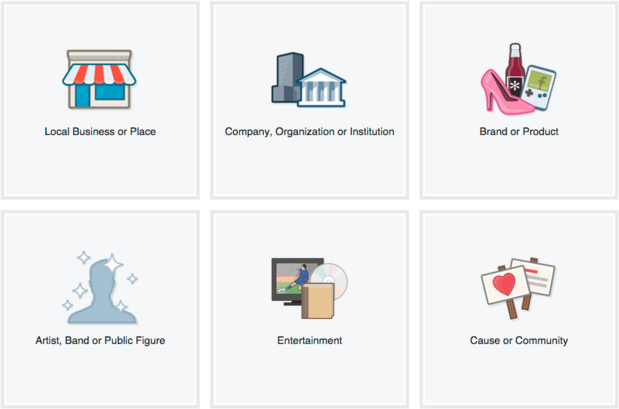
Go to facebook.com/business and click on Create a Page in the upper right-hand corner. You will be greeted with several business kind options including local business or place, product or brand, and cause or group. Choose the kind of business you are creating the Facebook Page for. If your business kind falls into more than one of the category choices, select the one your customers are most likely to think about when they consider your business.
When you click on a business kind, a box will open asking for just a few further details, like the name of your business, your address, and your Page category. Categories are basically sub-types within the bigger business class you have already chosen. Once you begin typing in the category field, you will see a list of potential category options to select from.
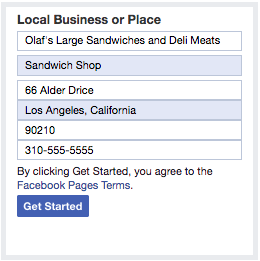
Once you are ready, click on Get Started. Note that doing so indicates your acceptance of Facebook’s terms and conditions for Facebook Business Pages, so you may want to check those out before you proceed.
Step 2. Add Pictures
Next, you will add a profile and cover photos for your Facebook Page. It’s essential to make a great visual first impression, so select wisely here. Ensure the images you select align with your brand and are simply identifiable with your business.
You will add your profile picture first. This picture accompanies your business name in search outcomes and when you interact with users and also appears on the highest left of your Facebook Page.
In case you are an enormous brand, utilizing your logo is probably a safe method to go. In case you are a celeb or public figure, an image of your face will work like a charm. And when you are a local business, maybe a well-shot picture of your signature providing is what will permit a potential follower or customer to make the connection immediately.
Your profile image will appear as a square on your Facebook Page, however, will be cropped to a circle in adverts and posts, so do not put any critical particulars in the corners. When you have chosen an awesome one, click on Upload Profile Picture.
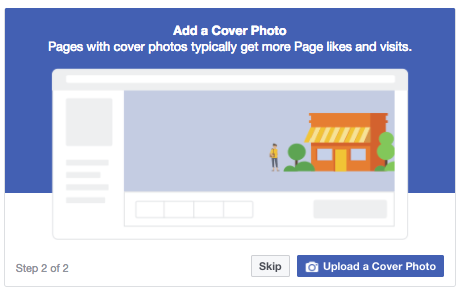
Now it’s time to select your cover picture, the most prominent picture on your Facebook Business Page. This picture should capture the essence of your brand and convey your brand personality. It’ll show at 820 x 312 pixels on a desktop or 640 x 360 pixels on mobile. The picture has to be at least 400 pixels wide and 150 tall.
When you have chosen an appropriate picture, click on Upload a Cover Photo.
Step 3: Discover your new Page
Ta-da! Your page is alive, albeit it extremely sparse. At this point, you will be prompted to take a quick walk-through of some functions. Unless you are already well aware of how Facebook Business Pages operate, we recommend clicking through the prompts, just so where everything is. It only takes a few seconds.
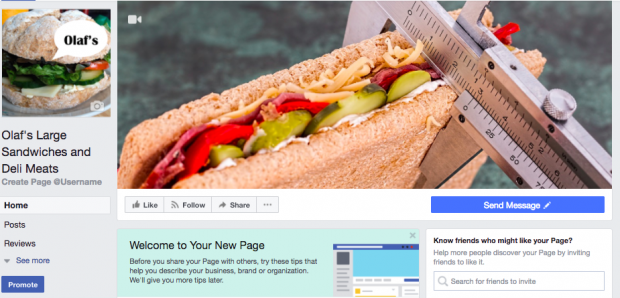
Of course, while the skeleton of the Facebook Page for your business is now in place, you have still got some work to do before you share it with your viewers.
Step 4: Add a short description
That is your chance to tell people about your business. It needs to be just a few sentences (maximum 155 characters), so there’s no need to get too elaborate right here. Click on Add a Short Description, then just share what your customers need to know as clearly and concisely as possible. You could add a longer description later on.
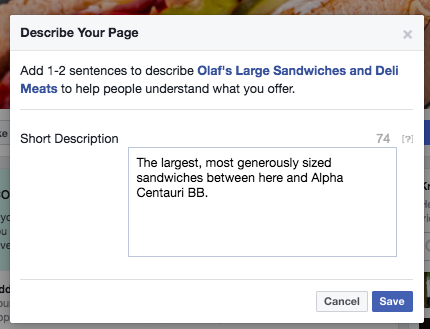
Click on Save when you are done.
Step 5: Create your username
Your username also called your vanity URL, is how you will tell people where to search out you on Facebook. Your username could be up to 50 characters long, however, do not use extra characters just because you could. You want it to be simple to kind and simple to remember. Your business name or some obvious variation of it’s a safe bet.
Click on Create a Username for Your Page to arrange your vanity URL.
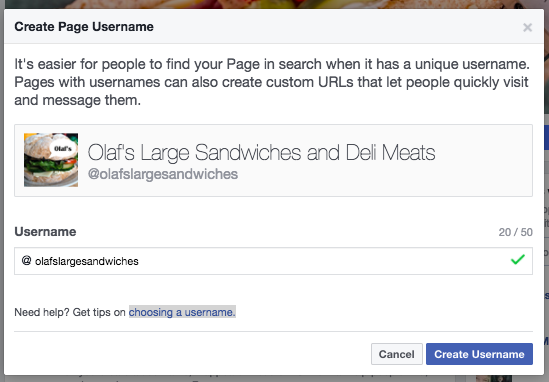
Click on Create Username once you are done. A box will pop up displaying you the links people could use to connect with your business on Facebook and Facebook Messenger.
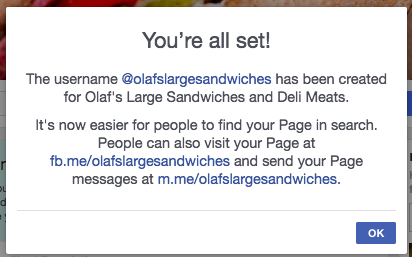
Click on OK to continue to fill in your Facebook for business Page details.
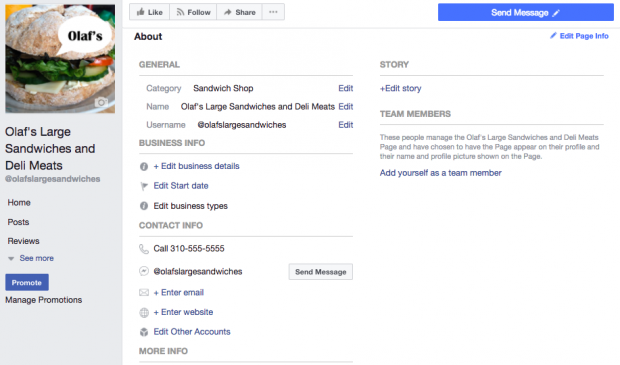
Step 6: Complete your about section
While you could be tempted to leave the details for later, it’s essential to fill out all the fields in your Facebook Page’s About section right from the beginning. As Facebook is usually the very first place a customer goes to get information about you, having it all there’s extremely essential. If somebody is looking for a business that’s open till 9 and cannot find this info on your Page, they will surely keep looking until they discover another place that is more forthcoming.
To get began, click on About within the left-hand menu of your Facebook Page.
From this display, you possibly can add or edit your particular enterprise particulars, like your begin date, contact data, and different social accounts. Relying on your kind of enterprise, you could possibly add particular particulars like a menu or details about your worth vary and whether or not you supply valet parking.
That is additionally the display the place you possibly can add an extended description of your small business. Click on Edit Story on the fitting facet of the Web page to supply an in-depth description of what your small business gives prospects and why they need to Like or Follow your Page. It is an excellent spot to set expectations about the way you’ll work together with followers via your Fb Web page for enterprise functions and to supply a compelling reason for them to engage with you online.
To specify your business location and hours, click on Edit Page Info on the top right of the screen.
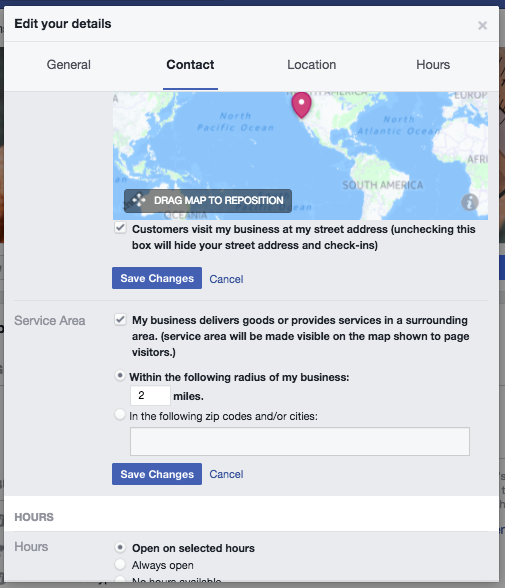
When you are completed, click on Save Changes.
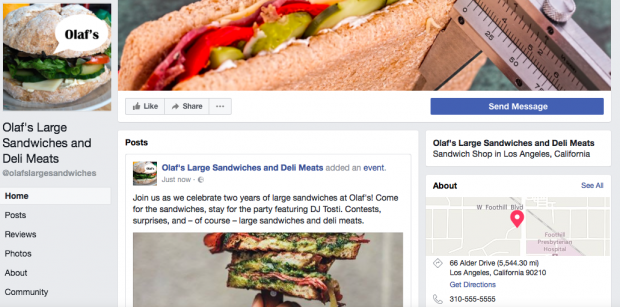
Step 7. Create your first post
Before you begin inviting people to like the Facebook Page for your business, you will want to ensure you share some helpful content. You could create some of your own posts, or share relevant content from thought leaders in your industry.
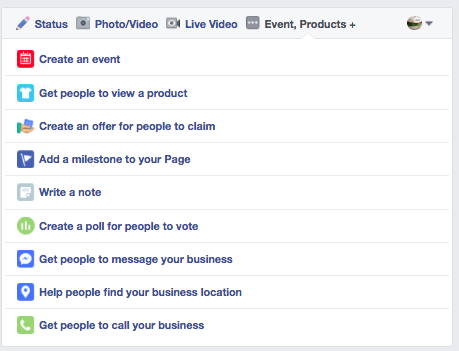
You can also create a more particular kind of post, like an event or product offer—just click on via the tabs at the high of the status box to bring up all of the options.
Be sure that whatever you publish offers value for your visitors once they arrive at your Facebook Page, so they will be inclined to stick around.
Your Facebook Business Page now represents a strong online presence that will make potential customers and fans feel comfortable interacting with you.
Step 8: Begin engaging
Now you are ready to provide your Facebook Business Page a little bit of a nudge. Invite family and friends to like the Page. Use your other channels, like your site and Twitter, to advertise. Add “follow us” logos on your promotional materials and/or email signature. In case you are comfortable with it, you could even ask your customers review you on Fb, too.