
MIDI editing could be tedious. Nothing takes you out of the flow of writing songs like spending too long moving MIDI events around.
However, it does not have to be frustrating. There are a lot of useful methods you could use to speed up your MIDI editing and make more expressive parts.
In this article, I will show you six MIDI editing techniques you could bring into your workflow right away.
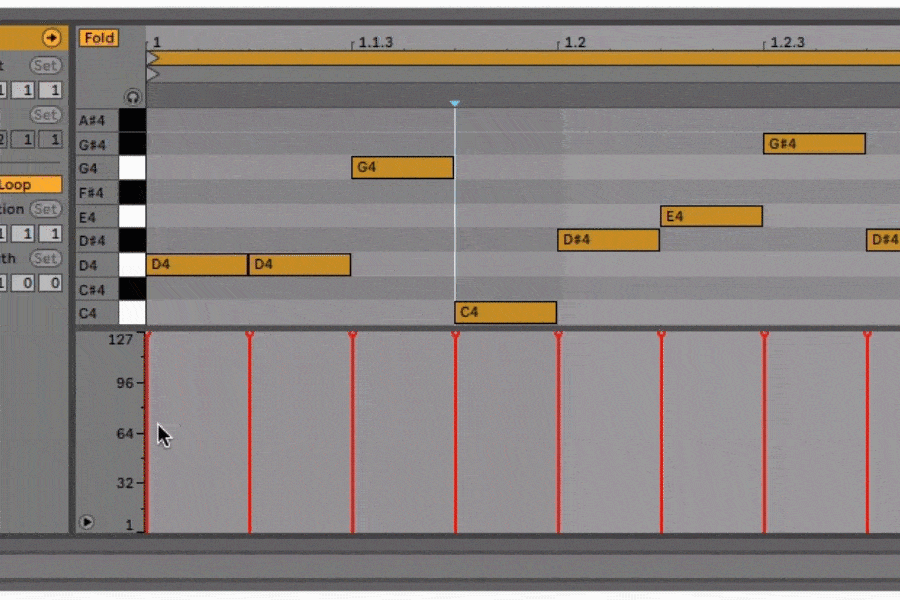
1. Fold the piano roll
Ableton Live (and some other DAWs) could condense a clip’s MIDI piano roll down to a view of just the active notes.
In case you are programming a drum rack with only 16 active samples, you do not need to see all 128 MIDI note locations—actually, excess notes may even be confusing.
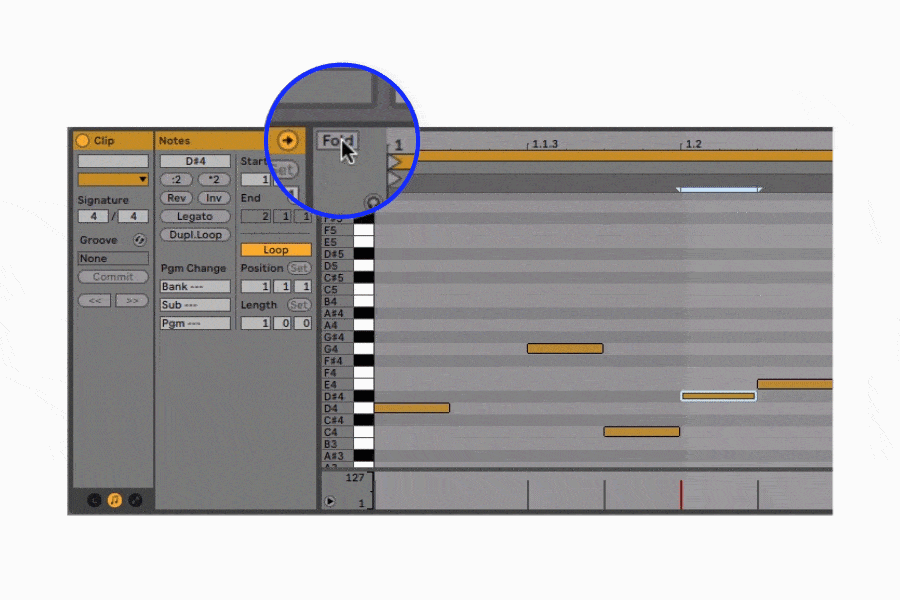
Fold the piano roll and stay concentrated on the notes that matter.
Hot tip: Another extremely helpful new feature of Ableton Live 10 is the ability to edit multiple MIDI clips in the same view.
Coordinating the relationships between multiple clips is extra tough when you could not see the notes you have already laid down.
Editing multiple clips allows you to see all of your parts at once.
2. Draw velocities with the pen tool
You do not have to drag individual sliders one by one or input notes with a keyboard to provide your MIDI notes custom velocity values.
In case you switch from the pointer to the pen tool in your DAW you could click on and drag to readjust all values on a MIDI track’s velocity lane.
You could even draw in shapes that mimic sine or triangle waves as if an LFO were modulating your MIDI velocity.
Hot tip: You could highlight all velocities in a selection to scale them by a similar factor. This may be helpful for changing the overall velocity of an entire clip or passage.
3. Quantize note on and off events
The quantize menu has a lot of options.
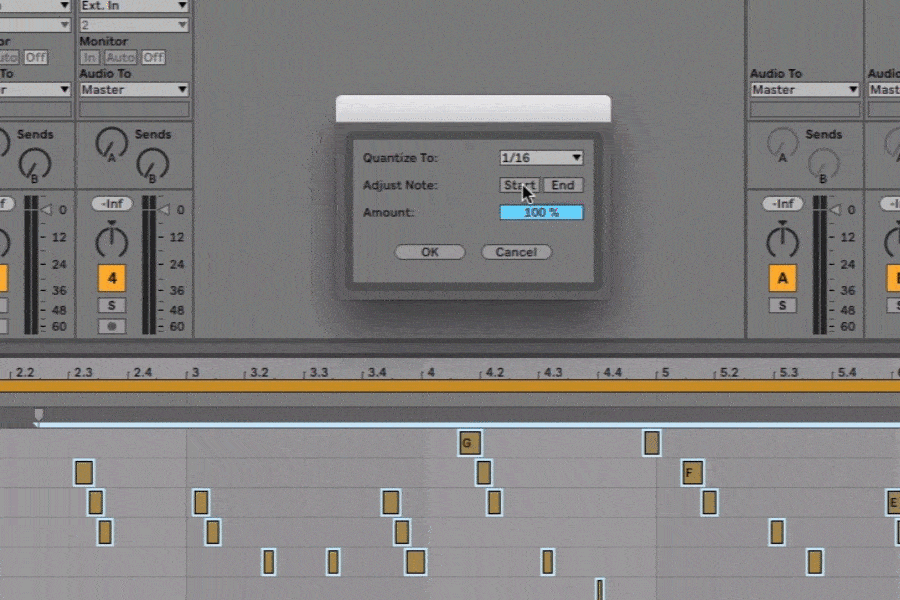
In case you are just concentrated on getting your parts in time, you may be quantizing your onsets and leaving your note endings to edit manually.
However, quantizing the note-off timing could get you cleaner parts right away.
It also teaches you to pay attention to all of your musical gestures once you play parts with a keyboard. Getting note duration tighter in your playing is great practice!
Speaking of which…
4. Play musical passages on a keyboard
Entering notes manually with a keyboard has lots of advantages.
You will not have to struggle to humanize your performance after the fact when you begin with human performance!
You will also simply get a great spread of velocities from striking the keys with different intensity as you play.
Even if it is an easy line you can easily draw in, try playing it on your MIDI controller. Chances are you will end up with a more natural feel to the part.
5. Use groove and partial quantization
Quantization is a powerful tool. Snapping notes into place on the grid is what makes composing music electronically really simple and enjoyable.
However, you do not need to quantize at 100% intensity every single time. Lower quantize values could sound much more natural.
Experiment with quantization settings to search out which values produce the best sounding outcomes for your parts.
Generally, your DAW’s visual feedback could play tricks on you. Seeing how far off you’re from the grid is irritating. However, in many cases, you do not need to fix everything.
Often a completely unquantized performance could add depth and interest to a passage. Keep in mind to try it!
Groove quantize permits you to quantize to a rhythm that deviates musically from the grid.

Defining a “groove” is not straightforward, however, most DAWs come with a choice of grooves that correspond to well known feels like swing.
Groove might be what you are missing in case your MIDI parts sound too rigid and mechanical.
Groove is applied as a percentage so you could achieve anything from subtle enhancement to fully swung rhythms.
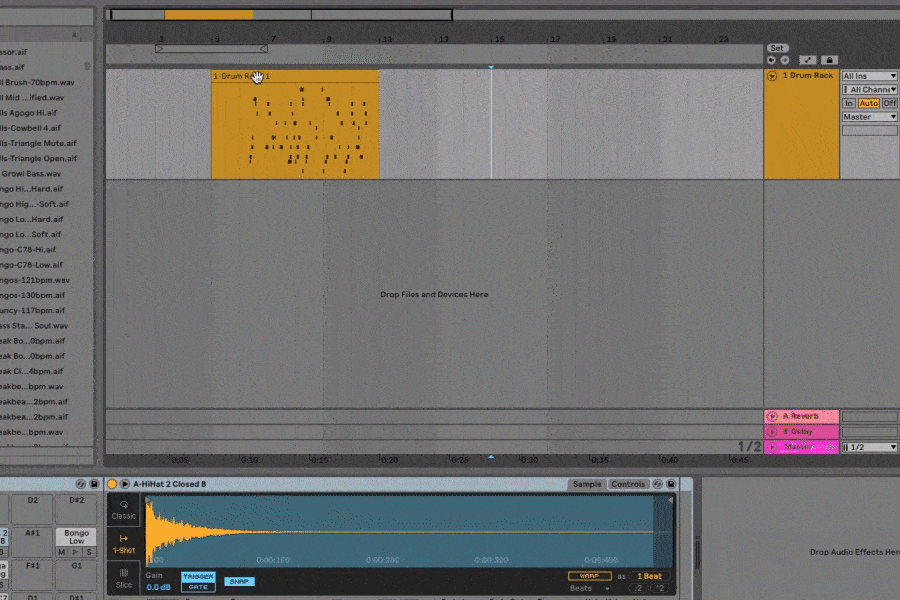
6. Know when to consolidate MIDI into audio
Generally, it is more practical to deal with audio than MIDI.
When you are utilizing a lot of resource-intensive plugins that slow down your session you might need to render their MIDI data as audio to keep mixing.
Relying on your DAW this function could be called consolidating, freezing, flattening or bouncing in place. It permits you to record the audio coming out of your plugins to regular tracks.
Once your tracks are converted to the audio you could hide, disable or delete your CPU hungry plugins.
The only downside is that you could not change the notes or parameters freely after you have frozen a track. To do this you will have to reactivate the plugin and make another bounce!
However, this technique is not just for saving computer resources.
Editing audio could generally be simpler than utilizing automation on MIDI tracks.
Fades and other clip leveling operations are far easier to make directly on the audio clip than with automation on MIDI tracks.
Letter to the MIDI editor
You could never have too many ideas and methods for editing. Spending less time manipulating MIDI events means you get to stay concentrated on playing music.
Try those techniques the next time you find yourself struggling to edit MIDI parts.