Mixing in Ableton Live has reached new heights. While it excels in beat-making and live performance, past versions lacked core mixing features. Live 11 bridges this gap, making Ableton as potent as Pro Tools or Logic Pro for mixing. To help you maximize these tools, here are my top seven tips for an enhanced Ableton workflow.
Let’s dive in.
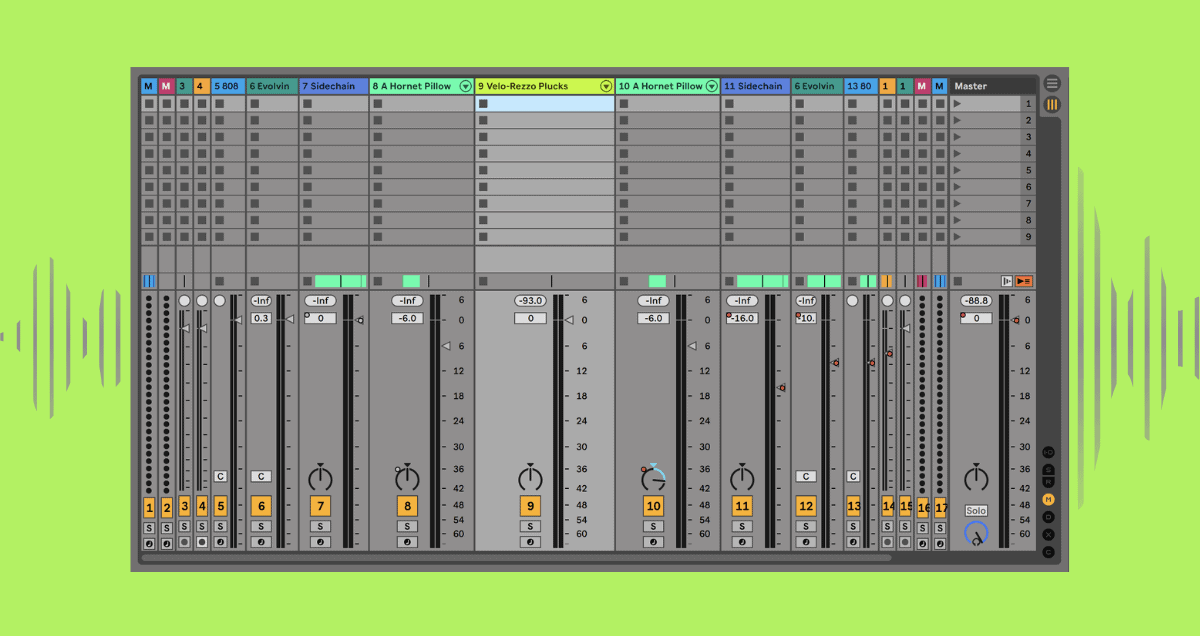
1. Customize your session view for the mix
If you know how to use Live, you probably switch between Session and Arrangement views a lot.
In Session view, you see the regular fader and channel strip setup that most DAWs use.
But, if you’ve set up your song’s arrangement in the Arrangement view, you might see some empty space in the Session view.
If that happens, think about making the parts of the strip smaller that you don’t need for mixing.
Remember, the effects you add will still show up at the bottom, going from left to right instead of top to bottom.
2. Search in the browser tab
The browser tab has a useful search bar to assist in locating samples, plugins, templates, grooves, or other elements in Ableton.
Normally, the bar searches only within the chosen folder.

However, using the key command CMD+F (Control+F on PC) switches the search to “all results,” enabling you to find any plugins or devices by name.
This is a significant time-saver compared to manually searching through a extensive plugin folder.
3. Adjust the buffer size
Ableton Live works great, even when you have a bunch of instruments and effects in your mix.
But, after you finish recording, it’s a good idea to make the buffer size as big as it can be without causing problems.
If you’re not listening through your channels while recording, you don’t need to worry about making the latency as low as possible.
If your mix is making your computer work hard, making the buffer size bigger can help it run better.
4. Try racks if you’re running low on returns
One thing about Live that some people have questioned from the start is the limit of 12 aux return channels.
While this might be okay for many users, producers who use a lot of parallel processing might feel a bit limited.

One way around this is to use the parallel features inside Racks. Just add more parallel chains by stacking new effects below each other in the Rack window instead of from left to right in the insert window.
This way, you can create a whole new set of effects and control how much of them blends with the others.
Racks give you the most flexibility with effects in Ableton. You might want to think about making a special Rack for channels that are using up a lot of aux return space.
5. Use groups instead of returns
Talking about returns, Live’s setup provides another way to group similar tracks without using aux return channels.
In a lot of situations, a smarter choice is to use groups, which work like container tracks that combine everything. This is especially handy when you’re in the arrangement view. Groups neatly organize big stacks of tracks while still letting you use their main controls.
Plus, they come with helpful color coding, making it easier to move around in large sessions.
6. Enable high quality modes for built-in effects
Ableton Live has a great set of built-in tools for mixing and producing.
Although the default plugins in the DAW provide top-notch performance, some devices offer options to save on processing power.

In these situations, these plugins come with high-quality processing modes that might give better results if turned on.
This is often seen in saturation effects, where the internal sample rate affects how extra harmonics are added to the sound.
Ableton Live has a fantastic set of built-in tools for mixing and producing.
If your processing power isn’t running low, think about turning on Hi-Quality mode for Saturator and EQ8, and Oversampling for Glue Compressor.
Just right-click on the top bar of the effect to see the options and switch them on.
7. Watch your warp settings
Warp is a handy tool in Ableton Live.
It simplifies the process of using samples with different pitches and tempos in your arrangement.
Yet, even the most advanced pitch shift and time stretch software has some effect on the original sound.
If you turn on warp for a track that doesn’t really need it, some artifacts from the processing might end up in your mix.
It’s likely not worth the risk of warping your audio if it doesn’t need stretching to fit.
Mixing in Live
Each new version of Ableton Live brings improvements.
Mixing in Ableton 11 builds upon the already inspiring creative features, adding more functionality for mixing.
Whether you’re just starting with mixing or you’re an experienced pro, Ableton Live is an excellent choice.
If you’ve read through this article, you’re off to a great start for mixing in Ableton Live.