Fun fact: YouTube, owned by Google, is the second-most visited website globally. Fun suggestion: Your brand should be there! With a staggering 1.7 billion unique monthly visitors and over 60% of users visiting daily, YouTube presents a massive opportunity to reach your audience. Imagine capturing their attention with your content while they browse. The good news? YouTube Channel Creation is a breeze. Building a successful YouTube channel, however, requires some effort. But fret not, we’ve got you covered!
In this post, you’ll discover:
- The essentials of starting a YouTube channel from scratch
- Strategies to optimize your channel for success
- Insights into the types of YouTube content that resonate with viewers
- And much more!
Start a YouTube channel in 6 easy steps
Before embarking on your extraordinary YouTube marketing strategy, it’s time to set up your very own YouTube channel. Get ready to switch gears from being a cinematographer to a button-clicking maestro as we dive in!
#1: Create a Google account
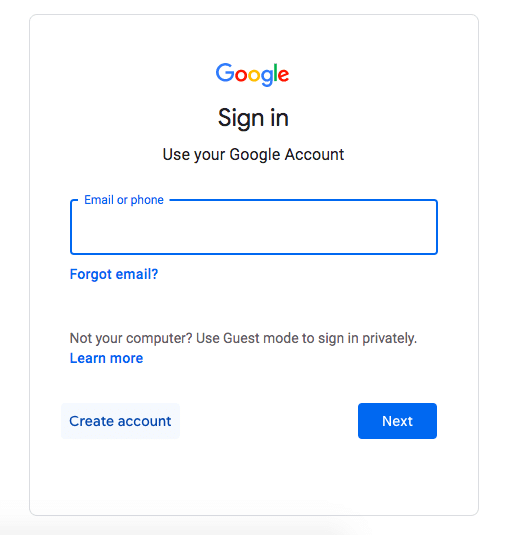
To get started on YouTube, you’ll need a Google account since Google is the parent company of YouTube. If you don’t have a Google account yet, don’t fret! Creating one is a quick and straightforward process that will only take a few minutes.
Just head over to accounts.google.com and click on “Create account” to kickstart the setup.
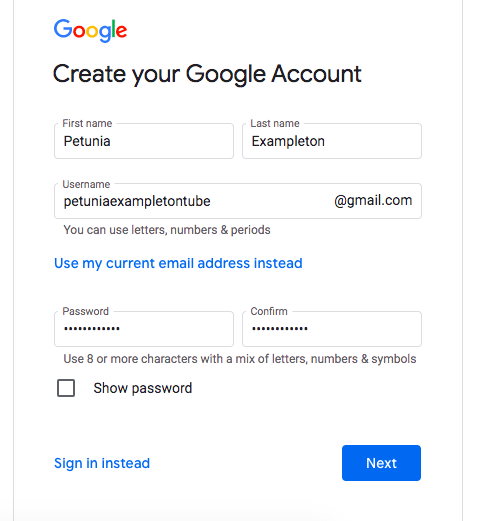
Enter your information and preferred new email address. Completed!
#2: Create a YouTube account
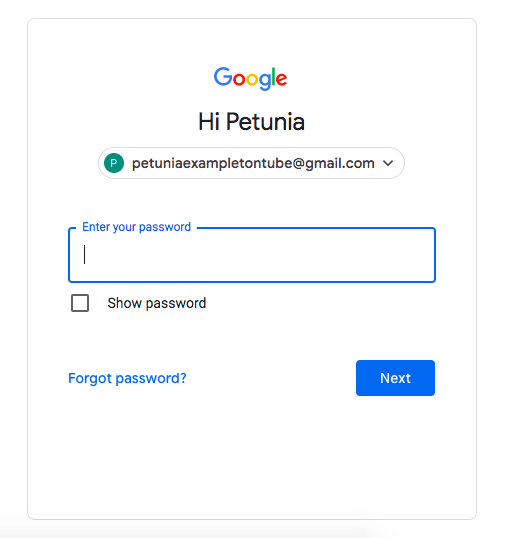
Go to YouTube.com and click Sign In in the upper right corner.
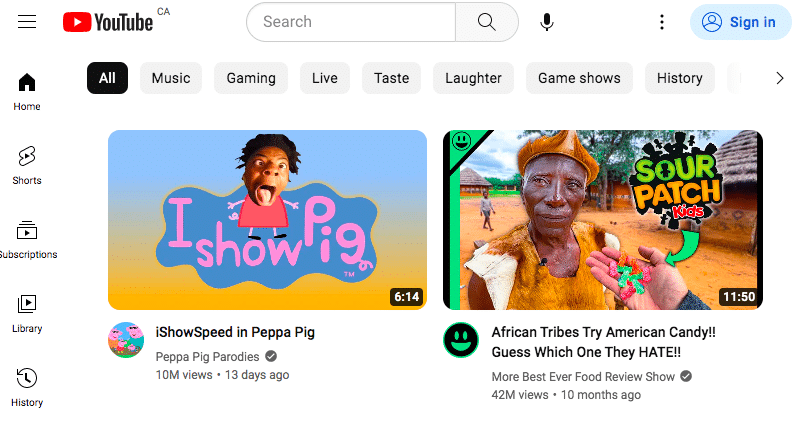
Enter your Google account information and password.
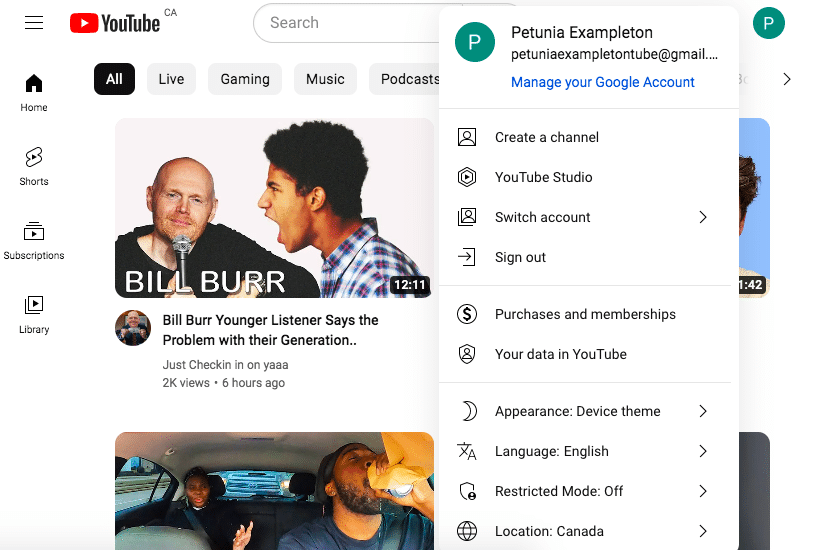
Tap your profile icon in the upper right corner, then choose Create Channel.
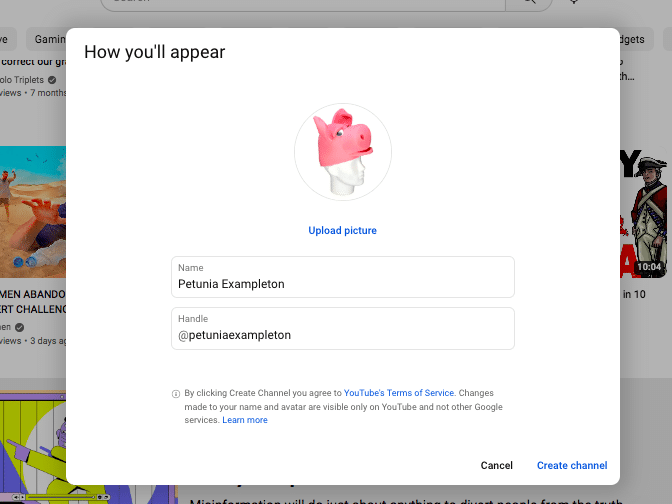
#3: Customize your channel
Provide your name and YouTube handle, and don’t forget to upload a captivating profile photo. This will be how you appear to others on the site, so consider using a brand name and logo to make a lasting impression.
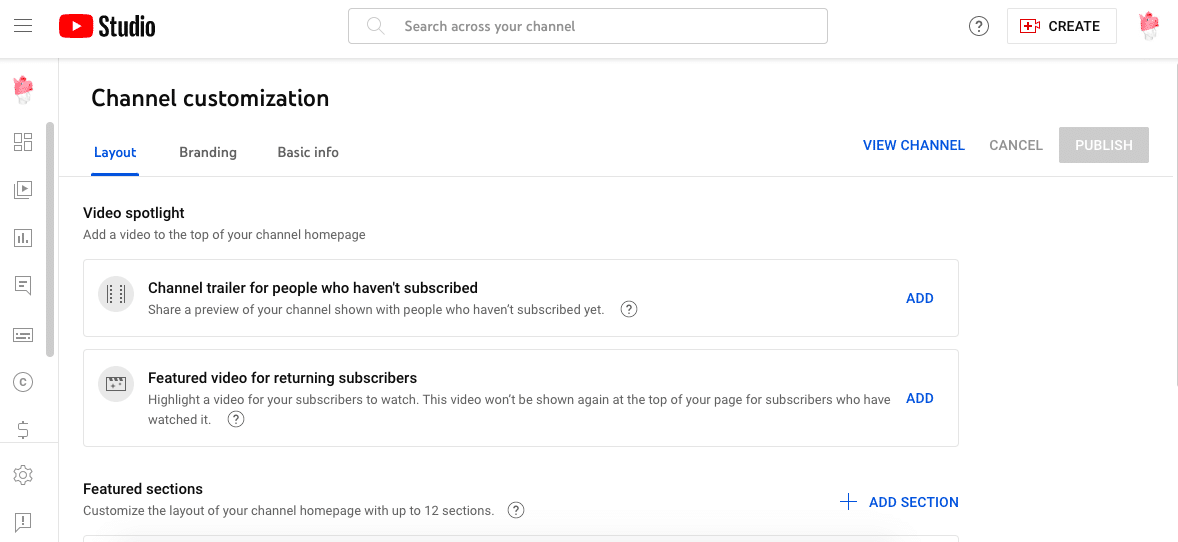
Explore the layout tab to personalize various elements of your channel:
- Create an enticing channel trailer
- Select a featured video for returning subscribers
- Add sections to your homepage
If you don’t have these components ready at the moment, don’t worry! You can always update them later once you have your content up and running.
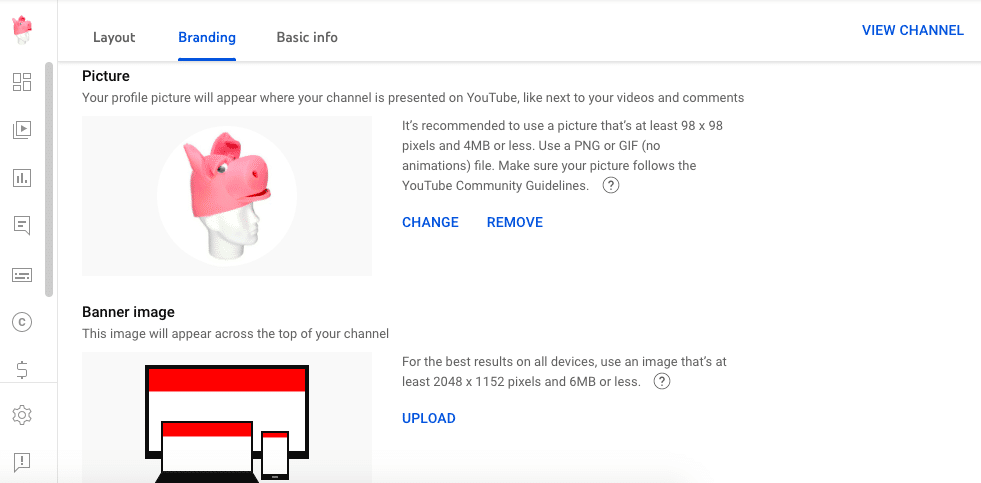
#4: Update your channel branding
Navigate to the “Branding” tab to unlock additional customization possibilities:
- Update your profile picture: Opt for an image that’s at least 98×98 pixels in size.
- Revamp your banner: This banner will be displayed at the top of your channel page, so aim for an image that’s a minimum of 2048×1152 pixels.
- Incorporate a video watermark: This image will overlay on the right-hand corner of your content.
For optimal results, utilize an image sized at 150×150 pixels.
#5: Include a description and basic contact information.
Head over to the Basic Info tab and take charge of updating essential details such as your handle and URL. Don’t forget to include links, contact information, and craft an engaging channel description.
Leverage the channel description as a golden opportunity to incorporate keywords and hashtags that will assist your target audience in discovering your channel. Although it may be concise, it carries immense power in terms of communication and discovery, so ensure you make the most of it. Get ready to nail it!

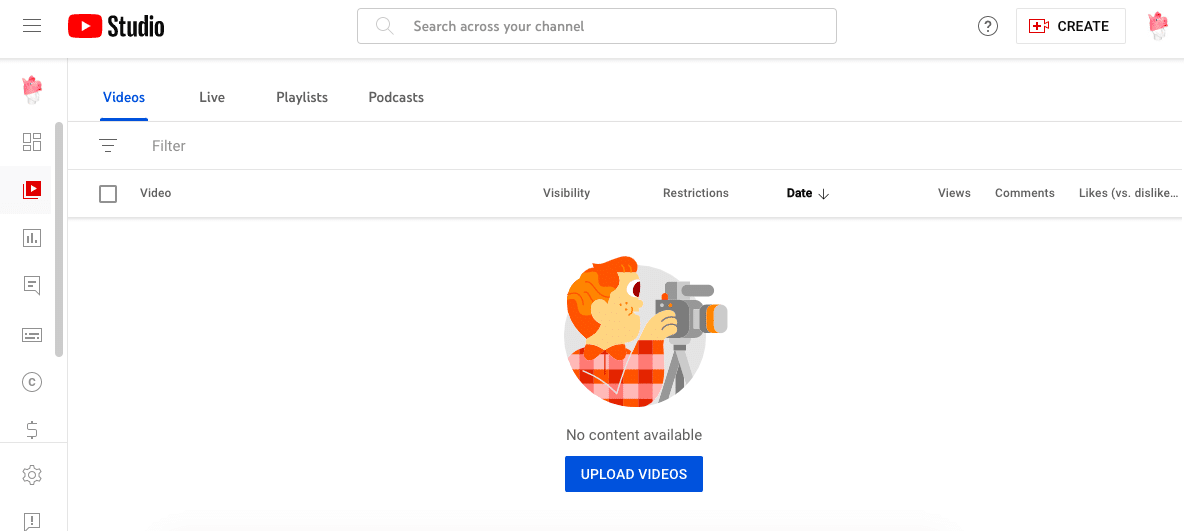
#6: Add some content!
Hopefully, you’ve prepared a video to showcase on your YouTube Channel. But if you need a moment to whip something up, no worries—we’ll wait patiently.
Alright, once you’ve got that video file all set, simply click on the Play icon located on the left-hand side of the screen to access the video menu. From there, tap the blue Upload Videos button to kickstart the uploading process. Let the uploading adventures begin!
While uploading your video, remember to provide essential details like a captivating title and description to give viewers a preview of what to expect. Incorporate relevant search terms and keywords to improve discoverability.
Furthermore, choose a thumbnail that stands out in search results and on your channel page. Opt for a striking image from the video or upload a separate one that catches the eye. For tips on creating an exceptional and attention-grabbing thumbnail, explore the advice below. Let’s make your video shine!
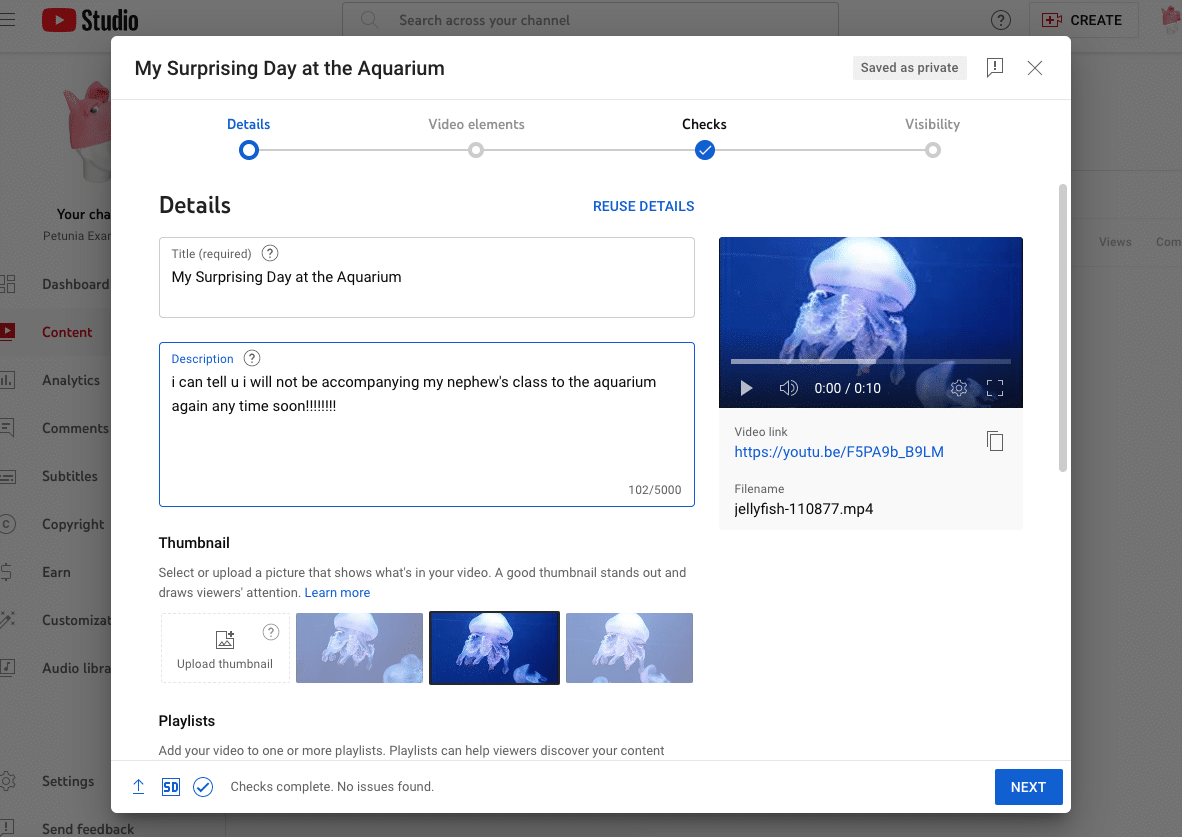
On this video upload page, you have the opportunity to not only add the video to an existing playlist but also create a brand new one. Discover the advantages of playlists further below!
To unlock additional options such as tags and subtitles, simply tap on Show More located at the bottom. Dive into these settings to optimize your video’s discoverability and accessibility. The possibilities are endless!
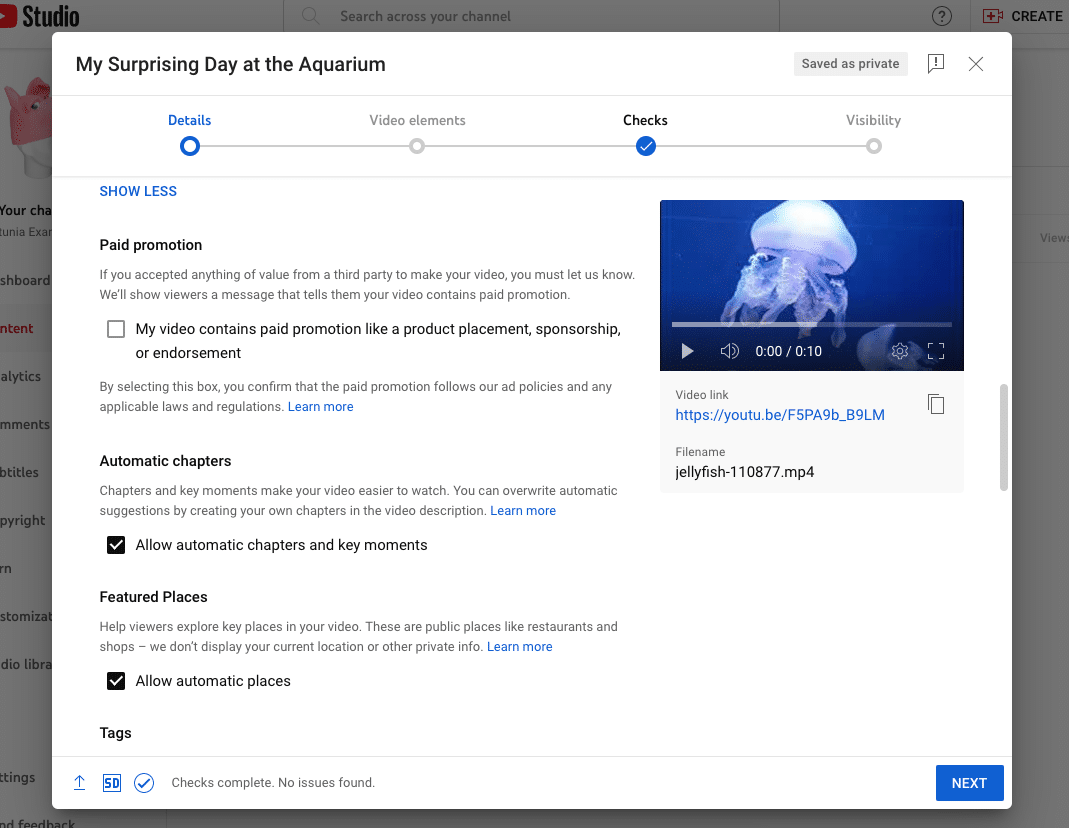
When you’re finished, tap Next to be taken to a menu where you can add cards (links to other videos) and an end screen. You can always go back and add or change these as you accumulate more content.

Tap Next to proceed. You will be notified of any copyright concerns on the next screen, such as unauthorized audio usage like the “Jaws” clip with your jellyfish video.
If there are no issues, tap Next. Your final task awaits on the Visibility screen, where you can choose to publish your video publicly or keep it private. You also have the flexibility to schedule its release for a later date. It’s all up to you!
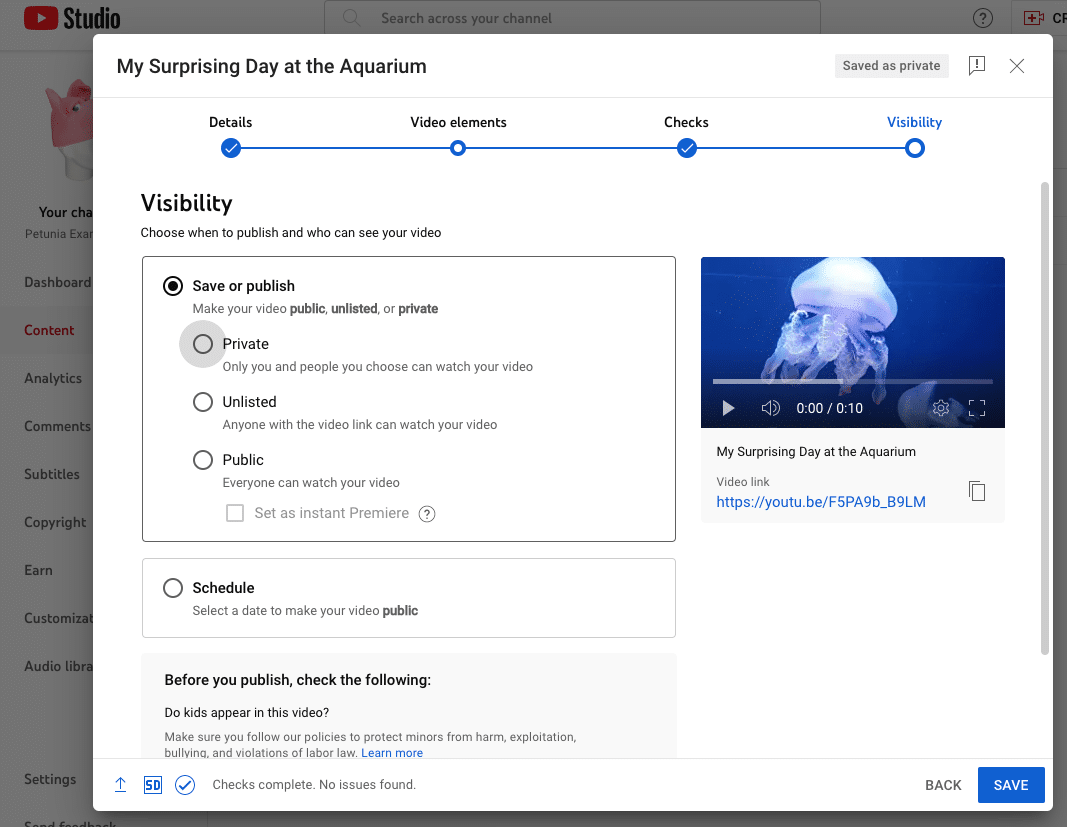
Tap Save, and your first video is now public. You succeeded! You’ve made it as a YouTuber!