
Proficiency in editing YouTube videos is a crucial skill for video marketers, especially during the post-production phase.
If you fail to seamlessly merge your shots or time your cuts accurately, your video will lack refinement and fail to captivate your audience.
When lacking editing software, what options does a video marketer have for editing YouTube videos without investing in video editing software?
YouTube provides a web-based video editor that is completely free and accessible through its platform.
In this article, you will discover how to utilize YouTube’s native video editing tools effectively, along with valuable tips to keep your audience engaged and eager to watch more.
A Guide to Utilizing YouTube’s Video Editor
YouTube’s video editor is a simplistic editing tool, it provides the essential functionality of trimming clips from any section of your video.
Continue reading to discover the process of effectively segmenting your videos directly within the YouTube platform.
1.Sign in to YouTube Studio
Access YouTube Studio, a platform offered by YouTube for creators to manage their presence, edit and upload videos, and monitor performance. You can access the studio via desktop or the app.
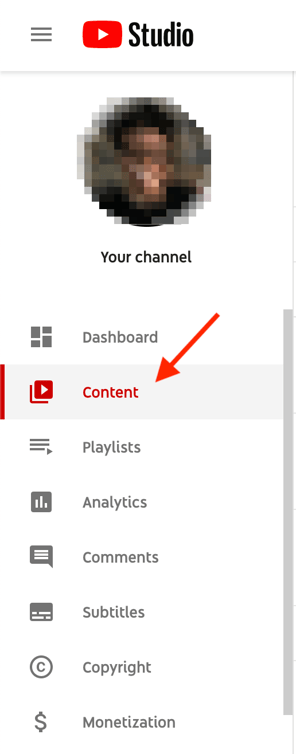
2. Navigate to the Content section
If you are using the desktop version, locate the sidebar on the left and click on the Content . If you are using the app, you can find the Content tab at the bottom.
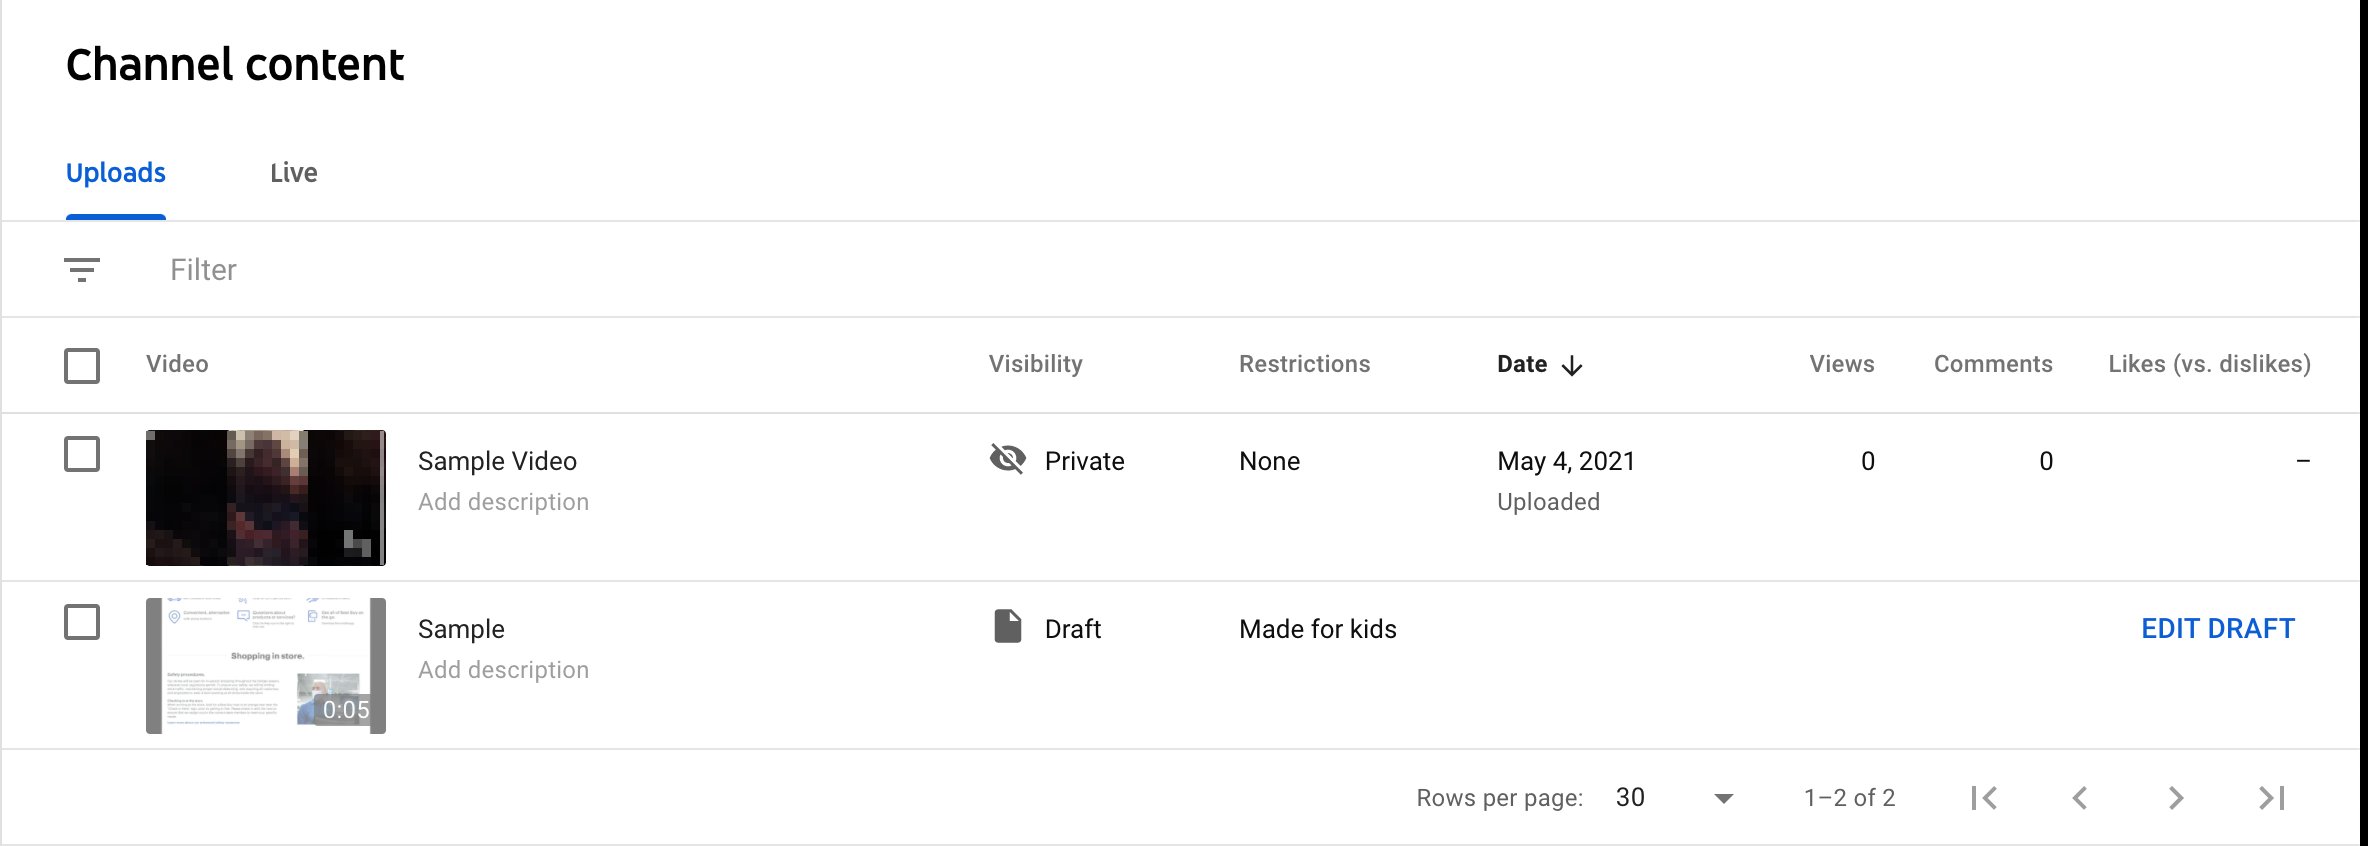
3. Select the video you want to edit
Choose the specific video you wish to edit by clicking on its thumbnail. YouTube supports various video formats such as 3GPP, AVI, FLV, MOV, MPEG4, MPEGPS, WebM, and WMV, it is recommended to upload videos in the MPEG4 or “MP4” format to ensure optimal quality.
Note: If your video is currently in a different format, you can utilize tools like Veed’s video converter to convert it to MP4. This conversion will allow you to upload the video to YouTube without compromising its quality.
4. Access the Editor option from the left sideba
Locate the Editor option in the left sidebar and click on it to proceed with the editing process.
5. Trim the Start or End of Your Video
To trim the start or end of your video, locate the Trim option positioned next to the video timer and above the timeline panel.
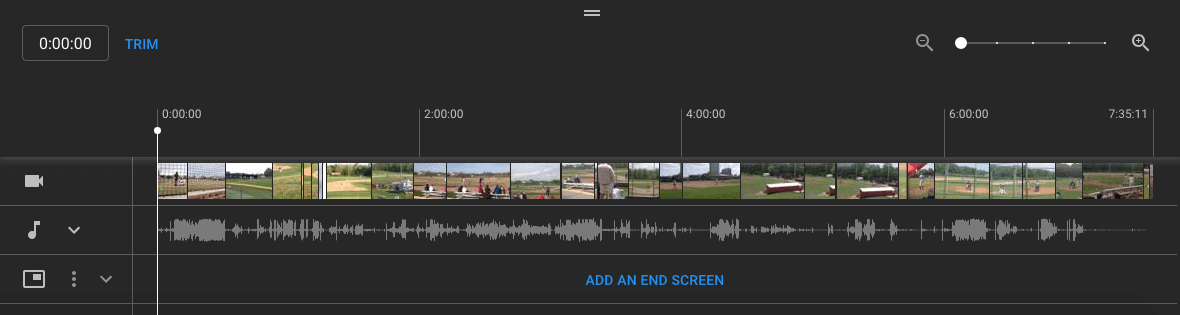
A blue box will appear around the sides of your video timeline panel. Simply drag the box to remove unwanted portions from the beginning or end of your rough cut that you wish to exclude from the final published version.
Click Preview to review the edit, and if you’re satisfied, click Save in the top right corner.
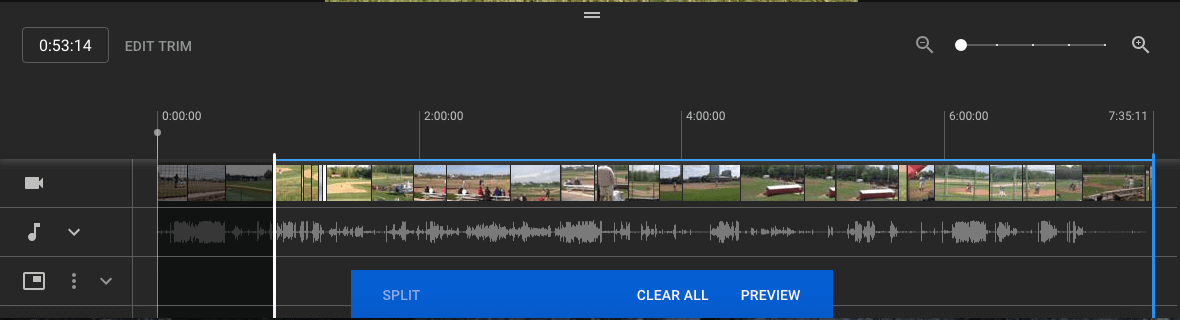
6. Trim clips from the middle of your video
To trim a specific clip from the middle of your video, select Trim.
Then, in the timeline panel, click the starting point of the portion you want to remove and press Split.
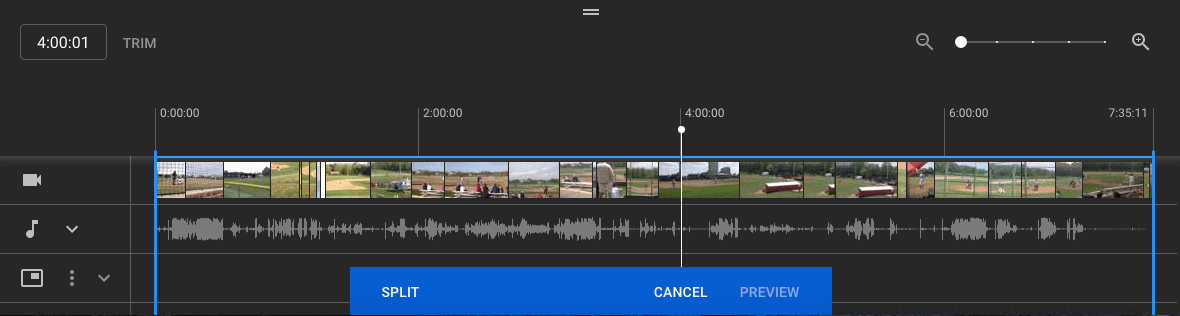
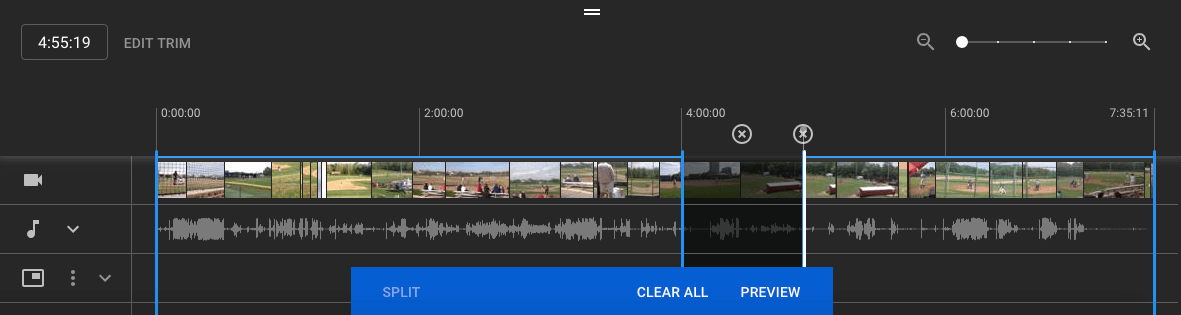
Repeat this process at the endpoint of the clip.
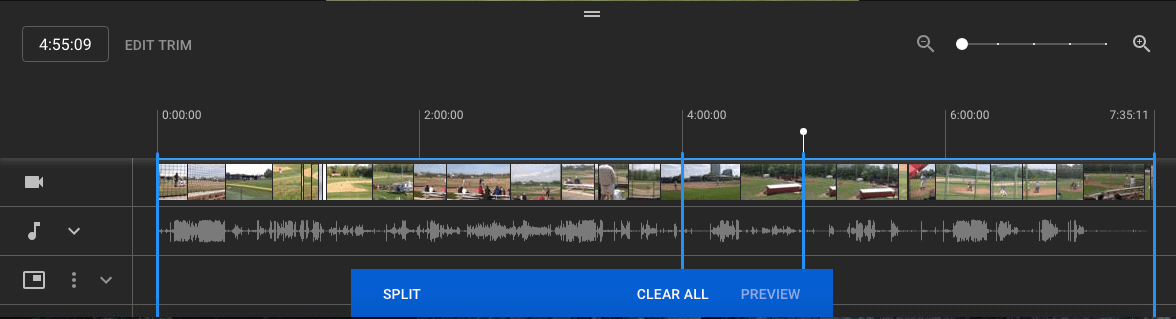
Finally, drag the blue line from one side of the clip to the other to trim it. Preview your edited video, and if satisfied, click Save.
7. Add an end screen for your video
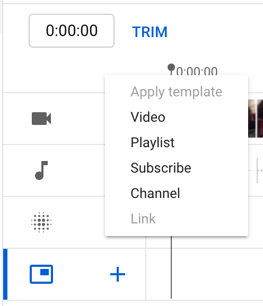
To offer your viewers options like related videos, playlists, or subscribing to your channel, click the end screen icon located at the bottom of the timeline panel.
Apply your existing template or choose from native options like Video, Playlist, Subscribe, Channel, or Link.

If you require more advanced editing capabilities, explore our post on the best YouTube video editor alternatives.
Video Editing Tips for YouTube
While becoming a master of editing YouTube videos is essential, it’s equally vital to create captivating content that deeply connects with viewers.
Now, let’s explore fundamental best practices to keep in mind during the post-production stage.
Create eye-catching thumbnails
Thumbnails are your opportunity to capture attention and entice your audience. Use screenshots or text-based titles that evoke curiosity and make viewers eager to watch.
Tell a compelling story
Just like a book, videos should have a coherent narrative. Ensure your videos have a beginning, middle, and end, guiding viewers through a clear storyline without confusion.
Incorporate engaging elements
Elevate your videos by incorporating engaging elements like images, text, animations, music, and transitions. Choose elements that enhance your content and maintain focus on your high-quality material.
For detailed guidance on creating YouTube thumbnails and mastering storytelling techniques, refer to our comprehensive guide linked in this post.
Develop a consistent editing style
To streamline your editing process and engage your audience, establish a baseline editing style to be applied to every video. This includes consistent editing techniques, thumbnail styles, music choices, transitions, and other added elements. A consistent style saves time and helps viewers recognize and connect with your content.
Keep it simple
It may be tempting to include an abundance of elements to captivate your audience, it’s important to avoid overwhelming your viewers. Maintain a balance between original video content and supplemental elements, steering clear of unnecessary distractions that could detract from your message.
Take time to step away and come back
Editing YouTube videos can be a stressful process that can sometimes breed self-doubt. It’s important to take breaks and step away from your work to gain a fresh perspective and renewed energy.
By allowing yourself moments of rest, you can overcome creative blocks, approach final edits with newfound clarity, and ultimately enhance the quality of your video content.
For beginners, refer to our comprehensive checklist on editing YouTube videos to guide you through the process.
YouTube Video Editing Checklist: Key Considerations
- Optimize with SEO: Enhance your video’s discoverability by using SEO-optimized tags and titles. Tools like TubeBuddy and Ahrefs offer helpful features for optimizing your videos and improving search engine rankings.
- Maintain a realistic production timeline: Establish a consistent schedule for uploading videos and ensure you allocate enough time to meet your deadlines effectively.
- Create captivating thumbnails: Grab viewers’ attention with eye-catching thumbnails that entice them to click and watch your videos.
- Prioritize audio quality: Good-quality audio is vital for viewer engagement. Ensure your audio is clear and crisp.
- Promote across social media channels: Extend your video’s reach by sharing and promoting it on your brand’s social media platforms. Utilize the appropriate social media channels to maximize visibility and attract a wider audience.
- Monitor post-uploaded analytics: Track the performance of your videos to gain insights and identify areas for improvement.
- Stay attuned to audience trends: Pay attention to your audience’s preferences and behavior. Identify peak activity periods and the types of videos they enjoy the most. This knowledge will guide your content creation and editing decisions.
Whether you’re using YouTube’s built-in tools or third-party software, it’s crucial to discover joy in the process of editing YouTube videos. Explore techniques that harmonize with your content, establish a consistent editing approach, and witness the growth in views and engagement that follows.