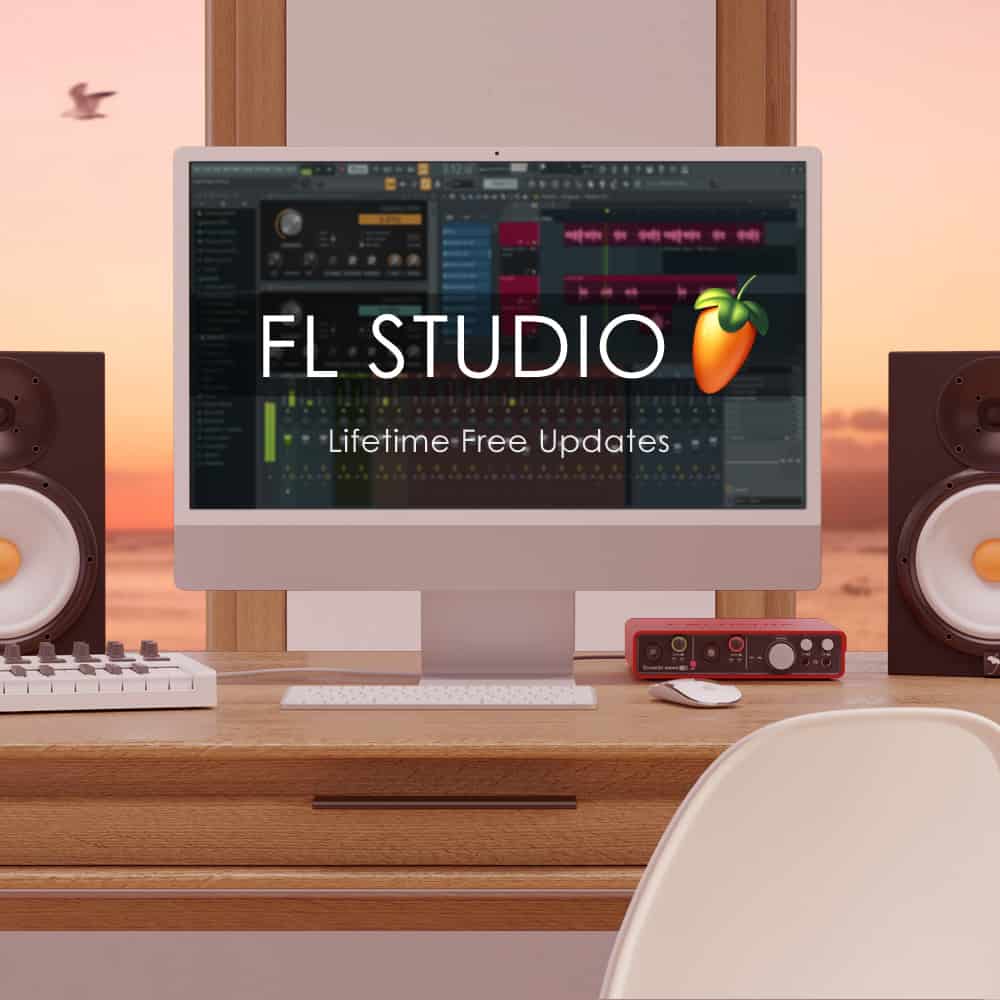
Continue to learn more about the most common software. FL Studio has come a long way since its humble beginnings as a basic software sequencer. Today, the community considers one of the top DAW software options out there. Especially for new producers who want to learn and create music. If you’re just starting out, you’ve probably heard of this as a great option to start with. But even if you’re an experienced producer, you may be wondering what sets it apart from other DAWs. And even, why it’s so widely used? This article will cover everything you need to know to understand FL Studio and determine whether it’s the right choice for you. So, let’s dive in!
How to get started with FL Studio?
Let’s dive into the details of FL Studio’s workflow and how to get started!
Browser
The browser is where you can find your sounds, samples, loops, and plugins in FL Studio. Simply drag and drop a sound onto the channel rack and assign it a mixer strip to hear the playback. You’ll also find effects, instruments, samples, and assets from previous projects, so it’s worth exploring the files and folders.
Patterns and Channel
Rack Patterns are an essential part of building a track in FL Studio. The step-style pattern input that most producers associate with FL Studio is found inside a window called the Channel Rack in the default view.
Creating a new pattern allows you to activate steps on any of the devices in the channel rack. You can include multiple channels in a pattern, but most producers prefer to reserve a pattern for each separate part in the arrangement.
The channel rack is also where you’ll assign sounds to mixer tracks in the bottom portion of the default view. Each channel in the rack features additional volume and panning controls for quick access.
Clicking a sample in the channel rack will open the basic Sampler plugin in FL Studio. This window allows you to make basic edits to the file such as time-stretching and looping behavior.
In addition to note information, the channel rack’s Graph Editor view allows customization of deeper MIDI parameters like velocity, panning, and fine pitch adjustment. For polyphonic material, the Channel Rack also provides quick access to the Piano Roll editor for creating other types of patterns, which can be dragged into the Playlist just like step patterns to add to your arrangement.
Playlist
The Playlist is an essential view to know in FL Studio, so let’s take a closer look.
Although the main arrangement window is a bit different from a traditional DAW timeline due to the patterns-first approach, it serves the same purpose of orienting the parts of your song from start to finish.
To hear your arrangement instead of the looping patterns from the channel rack, simply toggle between song mode and pattern mode in the top toolbar by the transport.
When in song mode, you can use typical timeline tools like the playhead and loop brace to build arrangements just like in any other DAW.
MIDI
FL Studio has powerful MIDI recording and editing capabilities in both the piano roll and channel rack.
By activating an external controller in settings, you can input MIDI information to create patterns in real-time or edit them using the piano roll or step editor.
You can quickly drag common chords onto the piano roll without having to input them manually using the piano roll’s stamp tool.
Recording
Recording in FL Studio differs depending on the type of information you want to capture.
Before diving in, note that you’ll need to have FL Studio Producer Edition or a higher license to record audio.
If you have an audio-capable license, the recording process is similar to other DAWs.
You select an input from your audio interface and assign it to a channel on the mixer, arm it for recording, and hit the main transport button to start capturing audio.
To record audio into the Playlist, you need to right-click a track and set it to audio mode.
Once done, you can arm the track for recording and select monitoring options from the Playlist view to adjust your levels.
Top FL Studio Instruments and Effects
FL Studio has so many fantastic effects that it’s hard to pick just a few to highlight.
For an in-depth look at the best built-in instruments and effects in FL Studio, make sure to check out our comprehensive guide.
Grossbeat
Grossbeat is an iconic plugin in trap music production. It’s well-known for creating the jittery, glitchy hi-hats that are a hallmark of the genre.
While there are other ways to achieve this effect, many producers swear by Grossbeat’s original sound.
Soundgoodizer
There’s something magical about one-knob plugins. Sometimes you just want a quick and easy way to enhance your sound.
That’s why Soundgoodizer is so popular. It’s modeled after Image-Line’s flagship multiband compressor plugin, and it adds saturation and dynamic control that seems to work for everything.
Slicex
Slicex is FL Studio’s slicer and sampler instrument, perfect for creating drum loops.
Optimized for rhythm loops, Slicex slices audio into individual hits located at each transient, making it possible to play each hit via controller or MIDI notes in the Piano Roll.
If you’re looking to stretch, slice, and re-order uninspiring drum loops, Slicex is the perfect tool.
FL Studio
FL Studio is a great choice for those who want to learn music production quickly. It has a unique workflow that provides fast access to beat programming and powerful plugins, which is why many famous producers prefer it. If you’ve read this article, you’ll have a good understanding of what FL Studio can do. With this information, you can decide if it’s the right choice for you.


