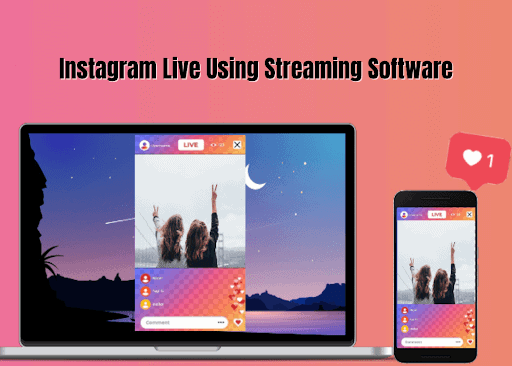
Instagram Live Producer will able you to go live on Instagram using streaming software, including OBS, and Streamlabs, with a stream key. This integration opens up production features outside the traditional phone camera, which includes additional cameras, external microphones, and graphics.
Tech requirements
Before broadcasting live with streaming software, ensure your video meets the following specifications. The recommended settings have been tested to optimize the quality and experience for viewers on many devices and networks:
Video format
- 9×16 aspect ratio (recommended)
- 720p @ 30 fps (30 fps is recommended, but it can also support 60 fps if desired. When you use 60 fps, the Live Producer preview screen will still display 30 fps.
- Resolution: 720×1280
- Video bitrate range: 2,250–6,000 Kbps
Audio format:
The following settings are the default for many streaming platforms, including OBS:
- Sample rate: 44.1 kHz
- Channel layout: Stereo
- Bit rate: up to 256 Kbps
Setup:
Select which streaming software you use for your event, including OBS, Streamlabs, and Streamyard.
- Open your streaming software interface, then locate where you input your URL.
- The URL and stream key will broadcast your streaming software directly to Instagram Live.
- Open the command, click on the “Add post” (plus symbol inside a square), and select “Live” from the dropdown menu.
- The “Go live” screen will appear, and you can enter the title of your live video and choose your audience. “Practice” will not broadcast live to anyone, and “Public” will broadcast live to your followers like any regular live video.
- After that, there will be a screen containing your unique URL and stream key, with given instructions on how to use them.
- You can copy or reset the stream key if you need a new one.
Streaming to Instagram Live
- Use URL and stream key within your streaming software to add Instagram Live as your streaming endpoint.
- After the stream is set up, start streaming on your streaming software. Within the Live Producer viewer on com, you’ll see a preview of your stream on Instagram Live. The preview will display after a few seconds on the preview screen. The Live Producer preview should mirror your setup on the streaming software.
- Once you’ve confirmed your preview, click “Go live” within Live Producer to start the stream. Once you go live, there will be a “Comments” tab through which you can read and respond to comments from viewers.
- Click “End live video” when you want to end the session.
Comment Management
- Once you go live, there will be a “Comments” tab through which you can read and reply to comments from viewers.
- Clicking a comment will display a menu with the following options:
“Report,” which will flag the comment for inappropriate behavior.
“Pin comment” will keep the comment at the top of the feed. You can remove a pinned comment by clicking the “X” right.
Saving your post-live video:
You can view, share and download your complete broadcast within the Live Archive. To access the Live Archive:
- Click the menu (3 horizontal lines) button in the top right corner of your profile.
- Within this menu, click on the Archive.
- At the top of the screen, tap the dropdown, and switch from “Stories Archive” to “Live Archive.”
- You will then see your previously completed live videos and be able to share them on Instagram or download them to your device.