
Right here on this part, we give you some of the greatest examples of Instagram AR filters and find out how to create AR filters with Spark AR Studios.
Greatest examples of Instagram AR filters
Here are 5 examples that show how completely different brands are getting artistic with AR filters.
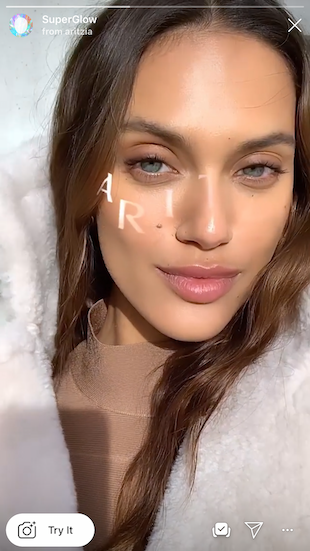
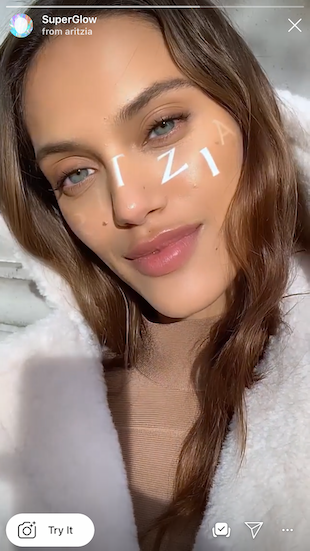
Aritzia
Aritzia created the SuperGlow filter. This custom filter will increase brand awareness and recognition.
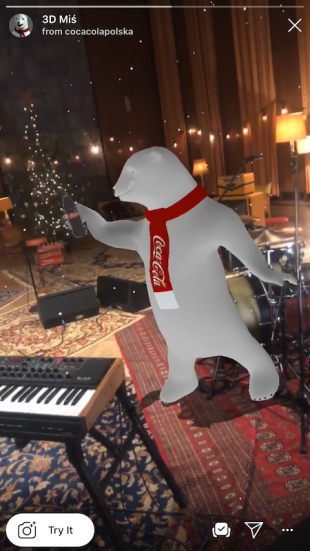
Coca-Cola Poland
Coca-Cola Poland uses an AR filter to digitally superimpose the brand’s polar bear on top of the real world.
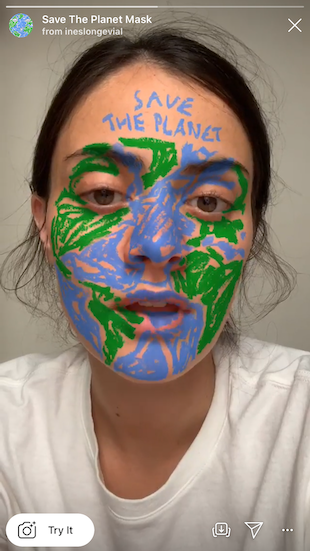
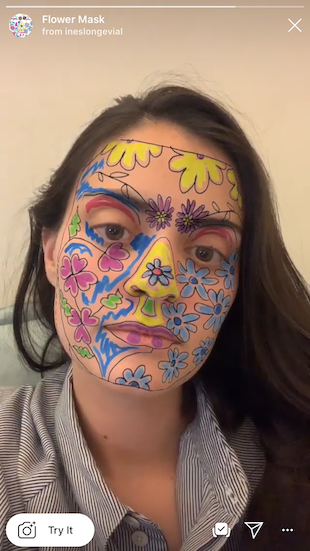
Ines Longevial
This Paris-based artist publishes creative AR filters and shows just how artistic brands can get with custom filters. She also uses this device to show her support for social causes.
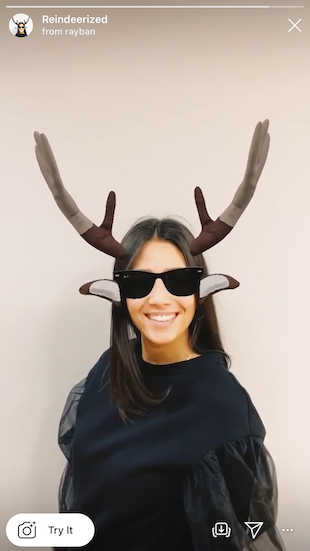
Ray-Ban
Ray-Ban’s customized Reindeerized filter is a playful strategy to interact with the brand. It’s also a way to virtually try on a Ray-Bans product, which is tremendous useful for customers trying to buy Ray Bans online.
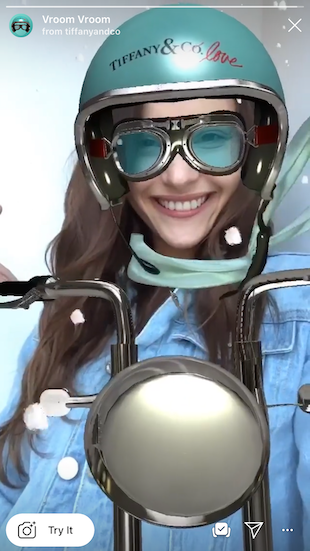
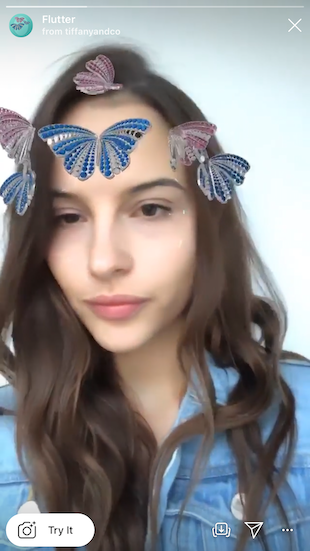
Tiffany and Co.
Tiffany and Co.’s custom filters incorporate the enterprise’s branding.
Tips on how to make an AR filter with Spark AR Studios
This step-by-step guide shows you the way to begin creating custom filters for Instagram Stories.
Step 1: Download Spark AR Studio
Spark AR Studio is the easy-to-use platform you should create custom filters and effects. At the moment, it’s available for Mac and Windows.
Step 2: Resolve in your impact
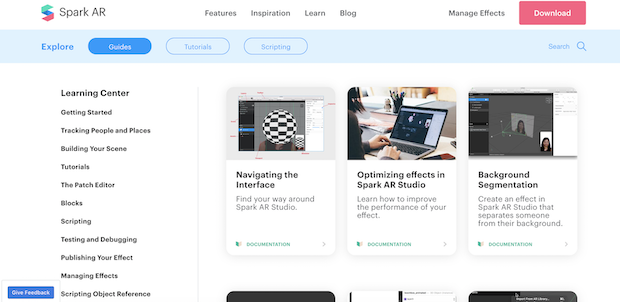
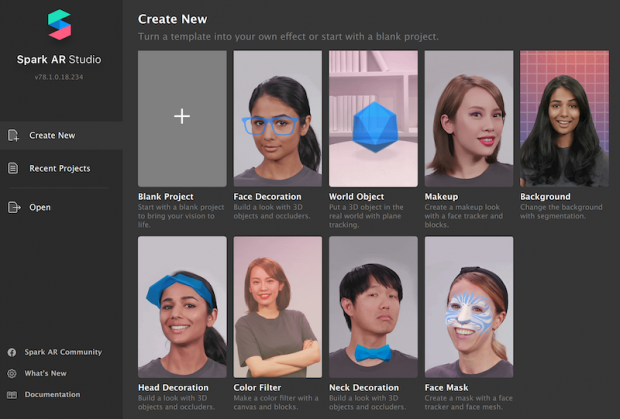
Next, stroll through the tutorials in the Learning Center to get a feel for the program’s interface. When you’re ready to get started, determine whether you’ll create a filter from scratch or select from one of the eight templates.
We’re going to walk through the World Object template. This includes putting a 3D object into the real world, just like Coca-Cola Poland did with its polar bear.
Step 3: Getting started
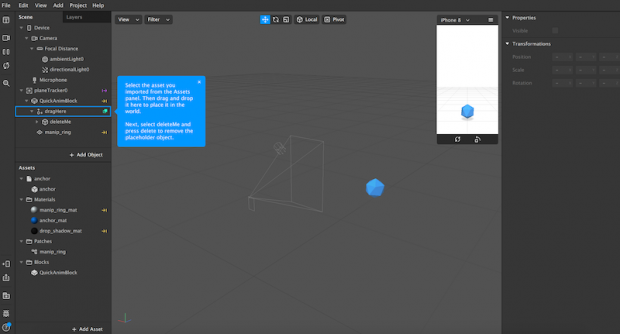
You’ll see a placeholder object in the central panel once you open the template. That central panel is known as the Viewport. That is the place you’ll build your filter.
The iPhone 8 in the corner is the Simulator. That is the place you’ll preview your work. Utilizing the dropdown, you possibly can change the Simulator from an iPhone Eight to a different device.
To the left is the Scene panel. You’ll use the options here to edit your Instagram Stories AR filters.
Step 4: Upload a 3D asset
Select a 3D asset for your filter from the AR Library or import your own. For this guide, we are importing a free asset from the AR Library.
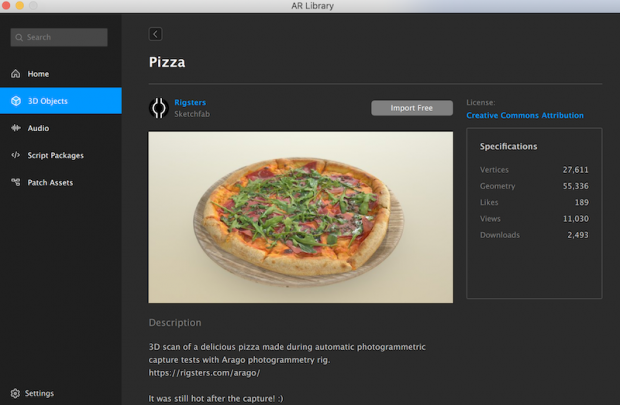
The AR Library also lets you select from free audio files, animations, and more.
Step 5: Edit the behavior of the uploaded graphic
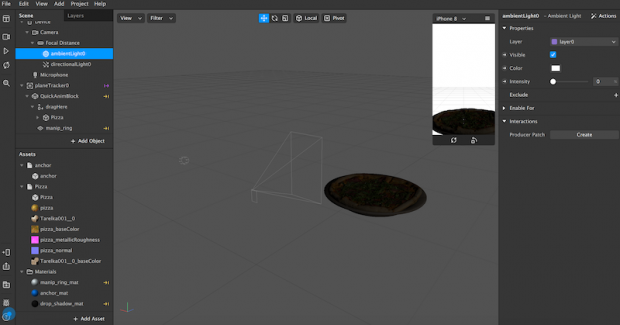
Now, you’ll see your uploaded asset—in our case, a rotating pizza—in the Viewport. Using the Scene panel, edit the way it looks, moves, and interacts with the real-world. The edits will end in your customized AR filter.
For instance, you’ll be able to change the color and intensity of ambient light. The below images show the 3D asset without ambient lighting (top) and with ambient lighting (below).
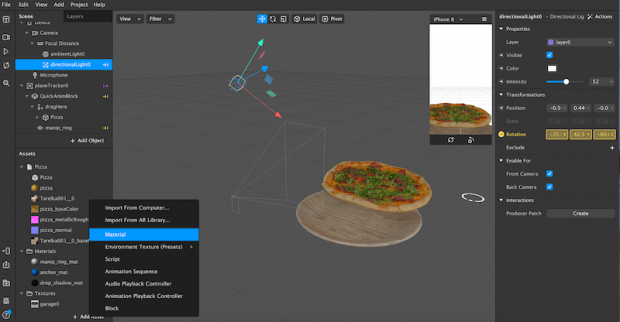
As you discover the Scene panel on the left, you’ll see that you could also:
- Change the directional light to give a 3D object extra depth.
- Select whether the effect is available for the front camera, the back camera, or both.
- Alter the animation of the uploaded 3D object.
- Add more parts to your effect, like additional animations, textures, and materials.
Step 6: Check your effect
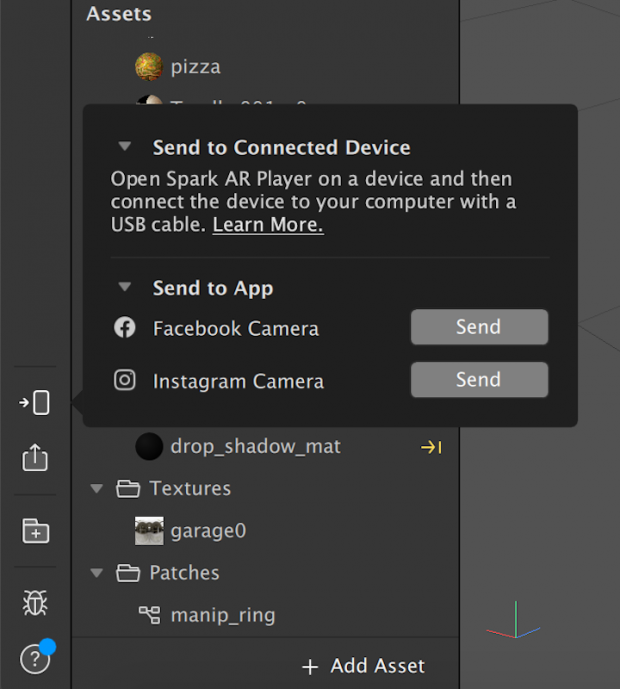
You may send your test file to Instagram or Facebook to see the way it works in Instagram Stories or Facebook Stories. Or you may download the Spark AR Player app.
Step 7: Publish your effect
Now, press the “upload” button in the bottom left-hand corner. You’ll discover it right under the “test on device” button.
Remember that your new effect won’t be published instantly. First, your creation might be reviewed to ensure it meets Spark AR’s policies and guidelines. This review process may only take a couple of days, or it might take up to one week.
Spark AR also has more details in its Learning Center on submitting newly created effects for approval.
Step 8: Keep learning
As you become familiar with this platform, you’ll quickly learn to work with its different templates—or the way to create an AR filter on a blank canvas.
Now, it’s your turn. In case you think to create your AR filters for Instagram Stories is right for your brand, it’s time to get creative. Good luck!