Are you looking for an easy and convenient way to set up and optimize Facebook book now and reserve actions buttons that help customer book appointments on Facebook? In this article, we’ll show you how to use Facebook’s appointment booking feature to streamline your business’s scheduling process.
1. How Do Facebook Book Now and Reserve Action Buttons Work?
Facebook’s Book Now and Reserve buttons provide service-based businesses with a smarter option for their action button. When set up, these buttons will appear at the top of the screen for visitors to easily book an appointment or reservation. If your business relies on appointments or reservations for leads or sales, these buttons are convenient tools to help you reach your business’s goals.
Additionally, by adding a Book Now or Reserve button to your Facebook page, you can make your offerings clear to any visitor, which can help increase the visibility of your services. You can also highlight what your business does best by adding services to your Facebook page and creating engaging content.
If you’re looking to generate more revenue, you can promote your action button and create conversion-focused content to encourage more reservations and bookings. Because the action button is built into your Facebook page, it’s always visible to potential customers. This means it also gives you an opportunity to book reservations and appointments passively.
However, it’s important to note that Facebook pages only allow one action button at a time. So, if you choose to use a booking button, you won’t be able to create another button that encourages emails, messages, sales in your Facebook shop, or other common goals. Therefore, before switching to a booking button, it’s important to consider your business goals carefully. If another goal is more important, use a different button instead. Switching to another action button only takes a few minutes so you can always test and adjust as necessary.
2. Facebook Book Now and Reserve Action Buttons Guide
How To Set Up Book Now and Reserve Action Buttons on Facebook
To set up a Book Now or Reserve action button on a Facebook page, there are several steps you can follow depending on whether you are using the classic or new Facebook page format.
For a Classic Facebook Page
1. Navigate to your Facebook page and click on the existing action button.
2. From the drop-down menu, select “Edit Button.”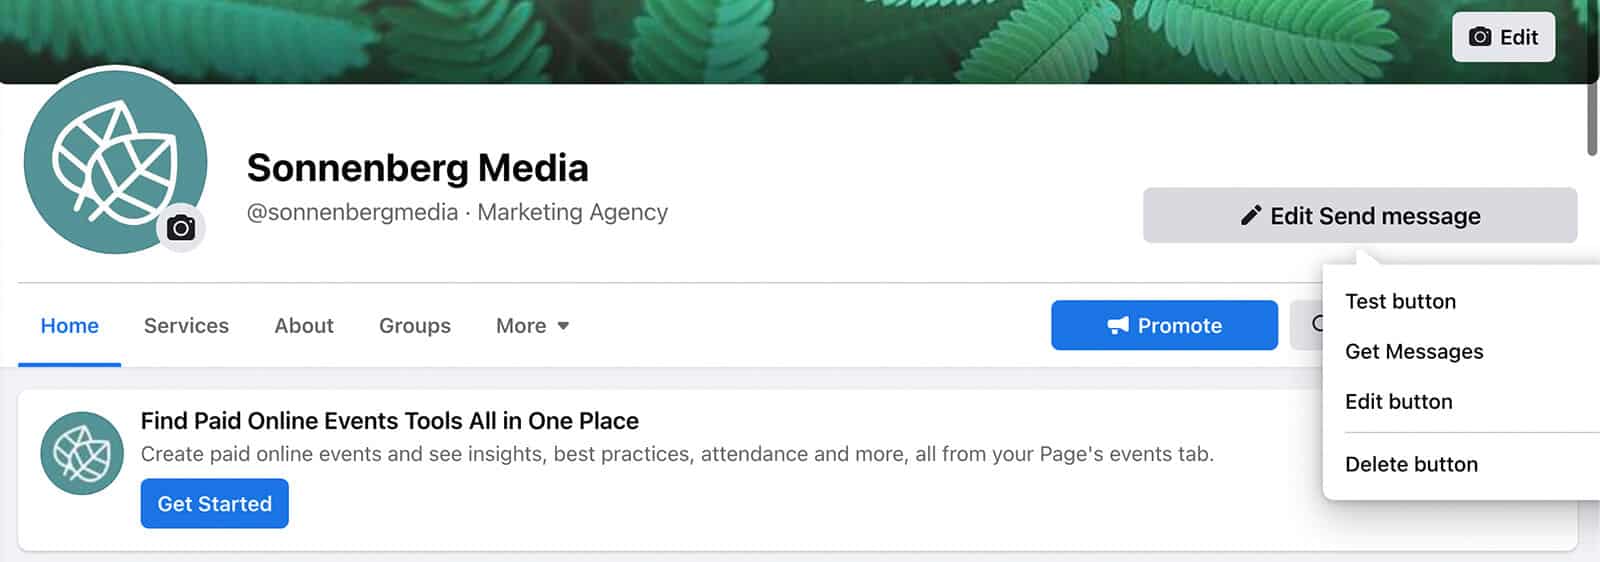
3. Choose the “Book Now” action button.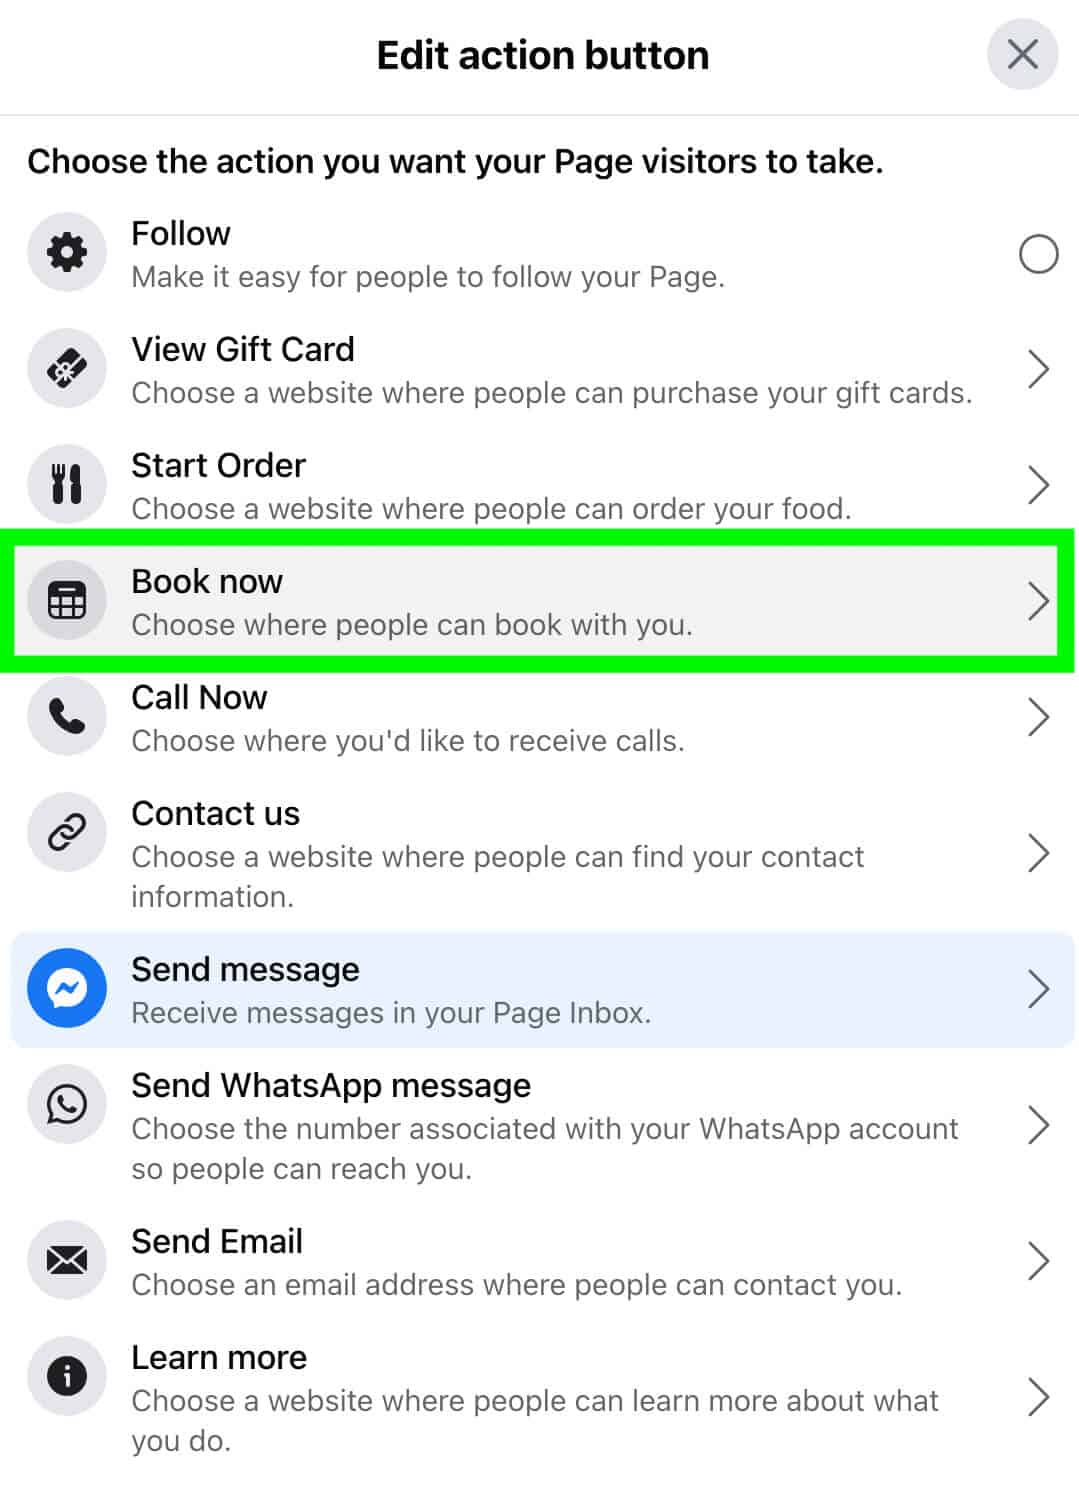
4. If you already use a supported booking platform, select “Connect Another Tool” and pick your platform from the list. Otherwise, select “Appointments on Facebook” and set your availability.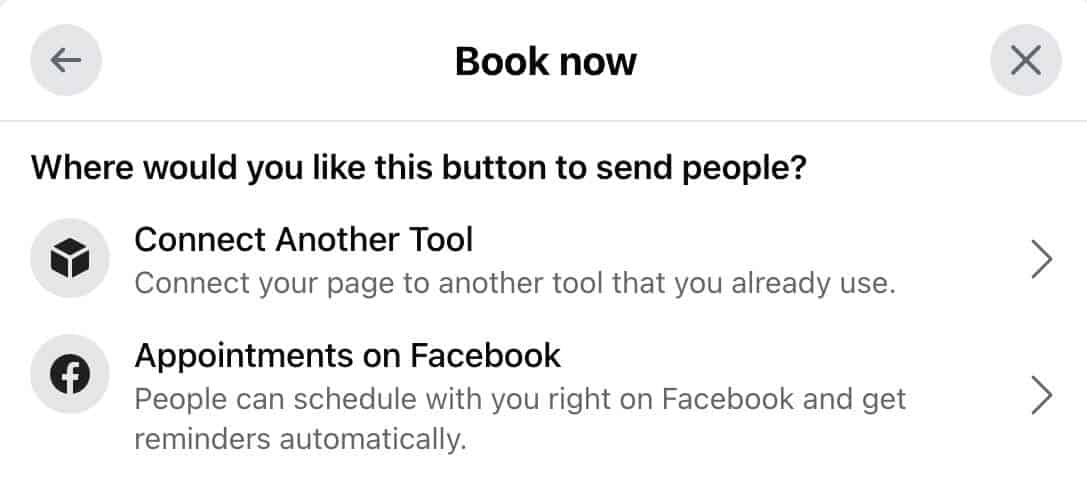
5. Confirm your appointment settings, including your appointment schedule, review settings, and syncing options.
6. Add your services one by one, including descriptions, prices, and images.
7. Launch your new Book Now button and start taking appointments.
For a New Facebook Page
- Switch your profile so you’re navigating Facebook as your business.
- Visit your Facebook business page and tap the three dots in the upper-right corner, just underneath the Edit button.
- From the menu, select “Edit Action Button.”
- Click “Change Button” and select the new action button you want to configure.
- If you opt for “Reserve,” you’ll need to connect to a third-party app. Give Facebook permission to link to the platform, sign in, and follow the steps to finish the setup.
- If you choose “Book Now,” you can either link a third-party booking tool or set up Facebook’s native scheduling tool.
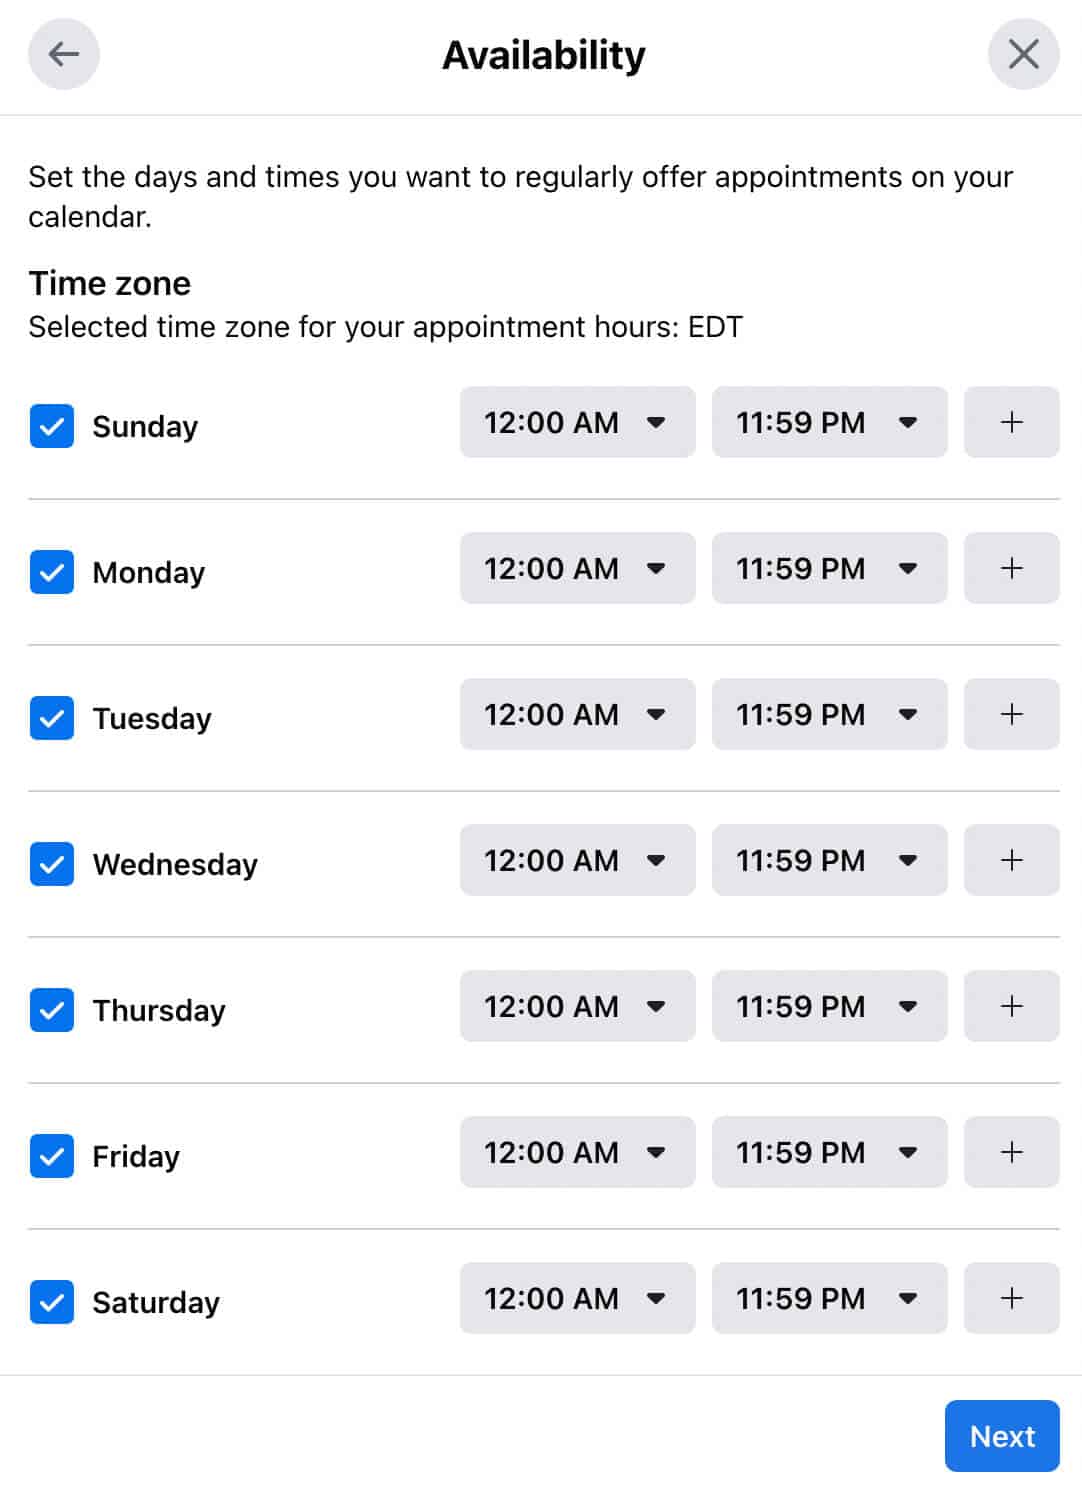
- To set up appointments directly on Facebook, select “Scheduling Tool” and click “Edit Availability.” Enter your standard weekly schedule and set your review settings.
- Select “Edit Services” and click the “Add a Service” button to enter the first one. Add descriptions, images, prices, and timeframes for each service.
- Click “Finish” to complete the setup.
How To Turn on Appointment Booking
Next, you’ll need to turn on appointment booking for your Facebook page. To do this, go to your page and click on the “Settings” tab. Then, select “Templates and Tabs” from the left-hand sidebar and click on “Add a Tab.”
From there, select “Book Now” and click “Add Tab.” This will add the “Book Now” tab to your Facebook page, which customers can use to book appointments with you.
Manage Your Appointments
Once customers start booking appointments on your Facebook page, you’ll need to manage them. To do this, go to your page and click on the “Bookings” tab. Here, you’ll see a list of all your upcoming appointments, along with the customer’s name, email address, and phone number.
You can also use this tab to cancel or reschedule appointments, and you can set up automatic reminders to remind customers of their upcoming appointments.

How to Promote Your Book Now or Reserve Action Buttons on Facebook
Now that you have your services set up and appointment booking turned on, it’s time to promote your services. One way to do this is by creating Facebook posts or ads that highlight your services and encourage customers to book appointments.
You can also use Facebook’s targeting options to show your ads to specific audiences based on their interests, behaviors, and demographics.
Another way to promote your services is by encouraging satisfied customers to leave reviews on your Facebook page. This will help build your credibility and make it more likely that other customers will book appointments with you.
Optimize Your Booking Process
Finally, it’s important to continually optimize your booking process to make it as easy and convenient as possible for customers. This may include offering different payment options, like credit card or PayPal, and providing clear and detailed instructions for how to book appointments.
You may also want to consider using a scheduling tool to streamline the booking process and avoid double bookings or scheduling conflicts.
3. Conclusion
Booking customer appointments on Facebook is a convenient and easy way to streamline your business’s scheduling process. By following the steps outlined in this article, you can set up your services, turn on appointment booking, manage your appointments, promote your services, and optimize your booking process to provide a seamless experience for your customers.