
Music leaders like Spotify and YouTube Music compete for users, but changing between them can be tricky. A big issue is transferring your liked songs and playlists from one service to another. There’s no easy way to do this directly, so users often have to recreate them manually. Luckily, there are alternative methods for you to move Spotify playlists to YouTube Music, or the other way around.
Move Spotify Playlists to YouTube Music effortlessly with TuneMyMusic
It supports transferring playlists between various music streaming services, including Spotify and YouTube Music. Note that with a free account, you can only transfer up to 500 tracks.
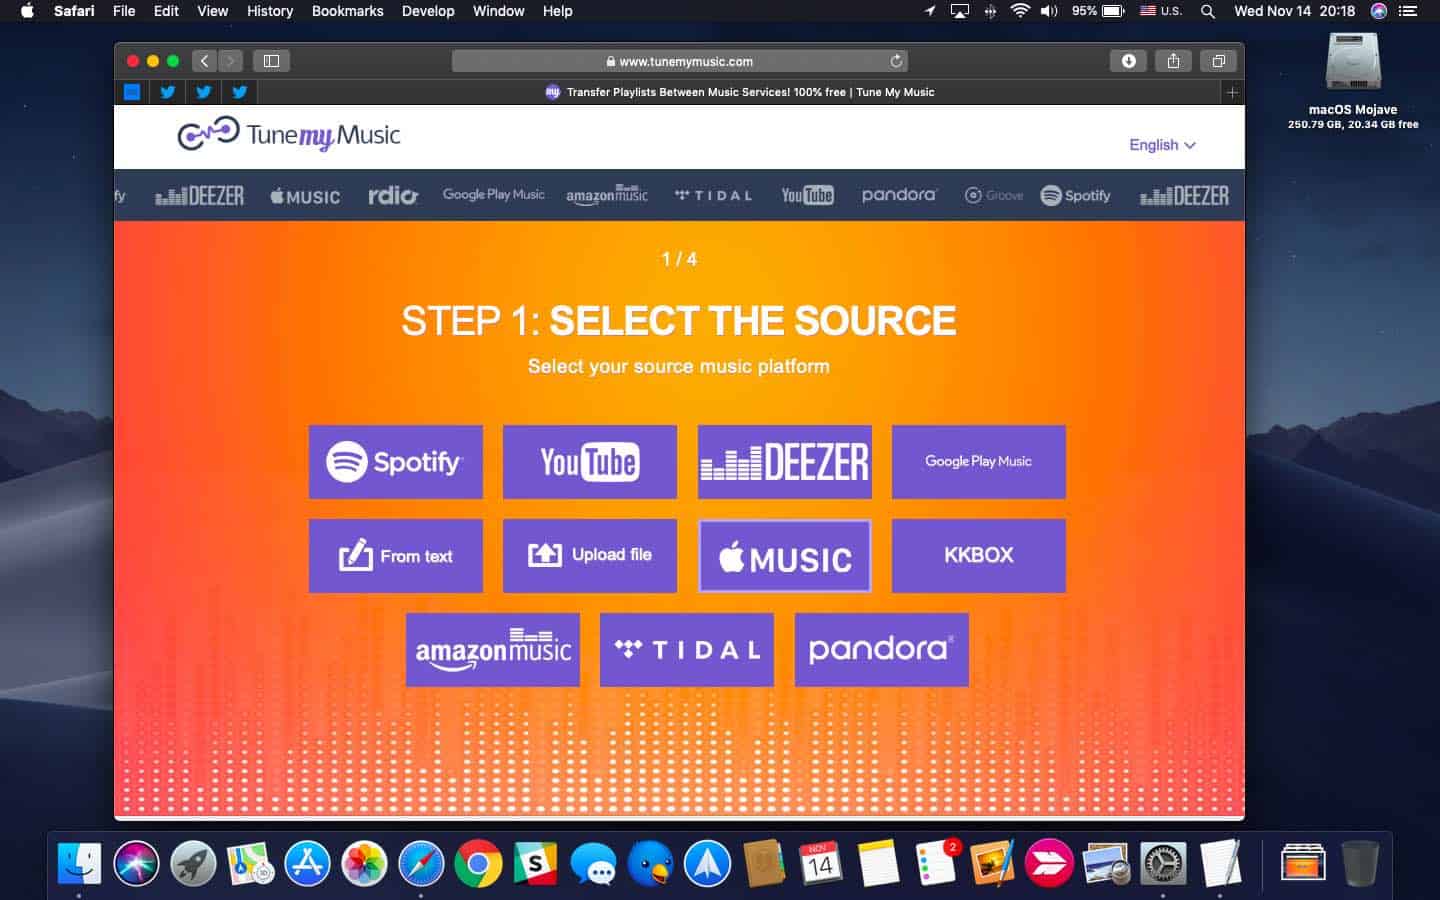
- Choose Spotify as your source platform.
- Enter your Spotify credentials in the new browser window and click “Agree“.
- Select “Load from Spotify account” to load playlists.
- Choose the playlists you want to transfer and click “Choose Destination“.
- Select YouTube Music as the destination and sign in to your Google account.
- Grant TuneMyMusic access to your YouTube account by clicking “Allow“.
- Initiate the transfer process by clicking “Start Transfer“.
- Wait for the transfer to complete. Once done, you’ll see a “Transfer completed” message.
I tested transferring playlists from Spotify to YouTube Music using TuneMyMusic and found it incredibly user-friendly. Although a few tracks were missing, it was negligible.
It might be tough to choose favorites with many playlists you enjoy. Luckily, there’s a premium subscription that’s quite affordable. There are two plans — Monthly and Annual. The monthly plan costs $4.5, and the annual is $2 per month.
Besides playlist transfer, the platform syncs your playlists. This means you don’t have to transfer them each time you add a new track. It’s capped at 20 playlists, which is still ample.
Transfer Spotify Playlists to YouTube Music Using Open Source Script
I found this GitHub script that lets you transfer your Spotify playlists to YouTube Music smoothly. To start, install Python on Windows, if you don’t have it already. For Linux users, you might already have it. The process is a bit tricky, but you can follow these steps.
First, download the Python installer from the official website and install Python by double-clicking on it. You can also use this command in the terminal on Windows:
“choco install python”
Once Python is installed, install the Spotify2ytmusic app using Pip by running this command:
“pip install spotify2ytmusic”
Now, you can open the app by running this command:
“s2yt_gui”
The app will open in a new window. Click on the Spotify backup tab at the top.
A new browser window will pop up, asking you to allow the app to access your Spotify data. Enter your Spotify login details and click Agree.
Once done, the app will start backing up all your playlists.
Next, go back to the terminal and enter this command:
“ytmusicapi oauth”
Another browser window will open, asking you to confirm the code. Choose your Google account to grant access to your YouTube data. Once done, close the browser and return to the Terminal.
Press Enter in the Terminal, and the “oauth.json” file will be saved in your working directory. Keep this file private.
Go back to the app and click on Copy.
Your Spotify playlists will now be copied to YouTube Music. Sit back and relax.
If you want to transfer a specific playlist, go to the Copy a specific playlist tab at the top.
To copy a playlist individually, go to your playlist on Spotify, copy the link, and paste it somewhere. Then, copy the playlist ID, which is the highlighted string after “../playlist/”.
Paste the playlist ID into the Spotify playlist ID text field in the app and click Copy. That’s it!
Conclusion
And that’s how you can move your Spotify playlists to YouTube Music. The first way is the simplest for changing services. If your playlist has over 500 tracks and you don’t want to pay for TuneMyMusic premium, you can try the second method.
Did this guide assist you?