
Headroom is a crucial quality of audio signals in music production.
It comes into play every time you record tracks, add plugins, or export files along with your DAW.
However, what does it mean? And why does it matter? With such a basic subject it can be hard to know where to begin.
Fortunately, headroom is simple to understand once the role it plays in your work.
In this article, I’ll explain all the things you should know to keep good headroom everywhere it matters.
Let’s get started.
What is headroom?
Headroom is how much room your audio signal has before it begins to get compressed and distorted.
All the recording mediums have a limit for how loud the signal will be. Whenever you go over that limit, the tops of your signal’s waveform will get abruptly reduce off.
Any audio information that passes above the limit is thrown away, leading to harsh distortion and unpleasant artifacts.
This impact is known as clipping, and it’s the worst consequence of bad headroom. In your DAW, the clipping point is 0 dBFS (or decibels from full scale) on your channel meters.
The amount of space in between the signal and the clipping point is the headroom. It’s also measured in dBFS.
Good headroom means leaving a healthy amount of space so that the majority of your audio is far below the clipping level.
Why is headroom essential?
Keeping good headroom is important for getting the most out of your mix.
Once you’re busy making music it’s easy to keep including tracks to a session.
However, all these combining signals build up at your master bus. Finally, your mix may come close to the limit.
Even if you don’t get all the best ways to clipping, you’ll start to notice the effects of poor headroom if you listen carefully.
You may discover that all you should do to increase clarity, separation, and width is to pull down your faders or keep your tracking levels in check.
In fact, the most effective method is to maintain good gain staging at every point in your workflow.
This way you’ll be able to keep headroom everywhere for a great level at the master bus without having to drag your faders down too far.
How do you create headroom in a mix?
Creating headroom is a little bit of a misconception—all you need to do to get healthy levels in your mix is leave enough space for dynamic sounds to breathe.
The important thing to getting it right is to use your level meters. Audio metering isn’t as easy as it seems, but it’s not difficult once you understand how it works.
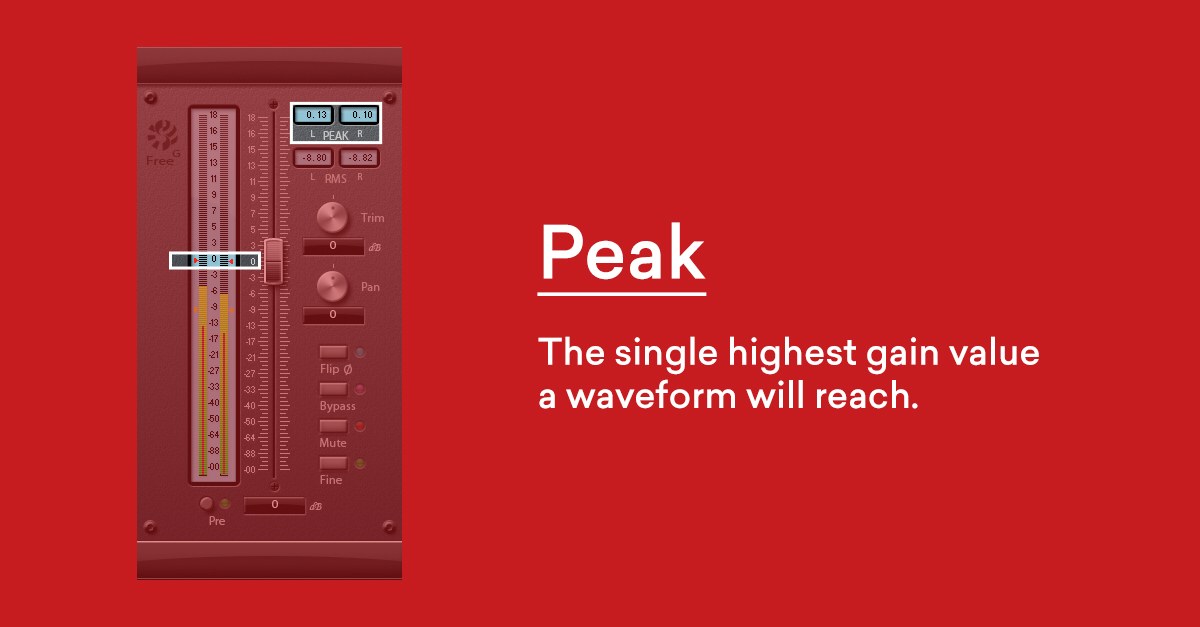
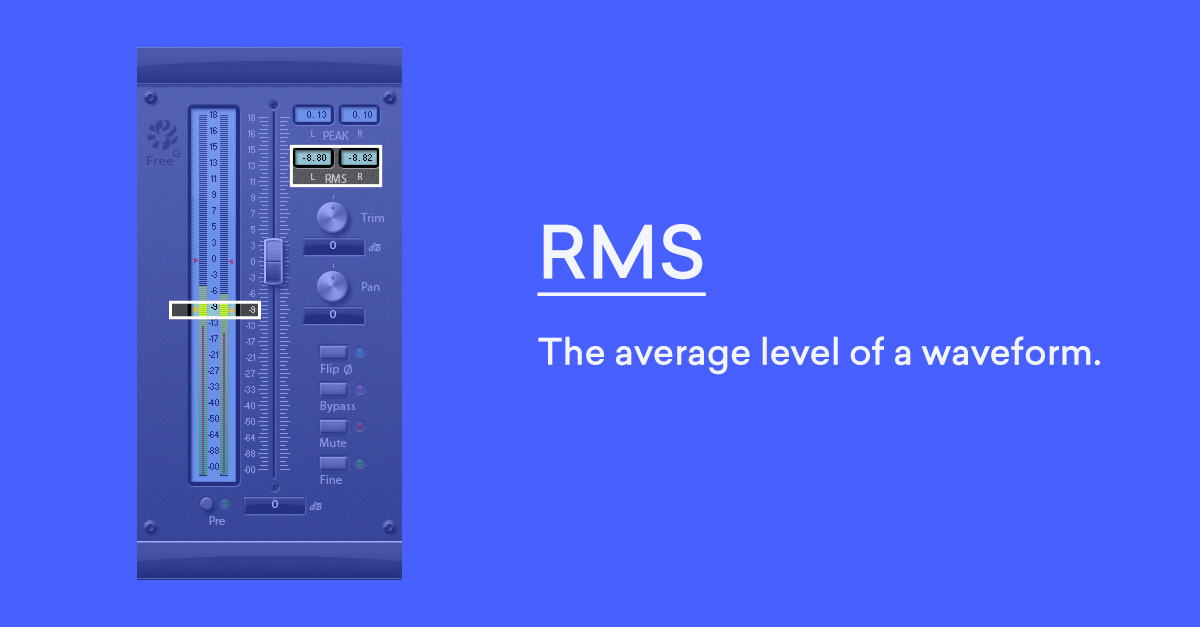
There are two essential measurement styles to know in terms of loudness—peak, and RMS.
Peak level measures the intensity of the loudest single moment in an audio signal, whereas RMS takes an average of the intensity over time.
Dedicated audio meter plugins or the channel meters in your DAW mixer generally display both figures.
Peak levels appear with an indicator light that persists at the highest dB value a signal reaches over time.
RMS levels move and breathe with a solid bar of lights indicating the common signal level.
Watching both is the important thing to good headroom. You need to aim to have the peak levels of your sound hitting around -9 or -10 dBFS at the loudest with the common hovering around -18 dBFS.
Keep following the guideline while tracking, mixing with plugins, and exporting files and you’ll never have these issues once more!
How much headroom do you need for mastering?
Leaving good headroom is crucial as you prepare your mix for mastering.
Mastering is an important task that gradually raises the level of the track with dynamic range compression.
If you haven’t left enough headroom in your exported track, the mastering process won’t have enough space to work.
It’s one reason why adding master bus plugins like aggressive limiters is not suggested. Leave this sensitive task for mastering.
Hot tip: In the real world, mastering engineers usually have to turn down loud mixes to do their work. Attenuating an exported mix won’t bring back any headroom that was lost by bouncing too hot, so ensure to deal with headroom issues before saving your files.
To summarize, here are the guidelines for good headroom throughout your mix:
- Goal to have the peaks of your signal reaching around -9 or -10 dBFS with the body of sound hovering around -18 dBFS
- Follow that rule of thumb while recording sounds together with your audio interface, processing your tracks with plugins, and routing channels to busses
- Above all, remember to leave ample headroom at the master bus when exporting your track using the same guidelines.
Max headroom
Headroom is a key technical issue in audio production, however, it’s not too hard to know.
In terms of getting the most from your mix and master, all you need to do is follow this guide for the best outcomes.
Now that you understand how it works, let’s get back to your DAW and make music.