Continue to find out how to live stream on Youtube…
Step 5: Choose your platform
The three most popular methods of live streaming on YouTube are through a mobile system, PC, and live streaming software. What choice you select will rely on what your targets are, the production quality you’re searching for and the level of interactivity you require with your viewers.
For many social streamers, the mobile and web (PC) choices might be greater than enough, however, more superior streamers will most probably want to go down the streaming software route.
In this part, we’re going to cover the best way to stream through all three of those choices.
Mobile
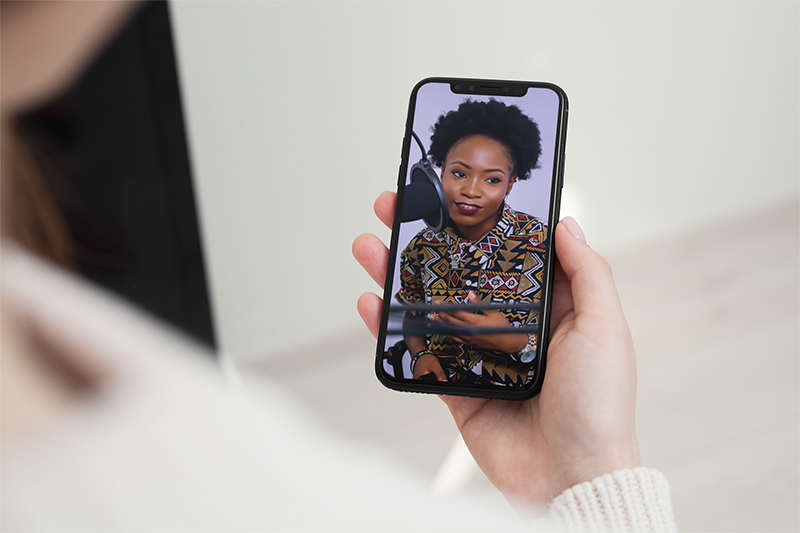
As mentioned previously to live stream from a mobile system, you first must have at least 1,000+ YouTube subscribers. In case you don’t have 1,000 or more subscribers yet you should use an app such as Prism which can allow you to broadcast to YouTube even in case you have no subscribers yet.
- Open up the YouTube app.
- Click on the ‘Create video’ button (camera icon).
- Click “Live”.
- Give your stream a title, and choose the privacy setting.
- In case you wish to schedule your live stream, check the box, and enter the date and time.
- Select whether the content material is the goal for kids or not.
- Add age restrictions if necessary.
- Click on more choices to add an outline, select the topic category, and your camera and sound choices.
- Under ‘Advanced settings’ you may allow or disable live chat, monetization, promotions, and more.
- YouTube will then take a photo with your webcam to be used because of the video thumbnail picture – you may either use this, redo it, or add a custom thumbnail.
- In case you click share you may get a short link to your stream to share throughout your different social profiles to allow them to know you’re going live.
- When you’re ready to go live, click on ‘Go live”.
- Click on “Finish” to stop streaming.
PC
- Go to youtube.com
- Click on the ‘Create a video and more’ button (camera icon)
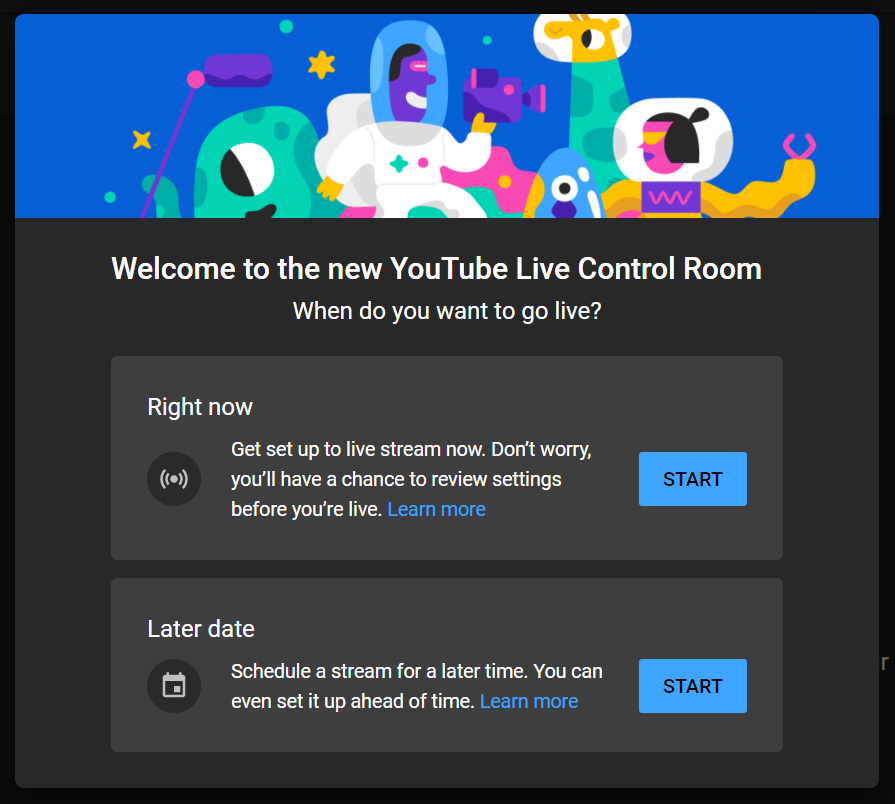
- Click on “Go Live”
- Select whether to go live right now or at a later date
- Select the ‘Built-in webcam’ choice
- Give your stream a title, and choose the privacy setting
- In case you want to schedule your live stream, check the field, and enter the date and time
- Select whether the content is the goal for kids or not
- Add age restrictions if obligatory
- Click on more choices to add an outline, select the topic category, and your camera and sound choices
- Under ‘Advanced settings’ you may allow or disable live chat, monetization, promotions, and more.
- YouTube will then take a photo with your webcam to be used because the video thumbnail picture – you may either use this, redo it, or add a customized thumbnail
- In case you click share you may get a short link to your stream to share throughout your different social profiles to allow them to know you’re going live
- When you’re ready to go live, click on ‘Go live”
- On the right side, you’ll have the chat where you possibly can interact with your viewers
- Whenever you’re completed click on “End stream”
Live streaming software program
There are fairly a number of choices in terms of live streaming software (also known as encoder software) equivalent to Streamlabs, OBS, and StreamElements to name a few. All these choices will help you level up and make you much more skilled in wanting to live streams.
Listed here are just some of the superior choices you get with utilizing live streaming software:
- Multiple cameras
- Adding titles and videos on the screen
- Utilizing green screen
- The flexibility to separate display and produce other folks on the screen (e.g. for an interview)
- Share a presentation
- And much more!
Right here’s how one can go live on YouTube utilizing stay stream software (it’s a really similar process for many encoders):
- Go to youtube.com
- Click on the ‘Create a video and more’ button (camera icon)
- Click “Go Live”
- Choose “Stream”
- Give your stream a title, and choose the privacy setting and edit all the other settings as you want
- In case you wish to schedule your live stream, check the field, and enter the date and time (numerous live streaming merchandise allow you to schedule streams from inside their platform too)
- Click on “Create stream”
- A Stream setup assist popup ought to appear which can include your stream key, if not go to “Stream settings” and copy the stream key
- Paste the stream key into your encoder (usually within the “’ settings’ part)
- No matter live streaming software you’re utilizing – ensure you’ve familiarized yourself with the platform and made all the customizations you need for your stream
- Hit “Go live” from your streaming software (this may send a preview of how your stream appears to YouTube but you won’t actually be live yet)
- In case you’re able to go live click on “Go live” on YouTube
- Once you’re completed click on “End stream” on YouTube
Step 6: Interact with your viewers
The success of any live stream might be due to a combination of things including the preparation and topic but most significantly the best way you have to interact with your viewers throughout and after the live stream.
Listed here are a number of the best methods to keep your viewers engaged in your live stream:
- Recaps – do the occasional fast recap for viewers who join your live stream part of the best way via.
- Incentivize – give viewers a purpose to stick around e.g. they’ll be rewarded with some necessary insights towards the end, or a particular deal, or an opportunity to have their questions answered instantly.
- Give shout-outs – present your viewers that appreciate their help and viewership by giving the occasional shout-out to particular viewers members
- Get chatty – make sure to allow live chat and get involved within the discussions (or get a moderator to assist with that). You possibly can even use what goes on within the chat to drive the matters of your stay steam to make everybody feel involved. Additionally, keep in mind you can use moderator tools.
- Promote – Promote your YouTube live stream recording like you would for any considered one of your other YouTube videos to reach new viewers (and potential subscribers)
- Dive into the comments – when you’ve shared the live stream recording get involved within the comments to maintain the discussions going and your viewer’s engagement high. That is additionally an excellent place to find potential topics in your subsequent live stream.
Step 7: Analyze the performance
The final step is to research the efficiency of your live stream to see whether it was successful or not. To get a sense of that it’s best to check out your YouTube analytics and answer the next questions:
- Did the live stream topic drive viewers?
- How lengthy did people stick around? (what was the average view duration?)
- What elements of the live stream got the most responses? (questions, comments, and so on.)
- Did the live stream drive new subscribers?
- What were the demographics of your viewers?
Preserve track of all of the insights and it’ll assist you to frequently enhance your live streams. Video analysis is an important part of creating a successful YouTube channel.
To get even more qualitative insights you may comment in your video asking for suggestions in your live stream (and for other topics your viewers wish to see covered) and pin it to the top of the comments.