Continue reading to find out which strategy is suitable for your type of account to schedule posts on Instagram.
The way to schedule Instagram posts on a personal account
Not everyone has or needs a business account on Instagram. In case your Instagram presence is more about connecting with your audience, rather than hard metrics like conversions and click-throughs, you may need a good reason to bypass the business account vibe and keep on with a regular account.
(And Instagram has now launched a third option: the creator account, which we’ll cover in the next section.)
Instagram’s API doesn’t allow personal accounts to schedule posts to be published directly, so instead, we’ll present you the way to set up a mobile notification workflow.
This means you organize your posts, and through push notification, you schedule a reminder. When the time comes to post, you get an alert on your phone that reminds you to click through and hit ‘publish.’
Pro tip: While this method works with newsfeed posts and videos, you may also follow these steps to schedule an Instagram Story or a carousel post.
Ok, so let’s walk through the process.
Step 1: Add your Instagram profile to your social media management platform
As you know, we choose Hootsuite as our go-to social media management platform for Instagram scheduling.
So, from your Hootsuite dashboard:
- In the top right corner on your dashboard, tap your profile icon
- Choose Manage Social Networks
- To add an Instagram profile for personal use, click + Private Network in the bottom-left corner of the dashboard
- Tap on Instagram in the list, and then click Connect with Instagram
- Input your account credentials.
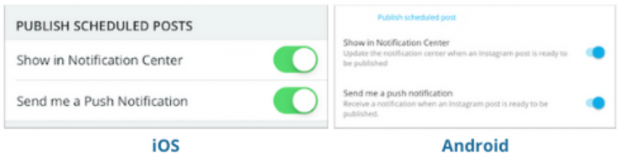
One other thing: when scheduling posts for personal accounts, it’s essential that you have notifications turned on in the Hootsuite mobile app.
In case you don’t, you’ll receive an error message. (And if you ignore the error message, your posts won’t get published.)
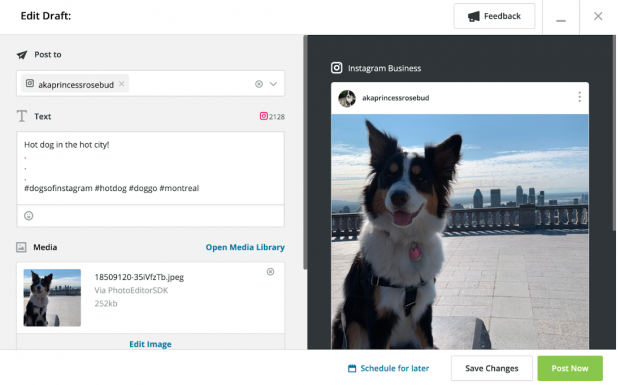
Step 2: Write and edit your post
You’ve set up your workflow, so now it’s time to line up your posts.
- Click New Post and choose your Instagram account from the list
- Upload your visuals (use Hootsuite’s photo editor to edit your photos)
- Compose your very excellent Instagram caption
- Add your relevant hashtags, tag related accounts, and add your location
Step 3: Schedule your post
Click Schedule for Later and choose the date you need the post to go live, as well as the best time for your audience.
Step 4: Publish your post
When the time comes, you’ll receive a push notification from the Hootsuite app. Follow the prompts, check the details one more time, and publish the post.
That’s it!
How you can schedule posts on Instagram creator account
Are you a content producer, artist, or influencer? Instagram recently launched this new kind of account to help customers who are trying to manage their massive followings more effectively.
Creator accounts have specific tools designed for influencers (for example, a tiered inbox and reply shortcuts) as well as more granular analytics to help dig deeper into what’s working and what’s not in your day-to-day strategy.
In case you want to learn more, here is everything you need to know about Instagram creator accounts.
In terms of scheduling for creator accounts, the Instagram API doesn’t help to schedule from third-party platforms. Only business accounts have that privilege.
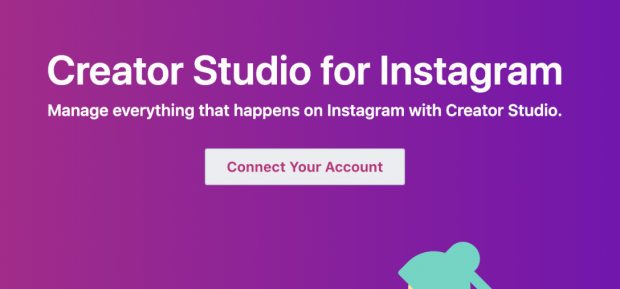
However, as a creator, you may schedule from within the Facebook Creator Studio. Here’s how.
Step 1: Change to a creator account
Whether you’re currently a business account or not, switching to a creator account is easy.
In the Instagram app on your phone:
- Tap the hamburger icon
- Tap the settings button
- Click Account
- Choose Switch to Professional Account
- Select Creator and follow the prompts
You may select your display label (eg., chef, author, fashion model, and so on.). Notice that while it’s technically optional to link your creator account to a Facebook page, you can’t use Creator Studio without doing so.
Step 2: Link your Instagram account to Creator Studio
Now turn to Instagram Creator Studio and log in by your account information.
Step 3: Create your post
In the top left corner, click the Create Post button.
Then choose where you want to post: on your Instagram feed, or IGTV. (Here is a guide on how to schedule IGTV.)
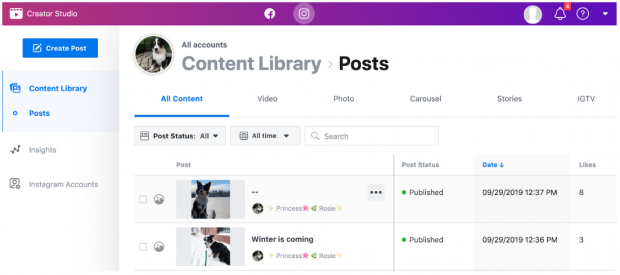
Next, upload your picture, video; write caption; and add hashtags. You should add a location.

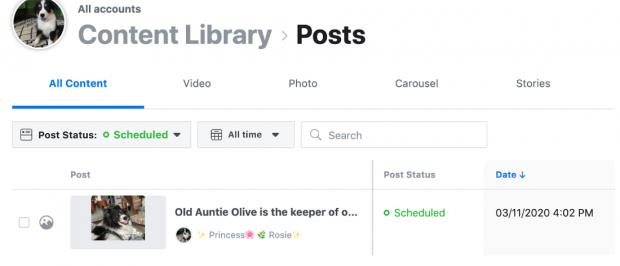
Step 3: Schedule your post
Once you press Schedule in the bottom right corner, you can select the date and time you want your post to appear.
Pro tip: In case you don’t already know the best time for your audience, now is the time to consult our research, and your own Instagram analytics.
You may review your upcoming posts in the dashboard, and make any essential edits.
Step 4: Wait for your post to be published
That’s it!
What is the difference between Instagram scheduling and Instagram automation?
Instagram scheduling is when you publish your posts in advance. Instagram automation is paying to have bots like or comment on random strangers’ posts to enhance your account’s follower ratio and engagement.
It… It doesn’t work very well. It can be actively harmful to your brand’s relationships.
And given Instagram’s ongoing crackdown on bots, spam and scams, spending budget on shady activities are probably about as effective as, you know, buying a verified badge from some guy in your DMs. (Hint: please don’t.)
Best practices for scheduling Instagram posts
Don’t sacrifice quality for quantity
Sure, the miracle of Instagram scheduling means you can now publish every 30 minutes. (All respect to @fashionnova). However should you?
The answer is “maybe, in case you can maintain consistent quality at that pace over the long term. However great engagement rates have more to do with consistency than frequency.”
Keep in mind that the Instagram algorithm prizes relationships: in case your followers are engaging with your content, the algorithm will show more of it to them.
Upload and organize your visuals in Hootsuite’s content library
How do you manage your social media content? Dropbox, Google Drive? Tons of folders on your desktop? Your personal smartphone’s photo app?
This is better: there are tags, permissions, and a truck-load of metadata that will help you discover what you need when you need it.
And while I can’t personally guarantee that you’ll never have to send an 11 p.m. email to a photographer you’ve never met asking her to re-send touched-up files from a 2017 shoot, I do promise that this is a nice first step.
Don’t schedule too far in advance
Hootsuite power customers often feedback that they block out their schedule by exercise, whether it’s a shoot day for visual assets or Tuesday morning’s croissant-and-writing binge.
We’re all for effectivity (see the previous point) however in terms of social media scheduling, going much farther than a week in advance can start to increase the risk of something going sideways.
Our recommendation: keep your finger on the pulse, and stay nimble.
Write once, edit twice (or thrice)
Especially for giant teams with numerous moving parts, an internal multi-stage approval system is ideal for preventing a gaffe, or a full-blown crisis.
And even in case you’re a solopreneur, do make sure you take a fresh look at that copy before it goes live.
Use analytics wisely
The most effective part about scheduling Instagram posts is that it frees up your time to check out the big picture. What’s the earning you like? What’s falling flat? Maybe you can even run some A/B tests, get mathy about it. Select your preferred Instagram analytics tool and get cracking.