Do you use Facebook Live Video?
What are you waiting for if not? A clever step-by-step guide that entertains as well as educates? We’ve got some good news for you.
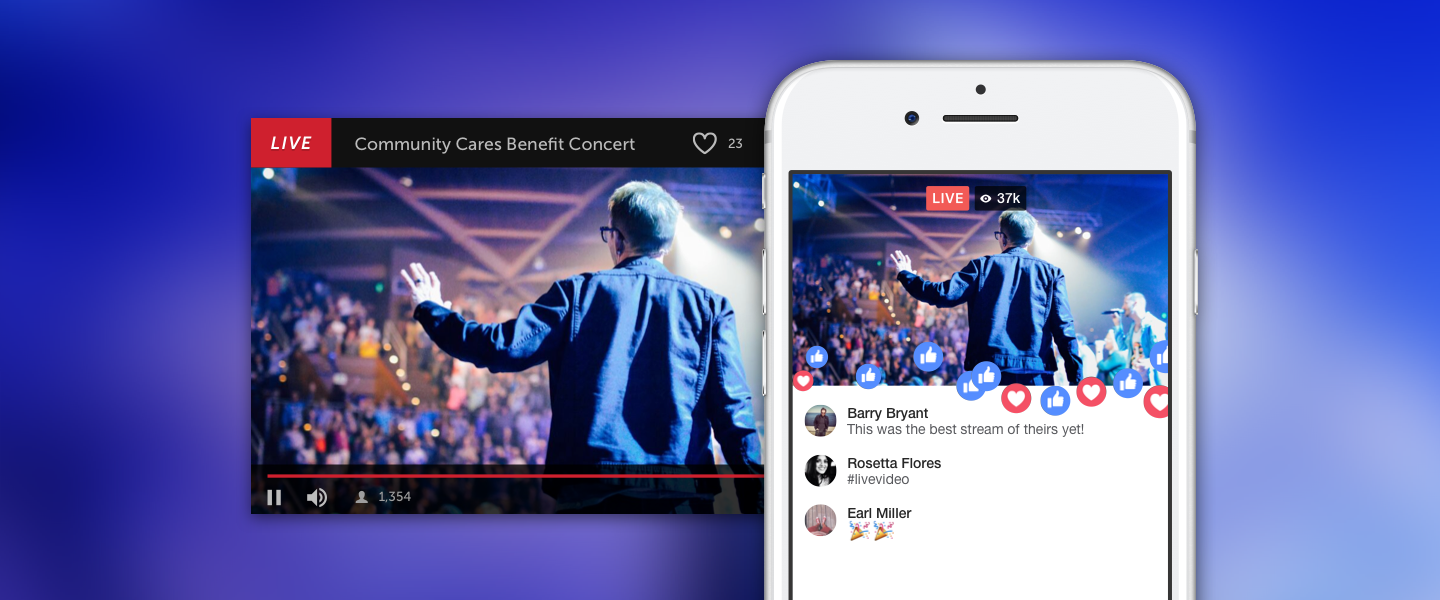
Facebook Live is one of the best ways to connect with your audience and increase the visibility of your brand.
In this post, we’ll show you how to make the most of Facebook Live video. So, whether you’re just getting started or looking for advice, keep reading!
How to Go Facebook Live
When you broadcast a Facebook Live video, it will be visible on your page, group, or event, as well as in the Feed and on Facebook Watch.
When the broadcast is finished, you can edit and share a Live video recording on your page.
Here’s how to do it:
How to Use Your Phone to Go Live on Facebook
When using the Facebook mobile app, there are two options for going Live.
Making use of the Facebook app:
1. Navigate to the page, group, personal profile, or event from which you want to stream your video.
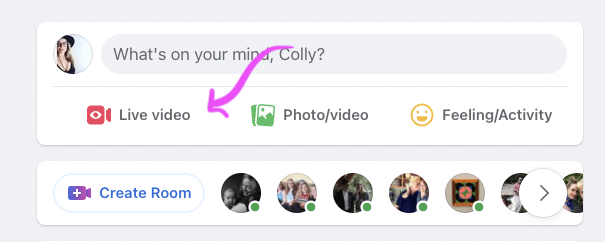
2. Click on “What’s on your mind?” or Make a post.
3. Select Live from the list of options.
4. Create a description in which you can tag friends, collaborators, or your location. Alternatively, use the widgets at the bottom of the screen to add other elements such as polls or links. The hamburger button in the bottom right-hand corner will provide you with a comprehensive list of options. You can also restrict access or crosspost between channels from this page.
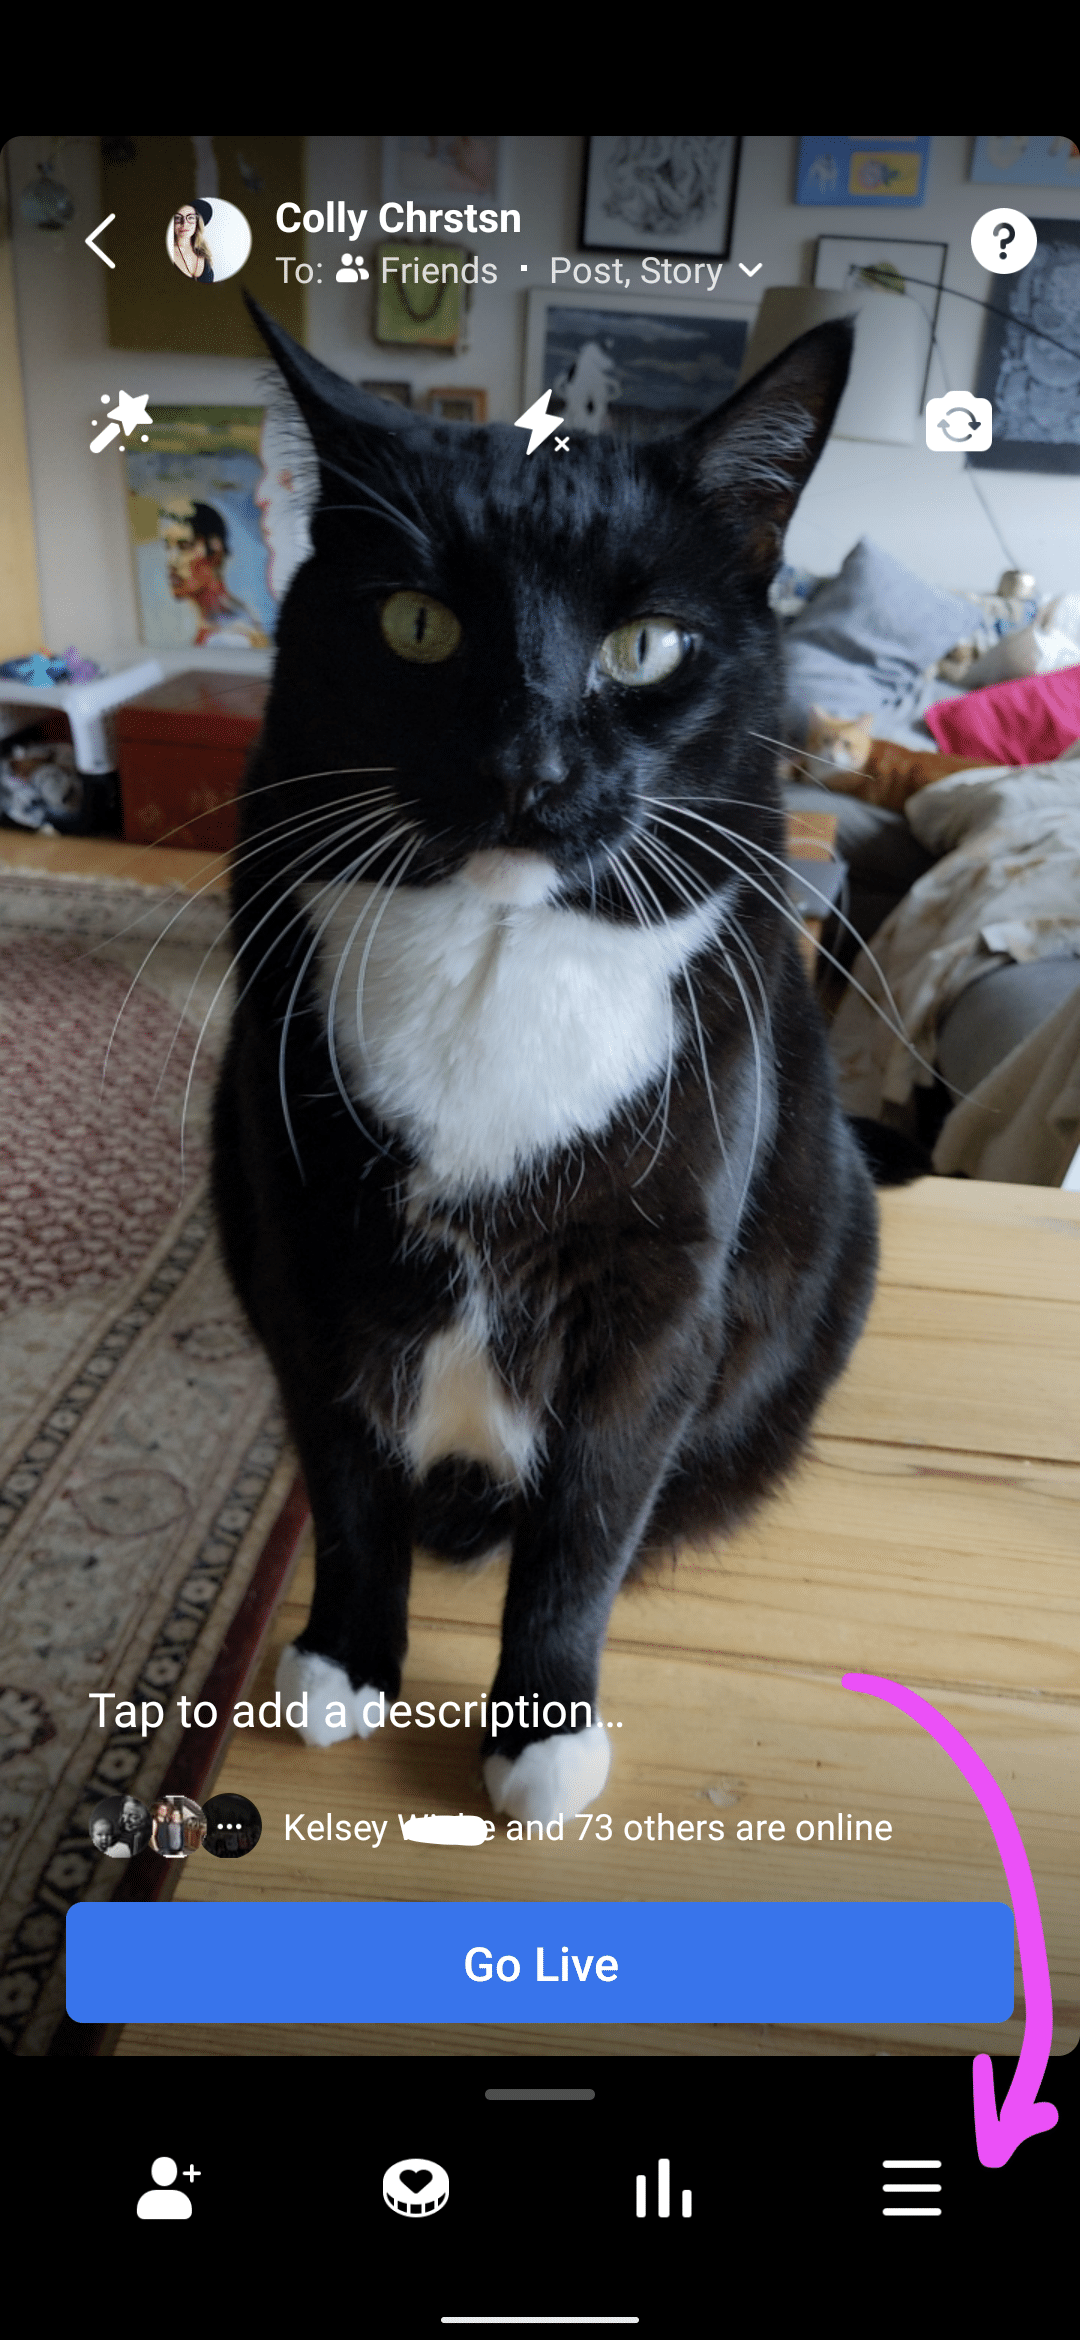
5. Tap the Start Live Video button to begin the live broadcast.
6. When finished, tap Finish to end the livestream.
How to Use the Creator Studio App:
- Click the compose icon in the top right corner of the Home or Content Library tab.
- Choose the Live post option.
- Create a description. (You can tag friends, collaborators, or your location here.)
- To begin the live broadcast, tap Start Live Video.
- When you’re finished, tap Finish to bring the livestream to a close.
How to Stream Facebook Live from a Computer
Using your computer’s built-in webcam and microphone, you can create Live video content. If you want, you can also connect higher-end production equipment.
Graphics, screen-sharing, and other features can help you take your livestream to the next level. You can also use streaming software such as Streamlabs OBS. (Click here for more information on connecting streaming software.)
Whatever tools you use to go Live from your computer, Facebook will direct you to the Live Producer tool first.
Using your integrated webcam:
1. At the top of your newsfeed, beneath the “What’s on your mind?” status field, click the Live Video icon.
2. You’ll be directed to the Live Producer tool, where Facebook will ask you whether you want to go Live right away or schedule an event for later. On the left, you can select where to post your stream.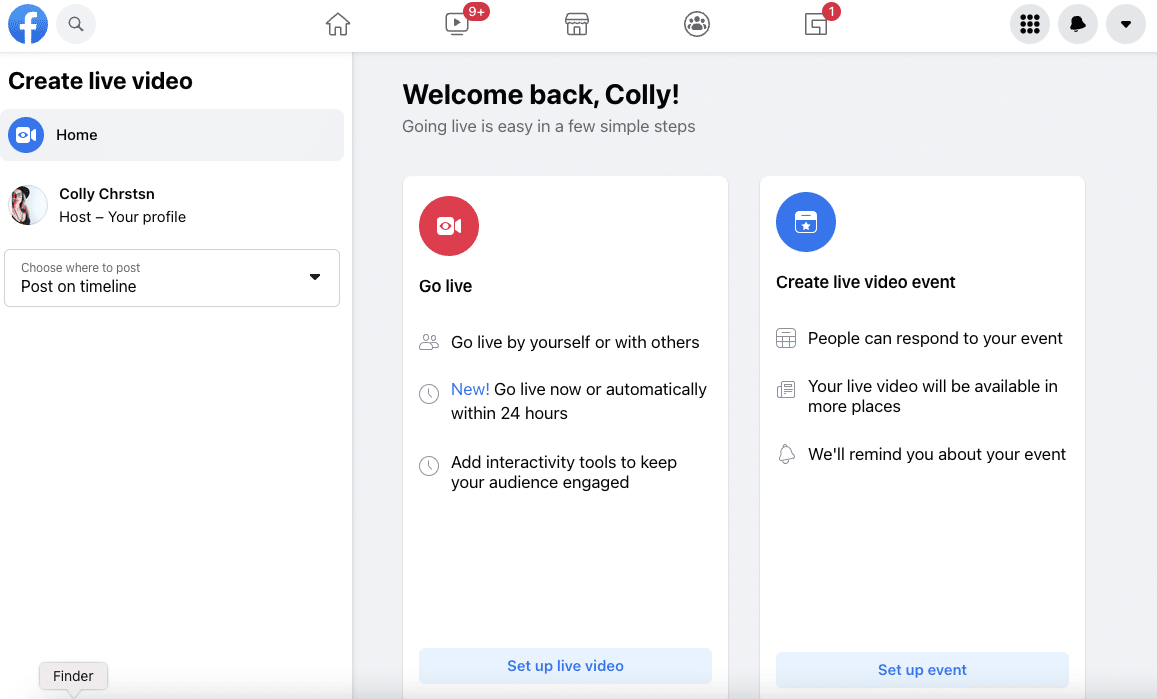
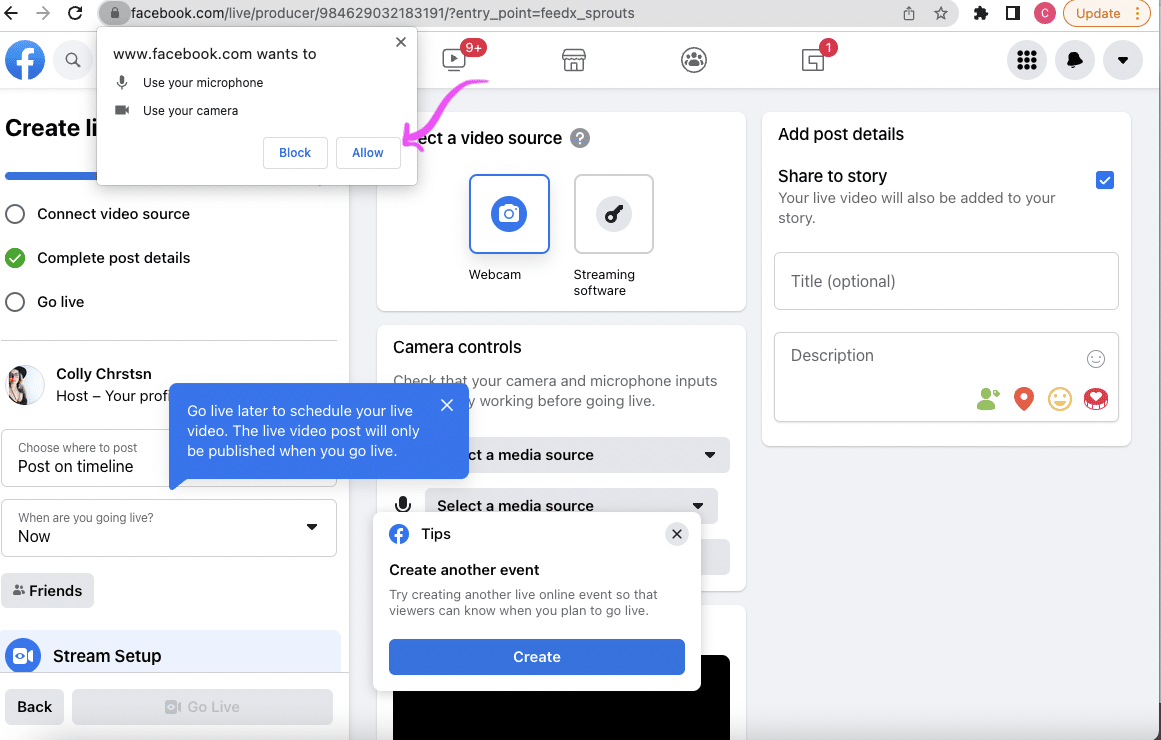
3. Finally, you’ll select your video source — Webcam.
4. Locate the Add Post Details section on the left side of the screen. You can add a description and an optional title to your live video here. You can also tag people or places, or use the heart-shaped Donate button to raise funds.
5. When you’re finished, click the Go Live button in the lower left corner of the screen.
15 Facebook Live Best Practices
Now that you’ve mastered the basic skills, it’s time to ramp it up. Use these tips and best practices to grab your audience’s attention.
Prepare ahead of time
When creating your next Facebook Live video, you should start with a goal in mind. Before you go Live, write down something you want to accomplish or a message you want to share with your followers.
Once you’ve established a clear goal, make a list of talking points to help guide the conversation. If you have a destination in mind, your Live video will run more smoothly.
Be genuine
The raw, anything-can-happen nature of Live videos adds to their allure. Accept the inherent intimacy and authenticity.
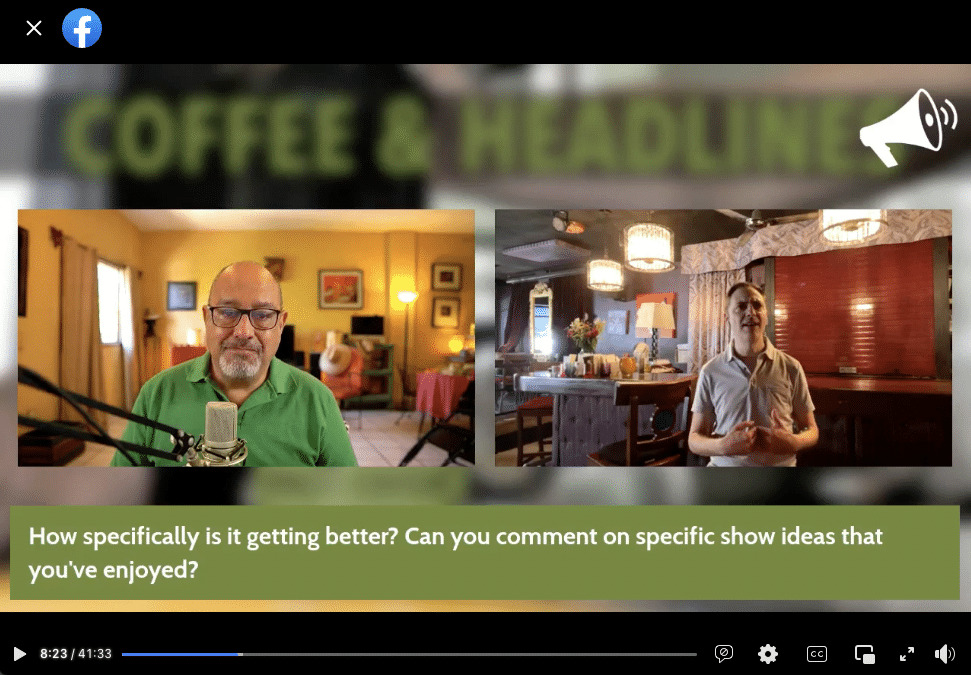
Collaborate with visitors
Some of the most interesting Co-broadcasting involve two or more people chatting live.
You can advertise to both your existing audience and your guests in these split-screen broadcasts. Simply ask them to promote the broadcast on their channel.
You can broadcast to Facebook live from Messenger Rooms for larger groups (up to 50 participants!).
You could also co-broadcast using specific streaming software, such as Zoom (see above).
Create anticipation
Nothing is worse than an empty theater. So, create hype to avoid hearing crickets!
Begin with teaser posts! Here are a few simple suggestions to get you started:
- Be enigmatic. Nothing builds excitement like not knowing what’s going to happen next.
- Send insider information to your superfans or email subscribers.
- Make it worthwhile by promising a prize or giveaway at the end of your episode.
- Count down the seconds.
Facebook also allows you to subscribe to Live Notifications, which ensures your audience doesn’t miss a thing.
You can also schedule your broadcast one week in advance, allowing your followers to sign up for reminders so they don’t miss out.
Learn more about the settings for scheduling live videos over on Facebook’s Business Help Center.
First, test your broadcast in private.
If you’re anything like us, you need to double-check your work before publishing it. You can easily test the waters of your broadcast beforehand for peace of mind.
To view your Live video stream, change your privacy settings to “Only Me.” Before anyone sees you, you can test your sound, lighting, and angles.

Invest in the quality of the videos
Webcams, ring lights, and microphones are much more affordable than they once were. You can obtain high-quality tools that will not break the bank but will make your Live videos more enjoyable to watch.
We have a separate post about social media video specifications and how to use them to your advantage.
Identify your collaborators
Everyone enjoys a good tag! People, Pages, and Locations can be tagged in live stream descriptions. Use these to identify your collaborators or your location or business.
Tags help viewers understand what they’re watching and allow content to reach audiences other than your own.
Continue to provide context
Your superfans may watch your stream from start to finish, but others will come and go. So, make sure you’re providing context for new viewers.
Insert brief recaps throughout your broadcast to explain who, what, where, and why. Keep it simple to ensure comprehension. You can, for example, use your guests’ names or occupations on a regular basis.
Captions on your video explaining the context are a fairly foolproof way to keep people informed. You can also pin a comment that provides context or encourages engagement.
Engage your audience actively
You can interact with your viewers in real time using livestreams.
Chat with your viewers as they log in and respond to their comments and questions as they come in. As you respond to comments, you can pin them to the top of the chat.
If your community is active, a moderator may be able to save your stream. Request that a second person monitors the chat or filter for the best comments or questions to share so that you can do what you do best — host!